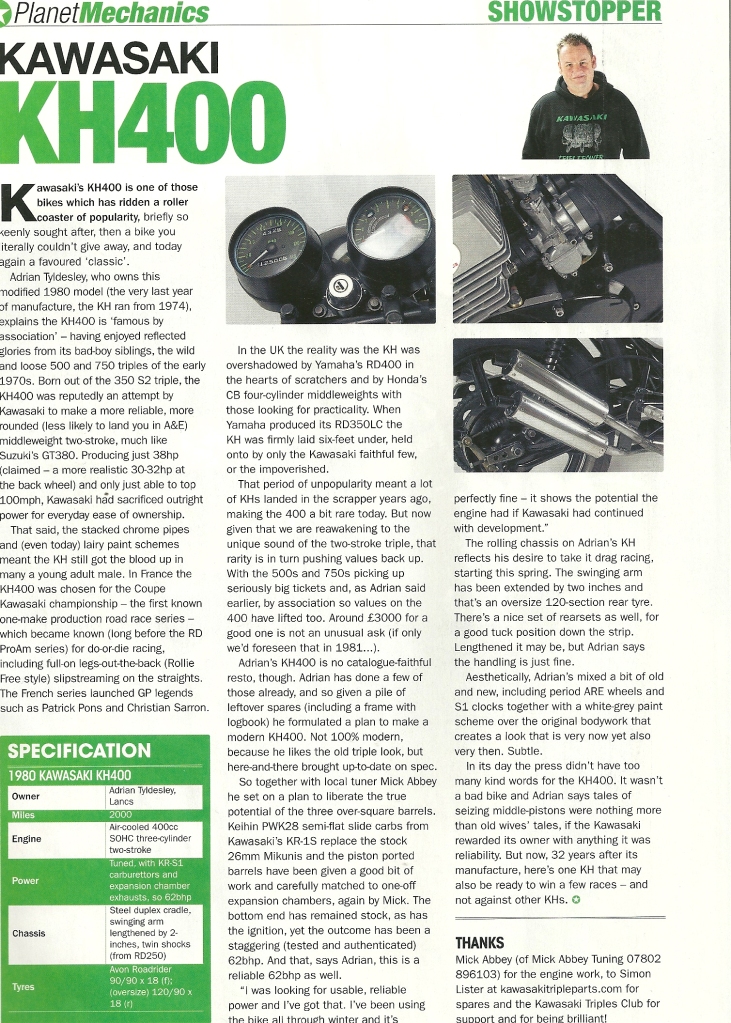
The Build - Project Lash Up - Adrian Tyldesley
Basically the remit for this project is
to assemble a few random parts that i may have, along with some spares from
Simon and try to turn it into something meaningful and possibly fairly quick.
This will hopefully be quite enjoyable as there will be no pressure to use
correct and same period parts, just what I think looks o.k.
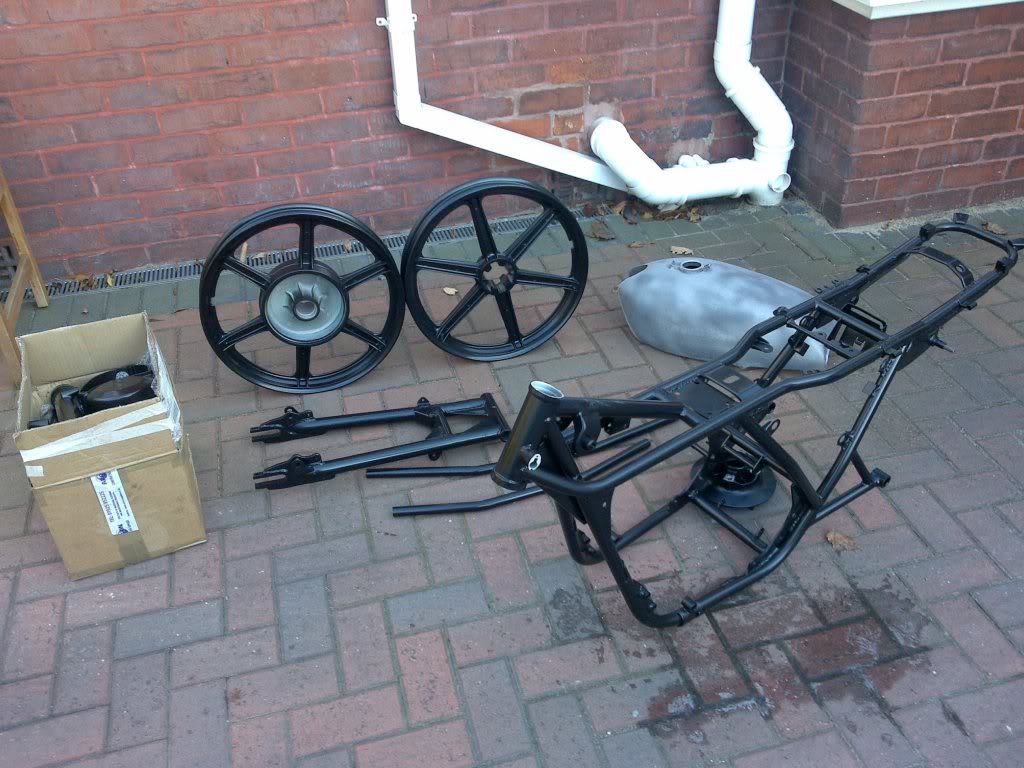
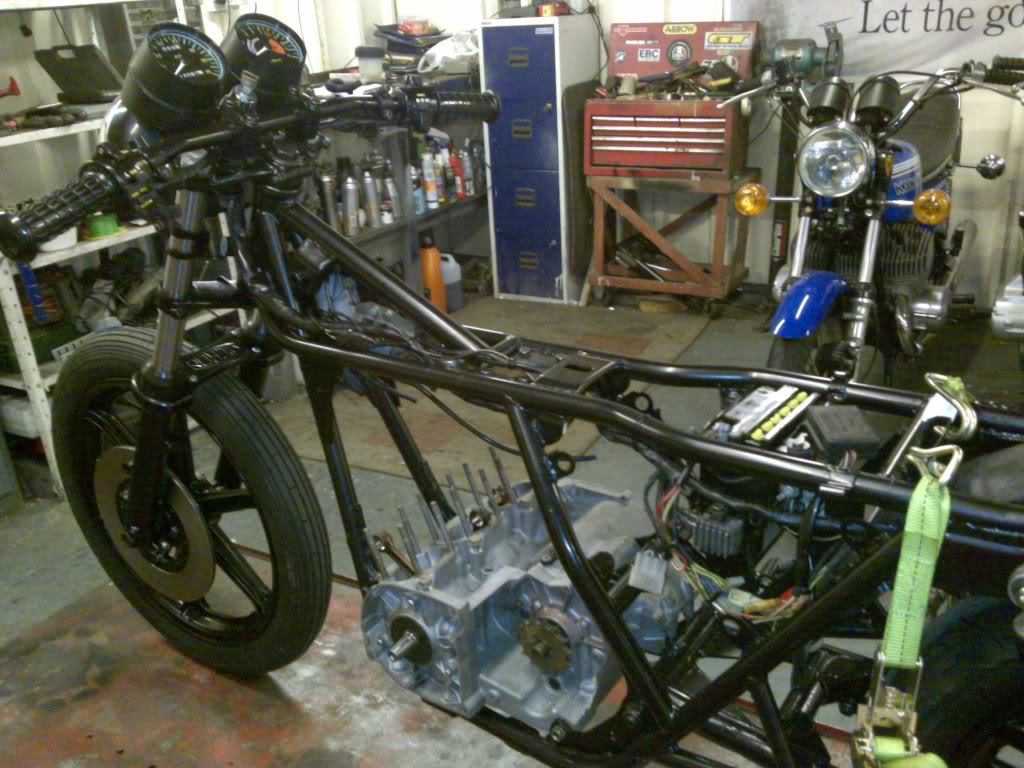
Well this is what I started with. Its a standard kh400 engine. Luckily it came with the loom, cdi, coils etc so is ideal for this project as I envisage a high revving motor so the cdi will hopefully give an accurate spark at high revs.
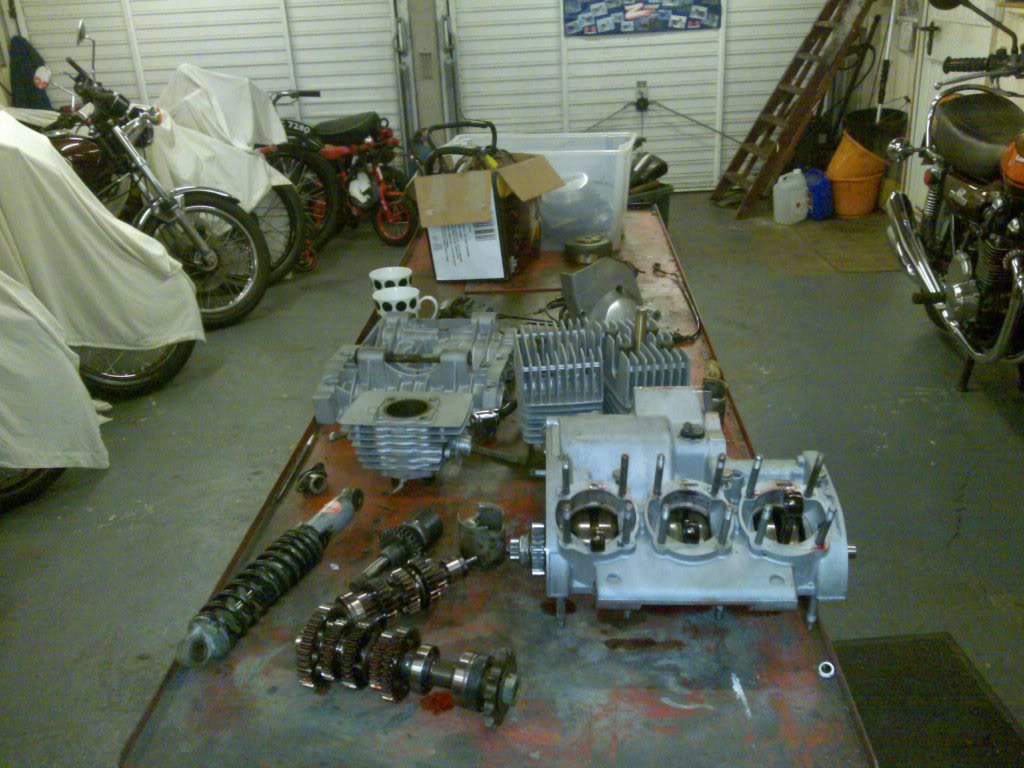

I got to looking and thought that if it wants to take off quick then it may be wheelie prone?
As a little aside I have taken
professional advice and these are absolutely "S series porn"
![]() ...picked them up today....
...picked them up today....

They are pwk 28's.There a lots of Chinese
copies about but these are the puppies originally from a kr1s and are easy to
tune according to my man. As an aside 3 of these weigh about the same as 1 h2
mikuni and are nice and compact.
![]() I bought 4 for 85 quid.
I bought 4 for 85 quid.
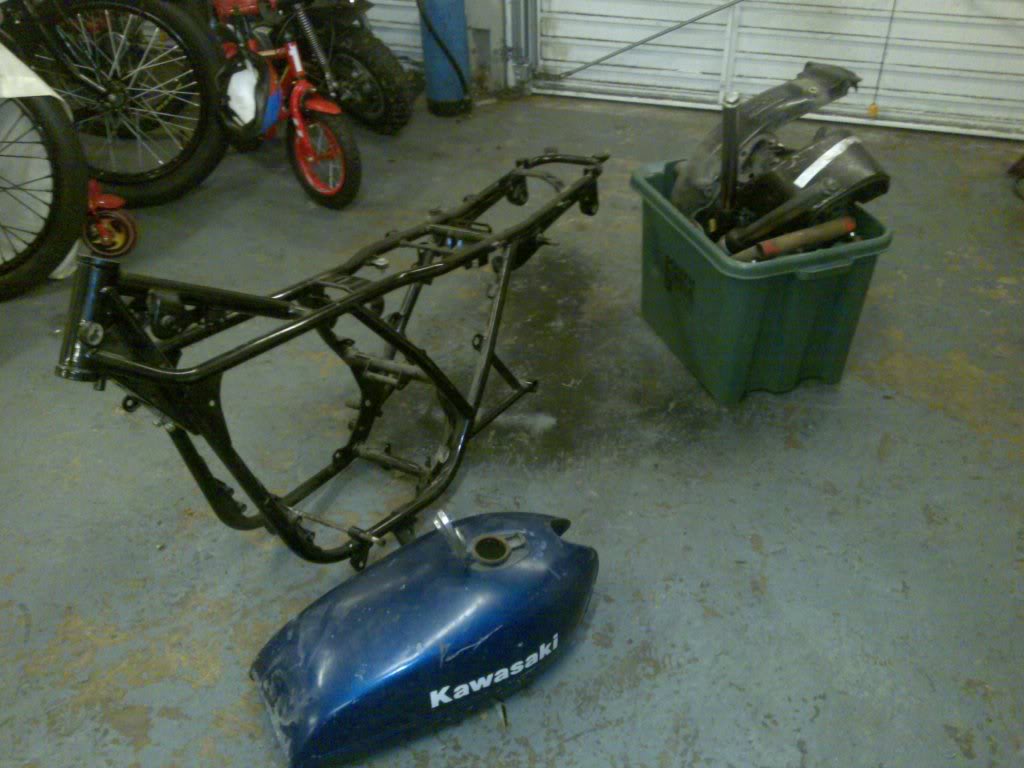
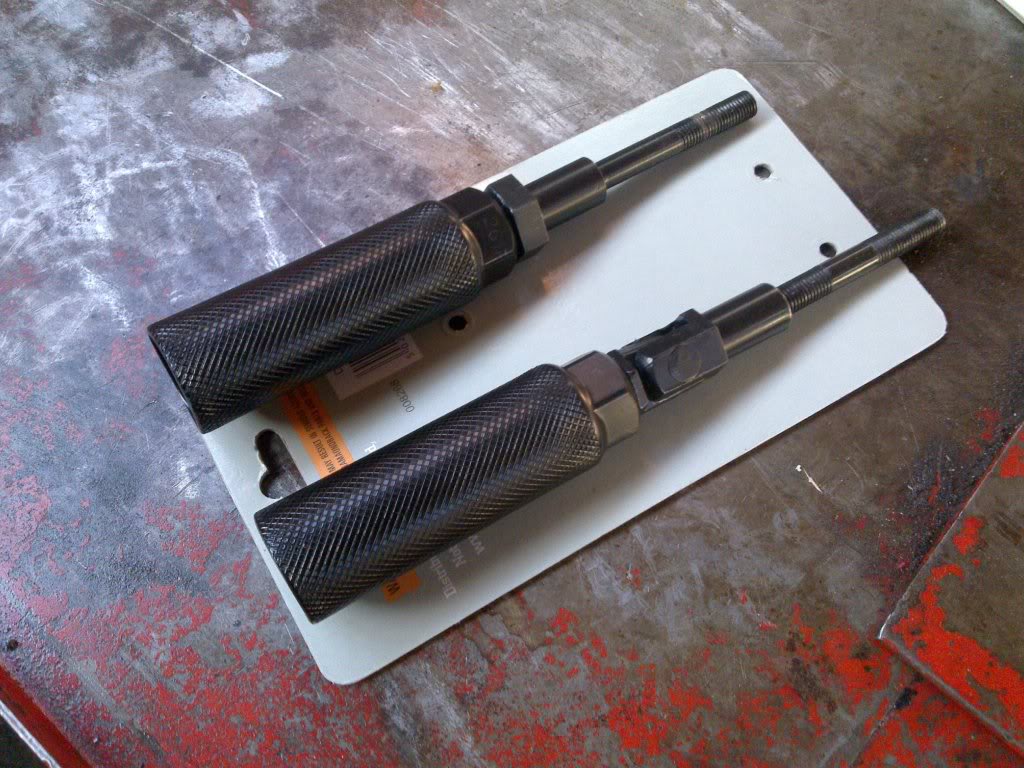
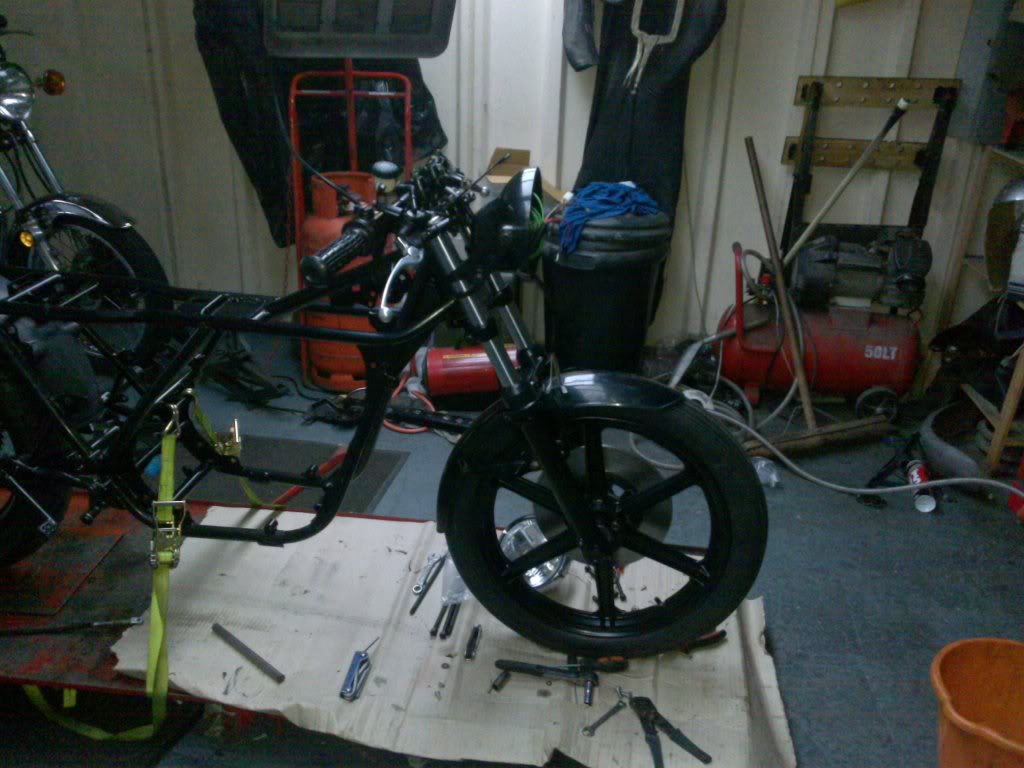
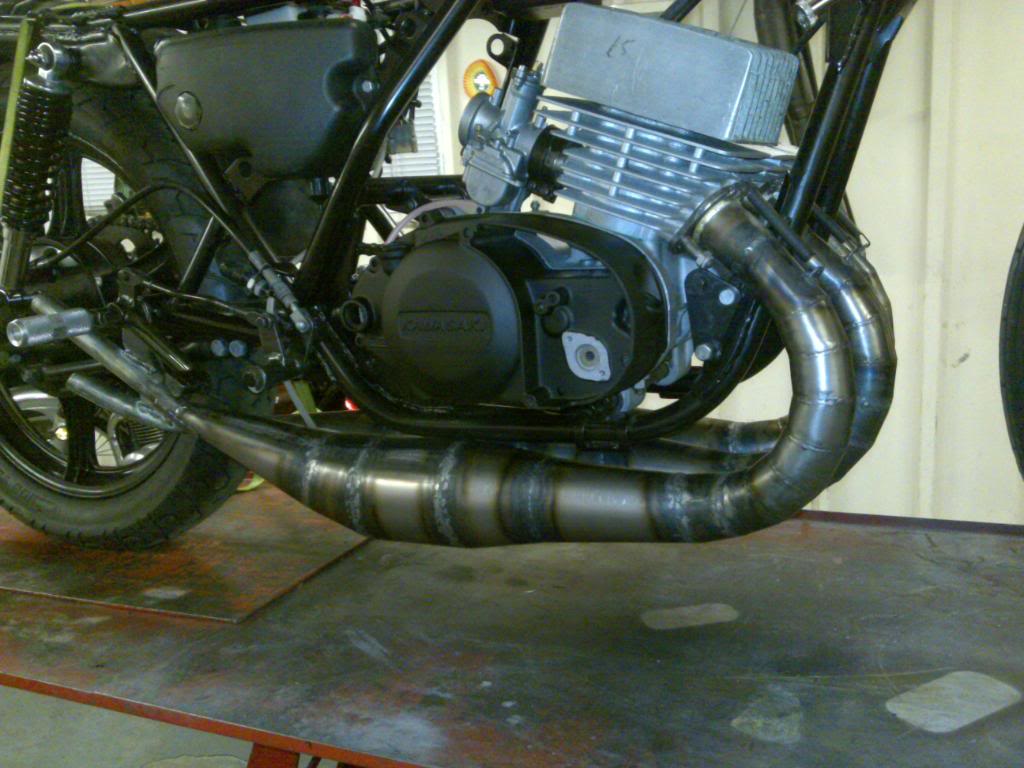
So anyway, out with the hacksaw, angle grinder and welder to make the swing arm 50mm longer.
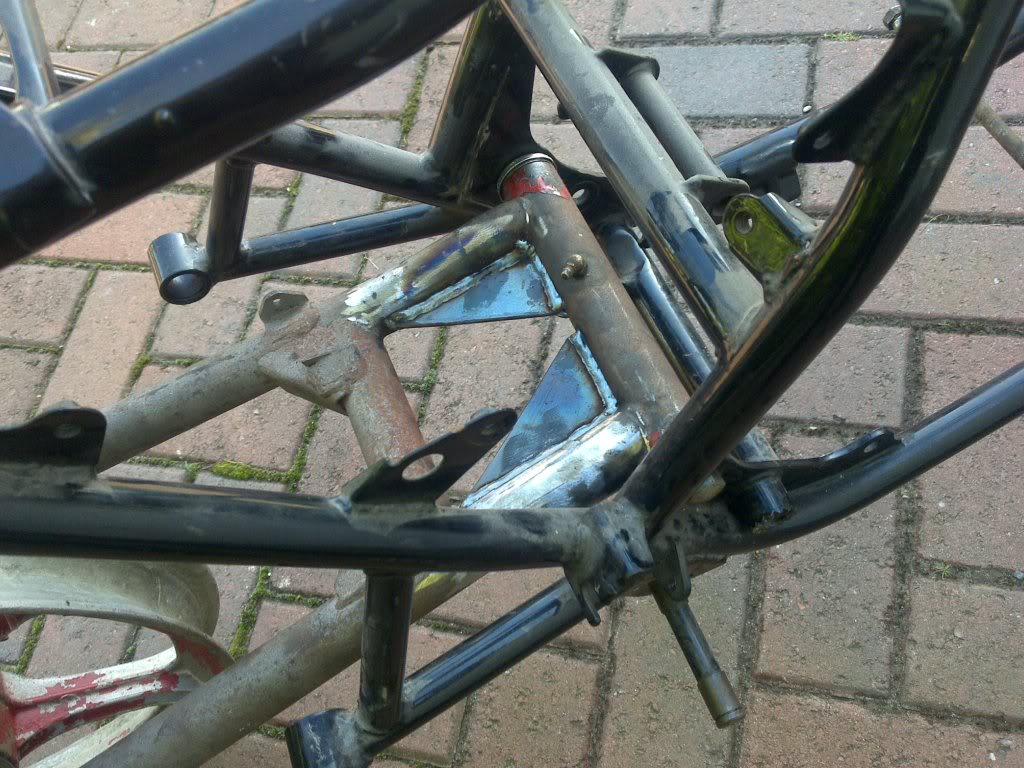
I am really pleased with the look. Chain adjust is midway on this pic.
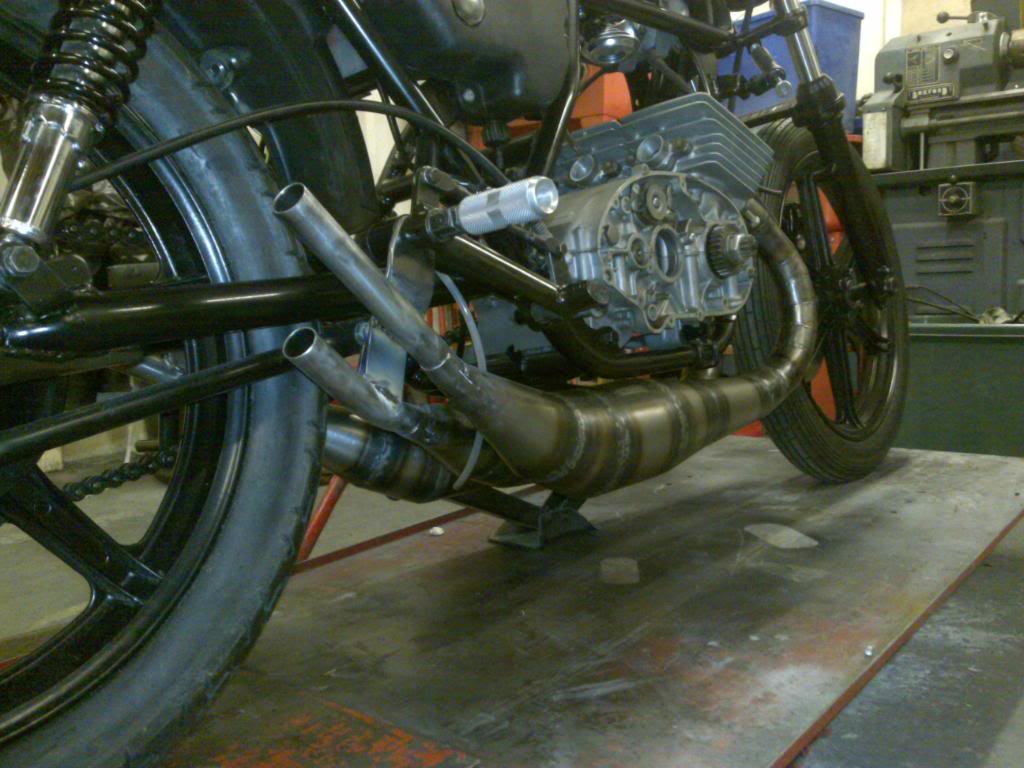
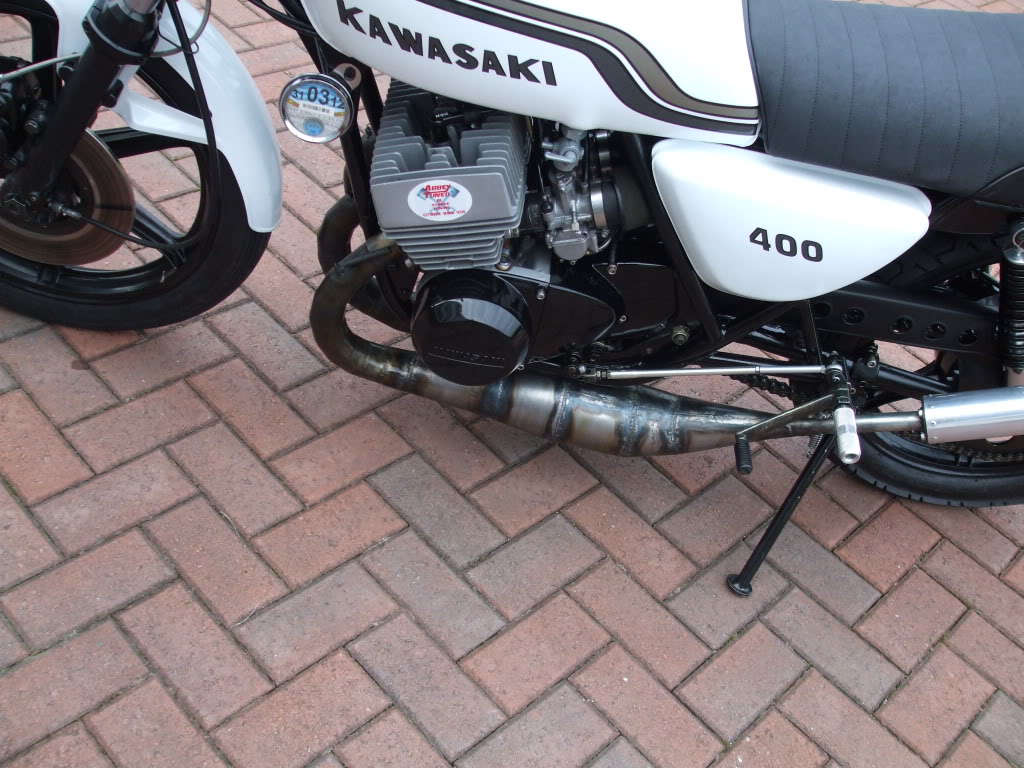
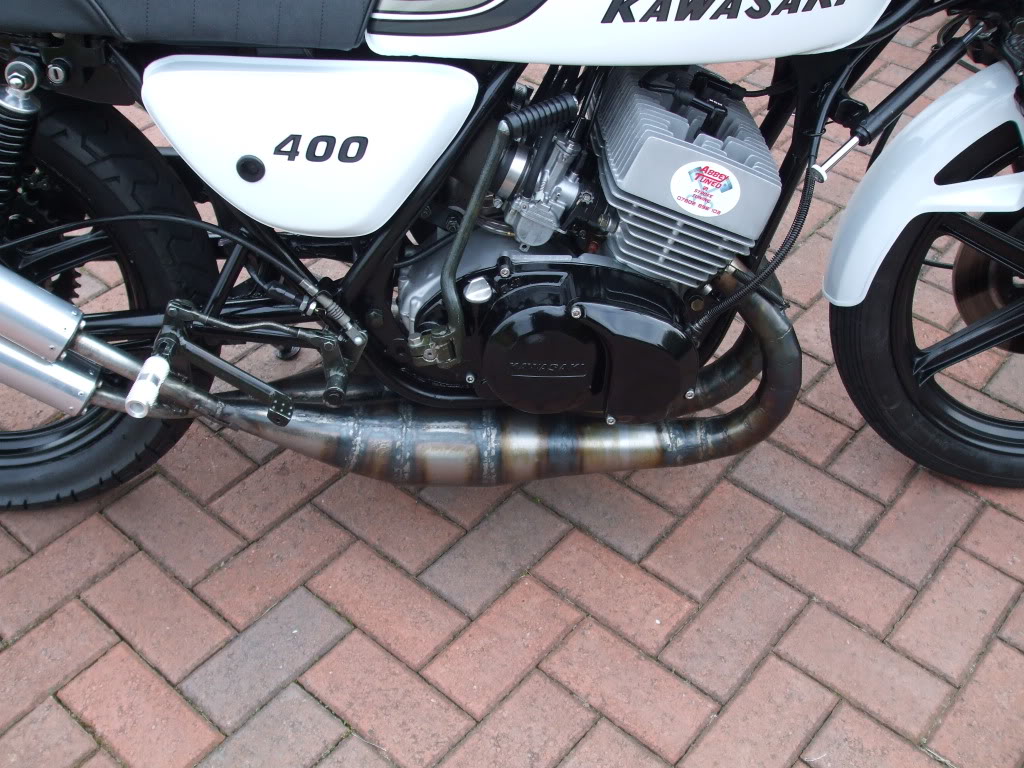
My only quandary is that to maximize the pipes I will need to cut off the lower exhaust brackets, centre stand brackets and side stand brackets. To leave them on will compromise the pipes. I was thinking of modifying some original manifolds by cutting off the original stubs and welding some 35mm tube on at the correct angle and then joining with a straight rubber.
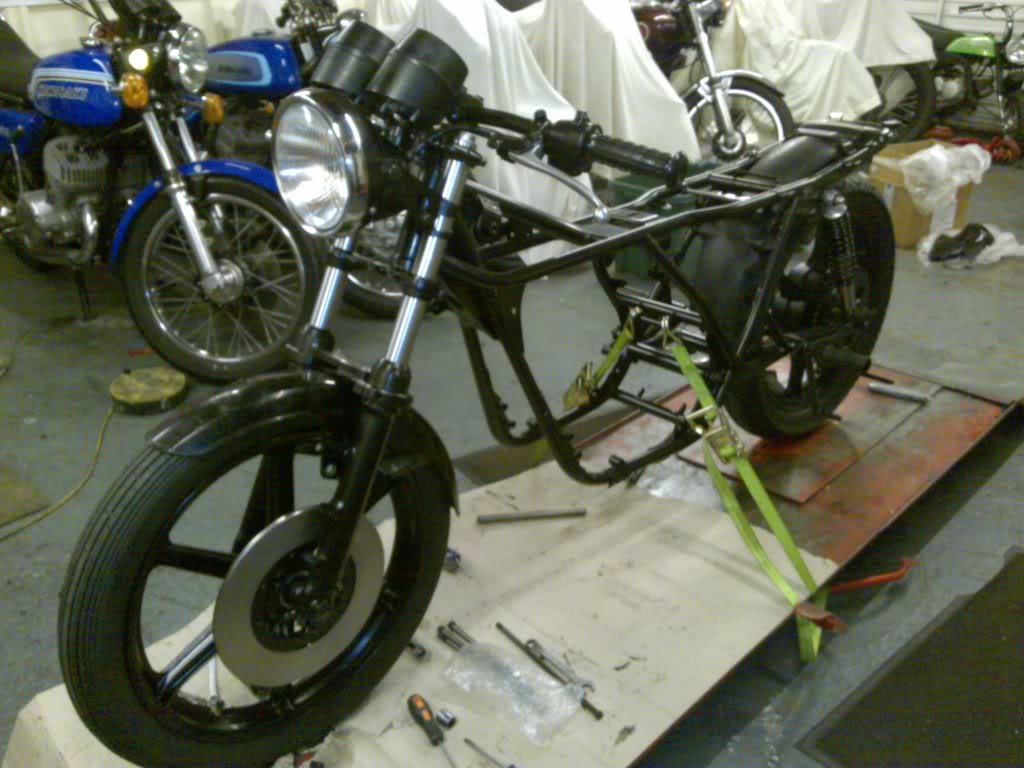
Well I have been very busy on the bike,
but its just stuff that is hard going and doesn't seem like much but is. ![]()
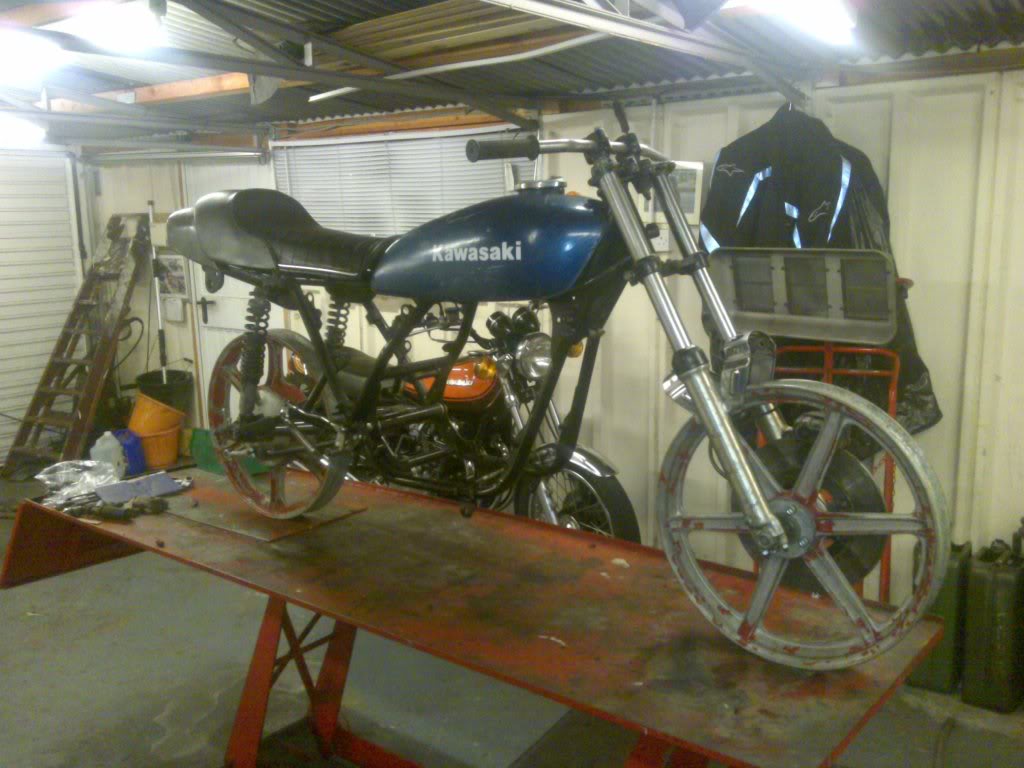
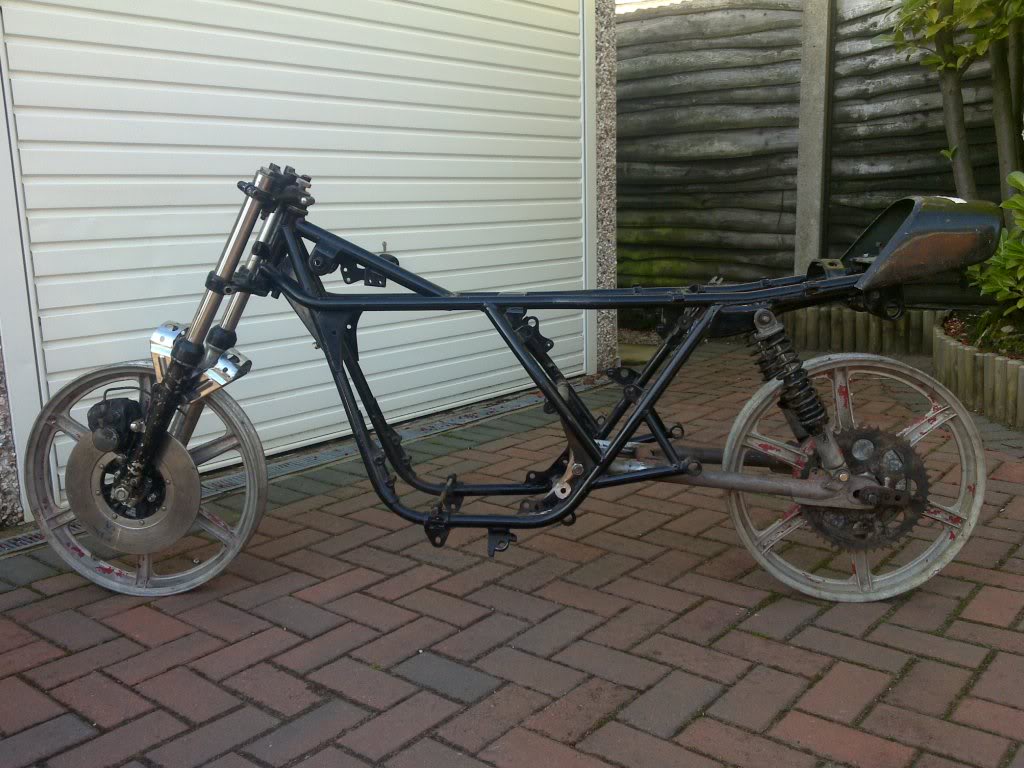
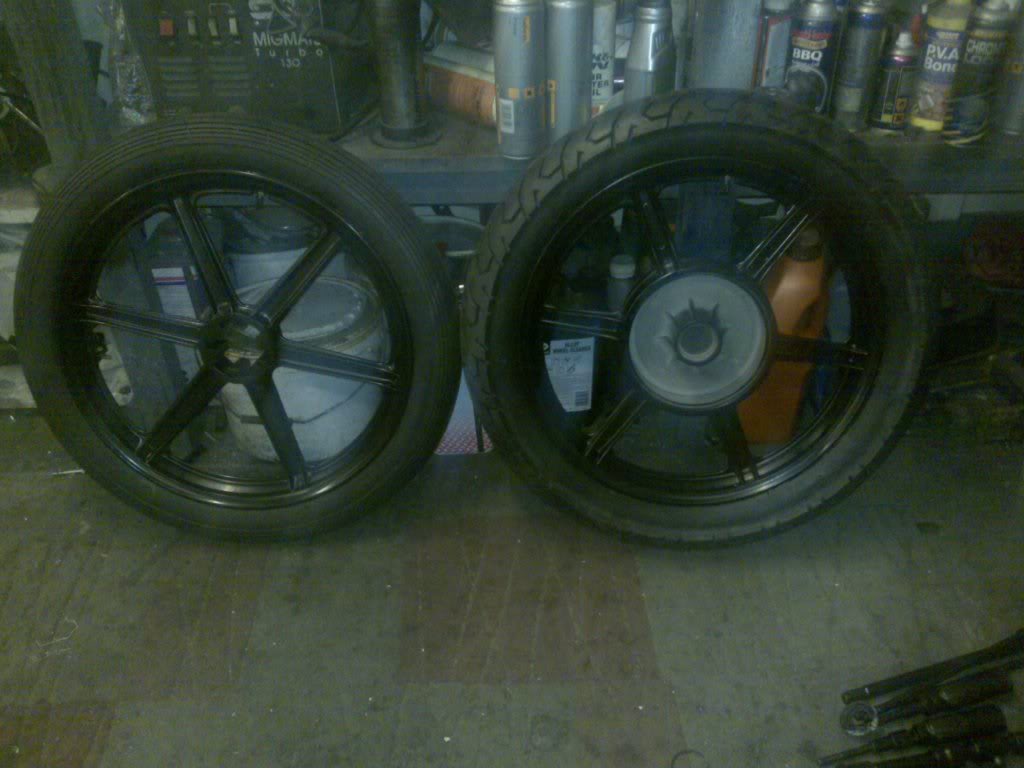
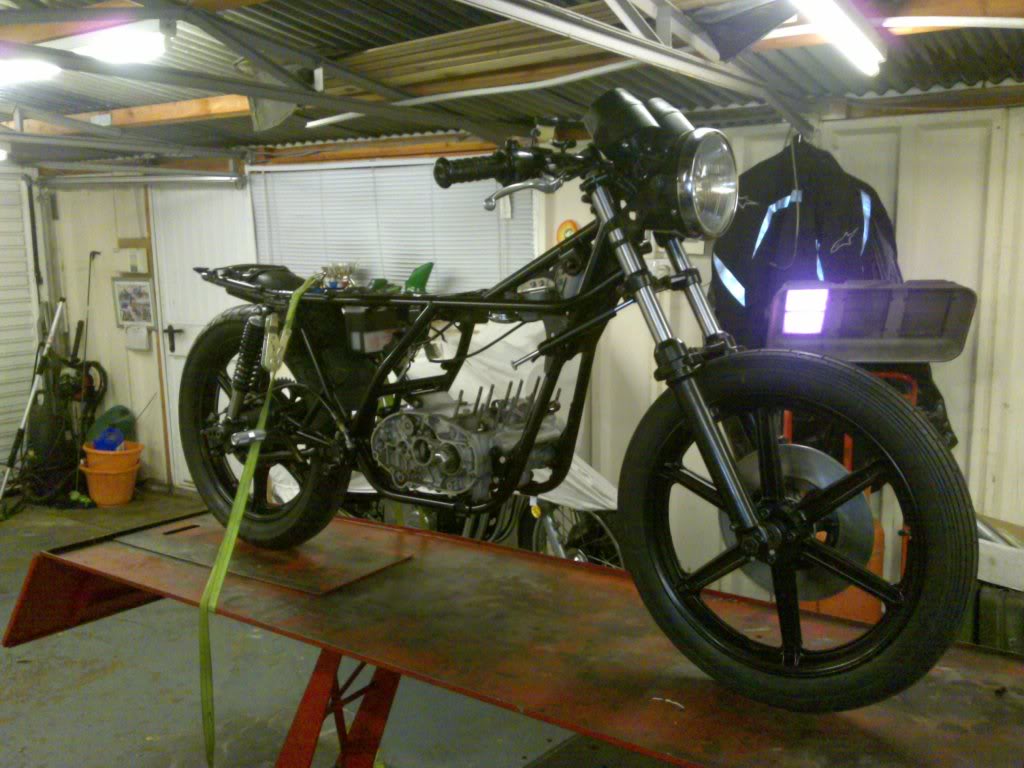
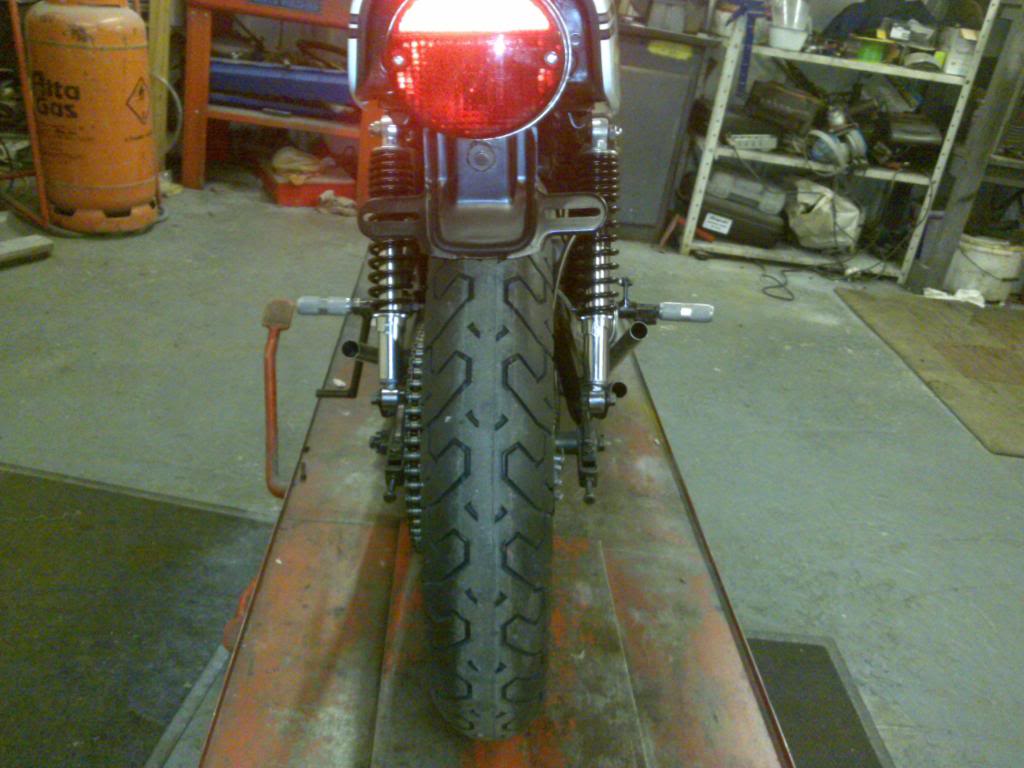
I have fitted the tyres and turned it into a rolling chassis of sorts. I have
also put a spare set of '72 clocks together and done a trial fitting with the
repro headlamp and brackets. I am going to do the tops of the stanchions satin
bike so that they appear to blend into the headlamp ears which have those lovely
circles in them the same as the '72 chainguard I am fitting, all very 70's and
sort of a running theme. ![]()
I have fitted the '72 front fender temporarily although i will use a plastic
version as this one weighs a tonne.

I have also been doing some work to get
the pwk carbs a fit on the barrels without clearance problems. I would of liked
to use Simon's adaptor brackets and h2 rubbers but my man has said that he would
prefer the original manifolds to be modified as they fit the contour of the port
better. I am acting on instruction from him and need to tow the line as he has
been very clear what he wants me to do to get this motor really "going".
I did take some cracking photos of the mods to the inlets but then dropped my
phone and smashed it
![]()
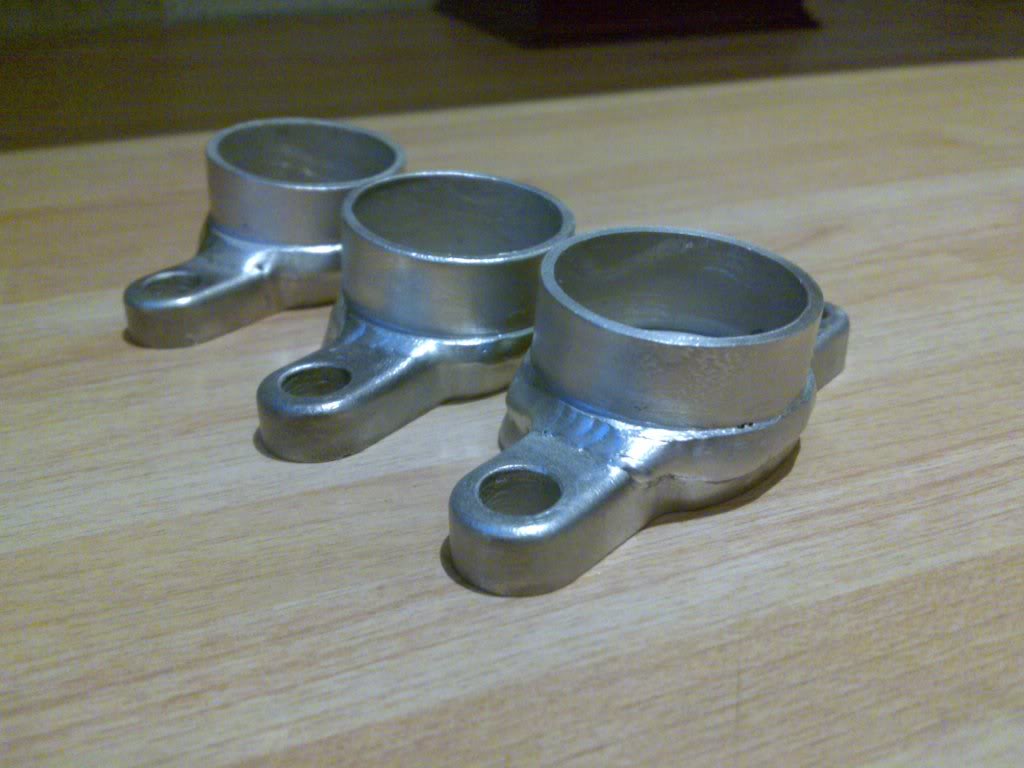
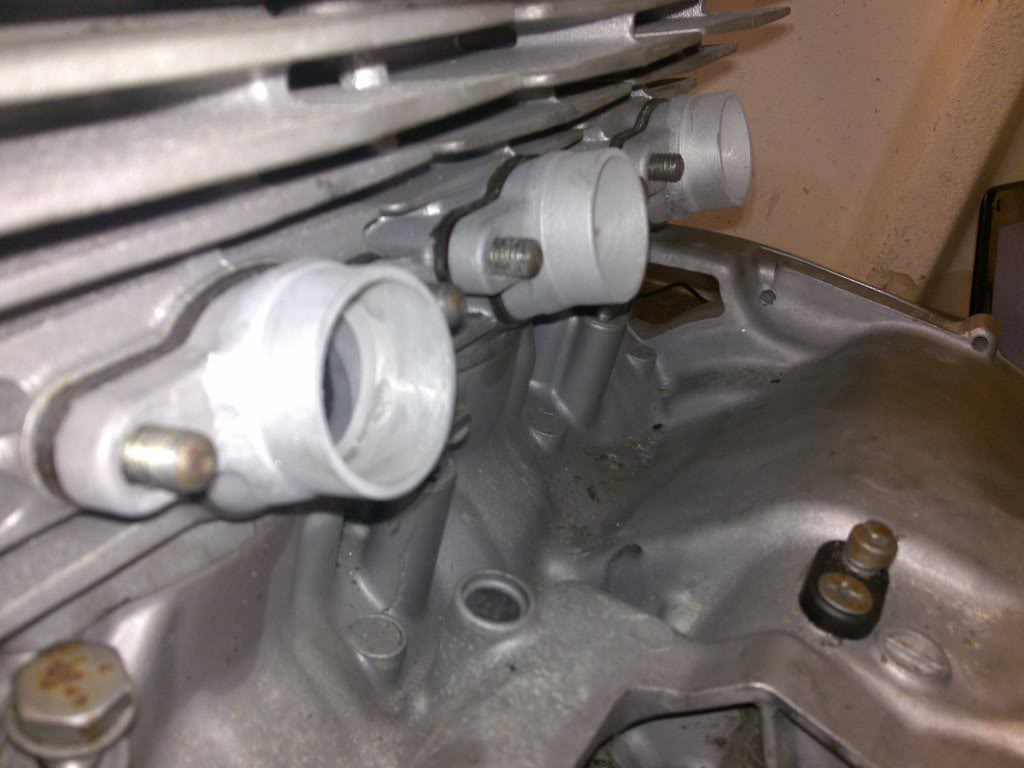
Basically I made an adaptor plate so that i could machine the manifolds down in
the lathe so that they are basically a flat plate. The stubs originally point
down to keep the carbs level, but with the pwk keihins the carbs need to be
angled up to clear the crankcases and of course the inlet pipe is now 35mm
external and will be joined to the carbs with parallel hose. I bought some tube
from eBay and filed the correct angle on the tube before I had them welded. I
finally had to machine the weld back slightly so that there is enough meat for
the hose to clamp to.

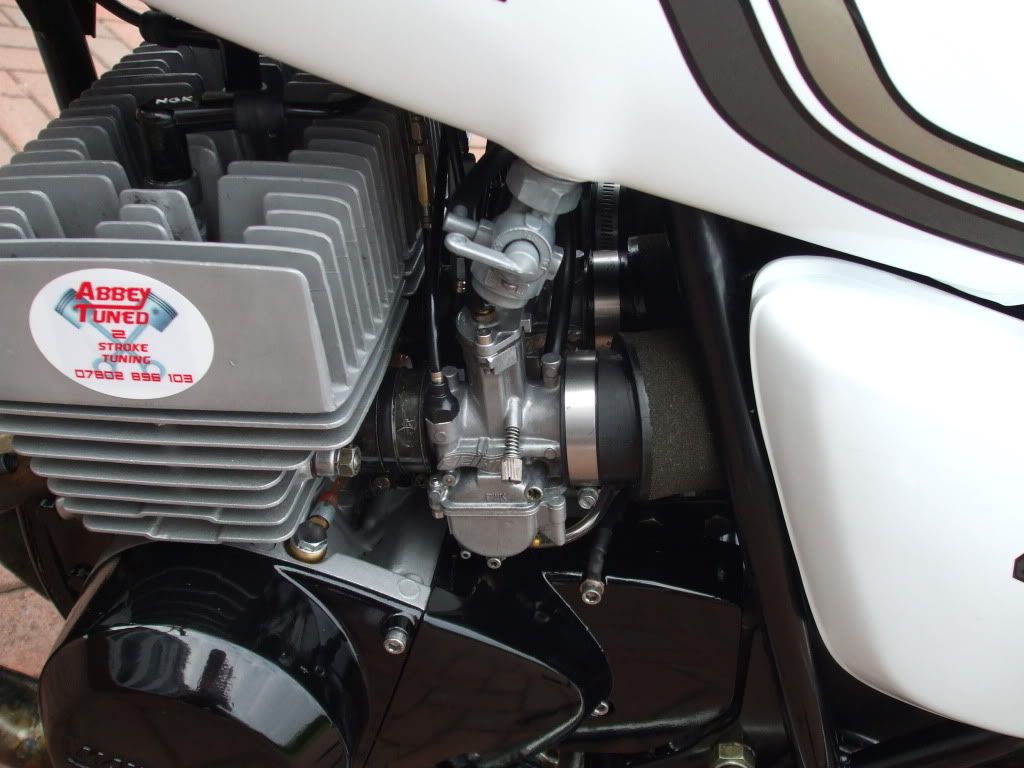
I did a little more work on the carbs on
friday and have modified them to take standard triple choke and throttle cables
which will give me the flexibility to run an oil pump if needed.
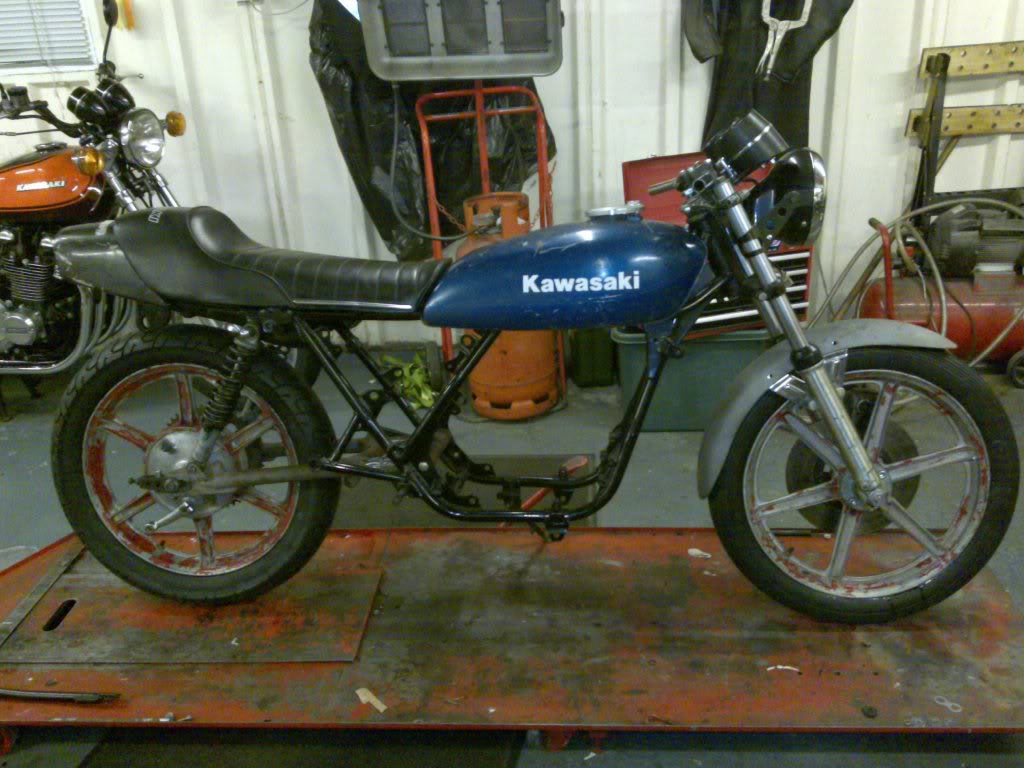
I was so pleased with the results that I couldn't resist and tried them on my s3
![]()
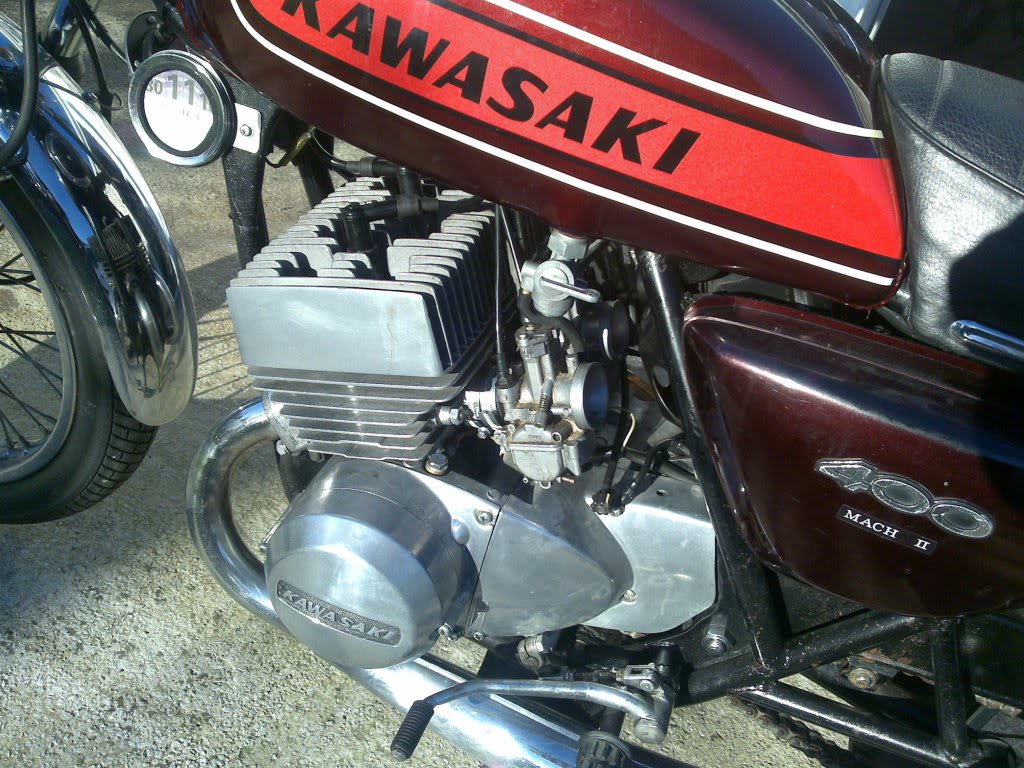
It is totally on standard kr1-s settings
but i just wanted to satisfy my curiosity as to whether it would run on these
carbs. It did start easily and settled to a pretty good tickover and felt super
responsive to the throttle. I did give it a little run up the road. The top end
was as you would expect for a standard 400, i.e., it felt like hitting a wall at
8000rpm but the midrange was astonishing!!
![]() I really couldn't believe it with no adjustment. If it can fatten up the
midrange with the tuned engine then I'll of cracked it.
I really couldn't believe it with no adjustment. If it can fatten up the
midrange with the tuned engine then I'll of cracked it.
Anyway back on with the chassis this week.
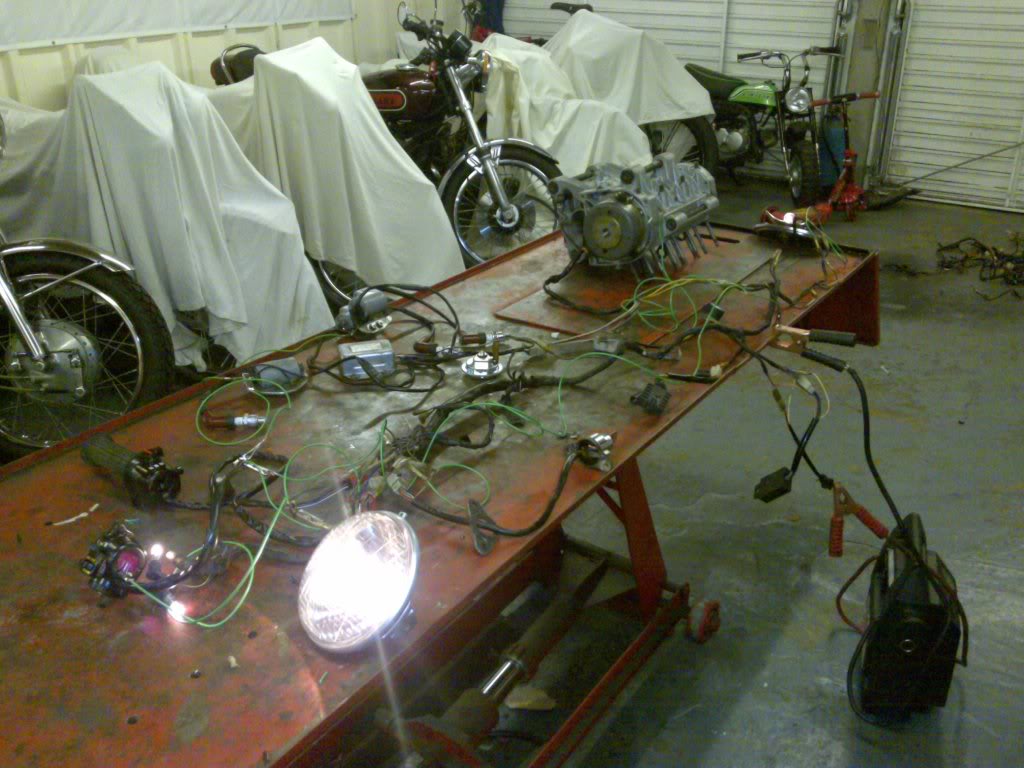
The frame, wheels etc are still not finished so I have cracked on with checking some of the electrical parts over. The loom that came with the engine had been butchered so I did the repairs as best I could and did a bench test with the switches etc connected but was unable to get the lights etc working. Simon kindly left a few looms with me to try so I had a dry run this evening and connected everything up including the ignition system. Success.... everything works and the plugs sparked with me just gently spinning the crank by hand, which is a good sign. The green wires are a ground circuit with croc clips to test.
I have also been to collect the zinc from the platers.....and its black zinc
![]() ....all of it
....all of it
![]() ....It doesn't look particularly special in the pics but in the flesh it looks
great...less is more
....It doesn't look particularly special in the pics but in the flesh it looks
great...less is more
![]()
I have been to collect the paintwork this afternoon. Its all a lovely satin and I am pretty pleased with it. Don't worry about all the black, the bodykit will provide the splash of colour.
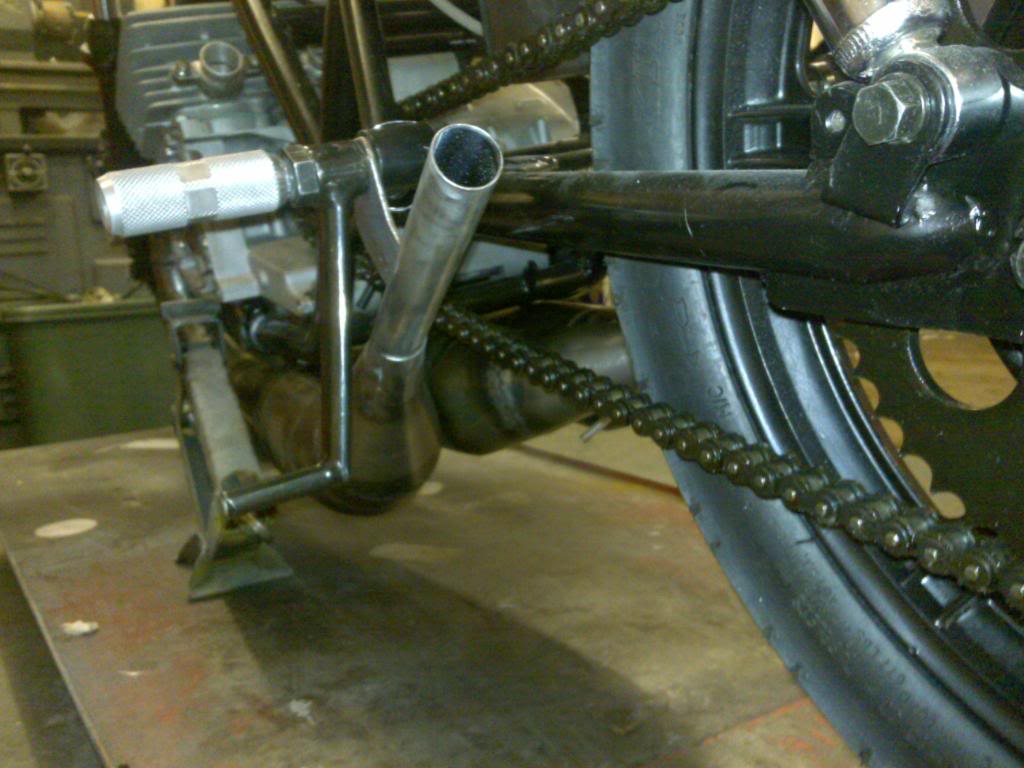
As an aside I have been trying to make a
tidy job of the rearsets. I have welded up the pivot holes and re-drilled to
make the pivots a nice fit. The next problem was a footrest rubber or similar
that would fit in with my "dark destroyer" color scheme
![]() ...After giving it some thought I have bought some bmx stunt pegs from Halfords
...After giving it some thought I have bought some bmx stunt pegs from Halfords
![]() and modified them to fit. The thread in the stunt pegs was 26tpi cycle thread
so I have retapped them 10mm fine. I am pretty pleased with the look. Again I am
enjoying the freedom of using what comes to hand and does the job.
and modified them to fit. The thread in the stunt pegs was 26tpi cycle thread
so I have retapped them 10mm fine. I am pretty pleased with the look. Again I am
enjoying the freedom of using what comes to hand and does the job.
Had an hour in the garage tonight, tyres
fitted
![]() .....Believe me that keeps you warm wrestling these on in a cold garage.
.....Believe me that keeps you warm wrestling these on in a cold garage.
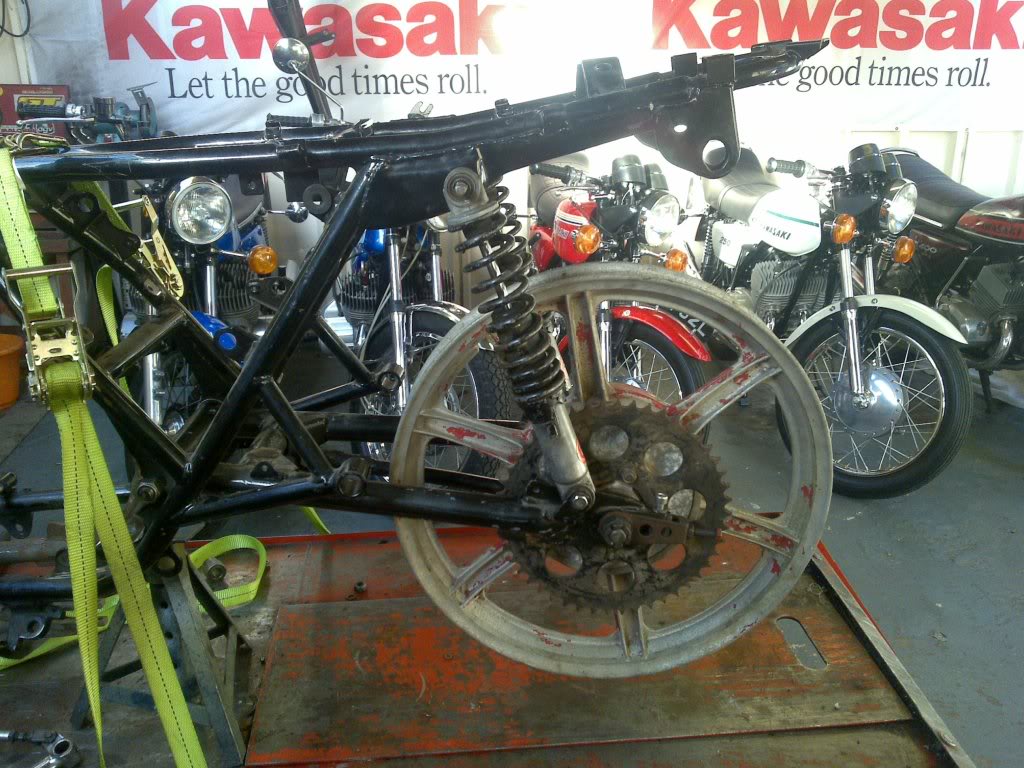
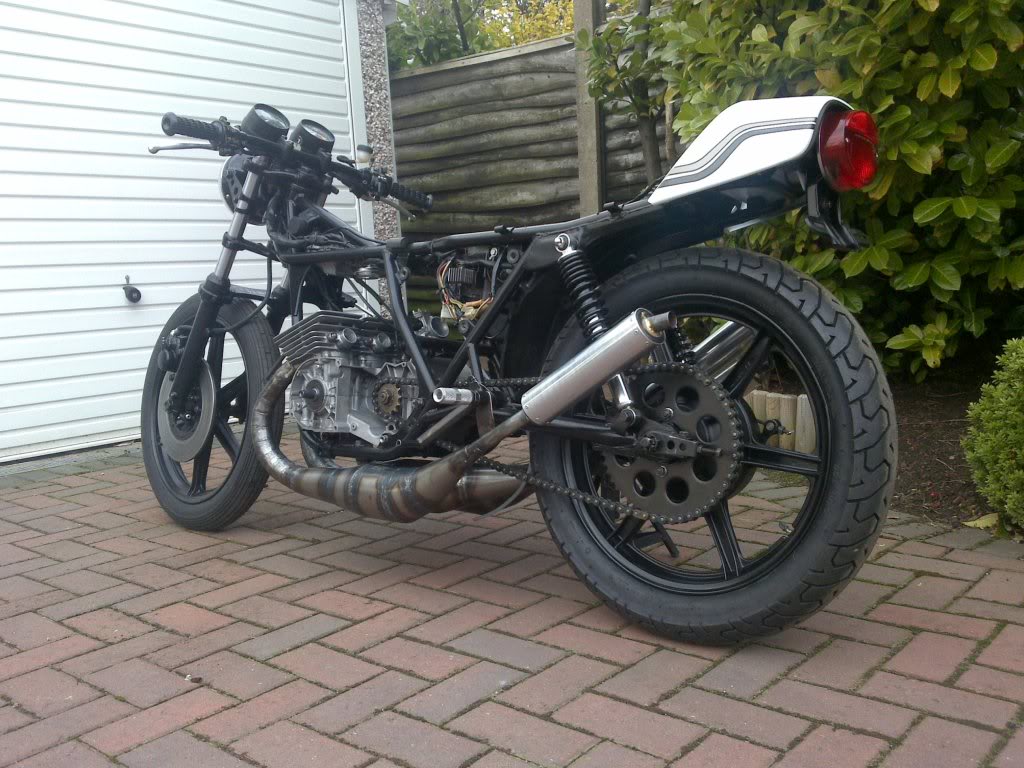
Fitted the swinger,shocks,headstock and
rebuilt the forks.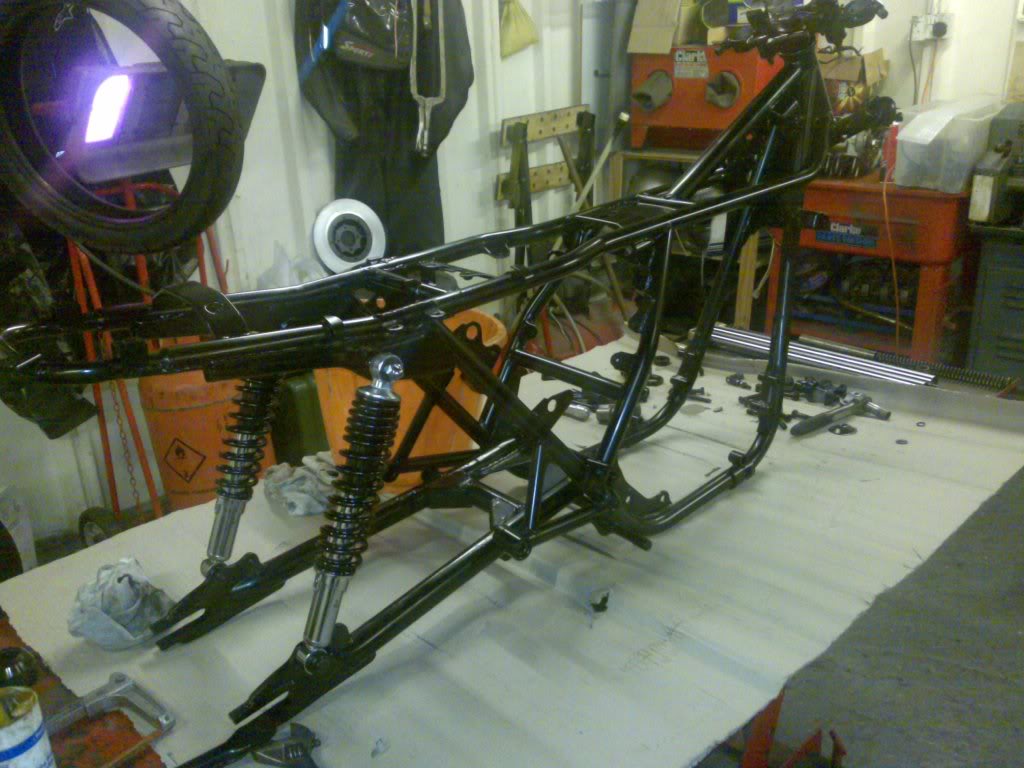
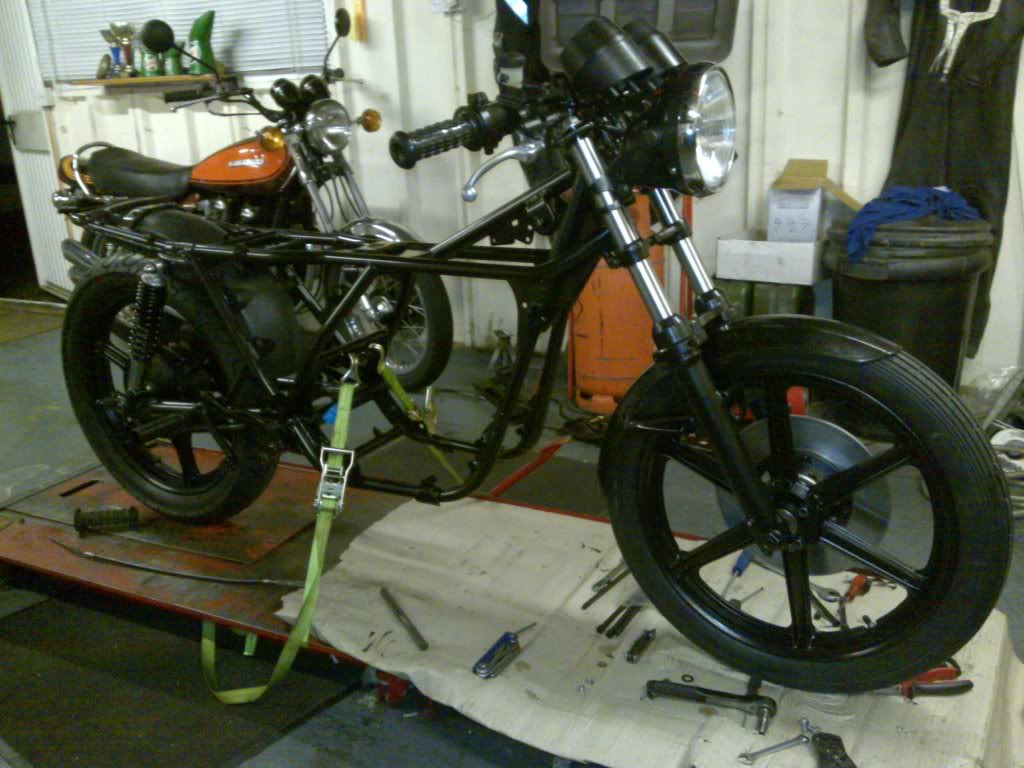
Done a little more today. Its now a rolling chassis.


A little more progress today chaps.
Zx9r-c2 master cylinder with a reservoir
from the rear brake of a 50cc trailie.
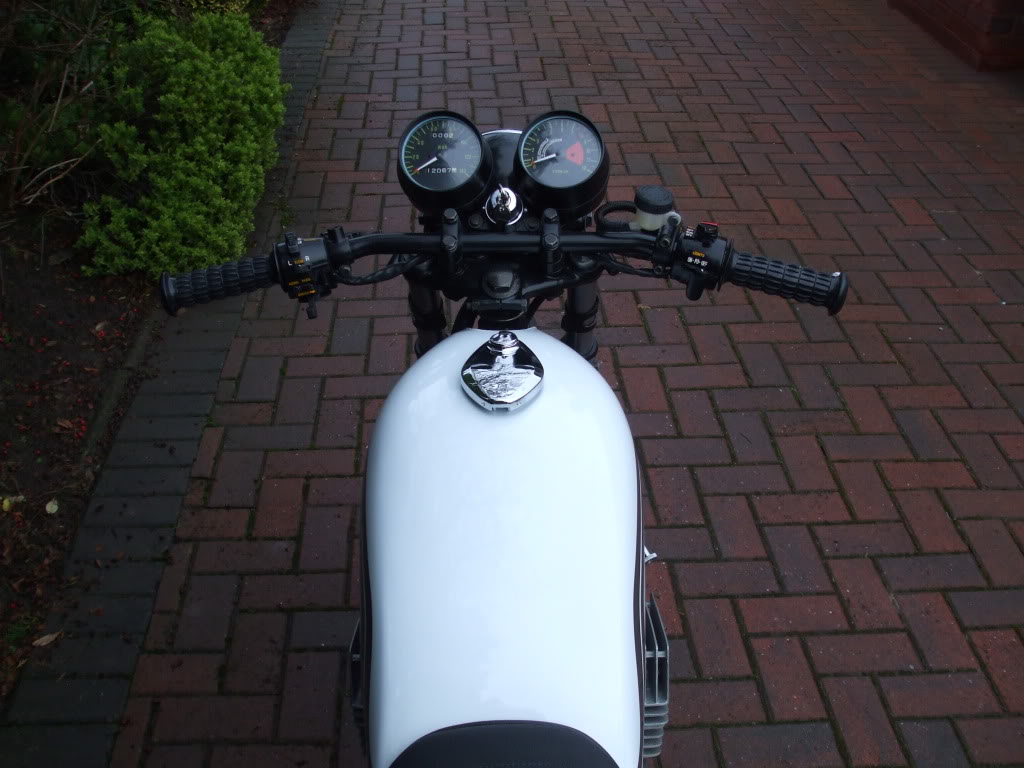
I may yet cut an inch off the bars, although I like them long as they give good
control.

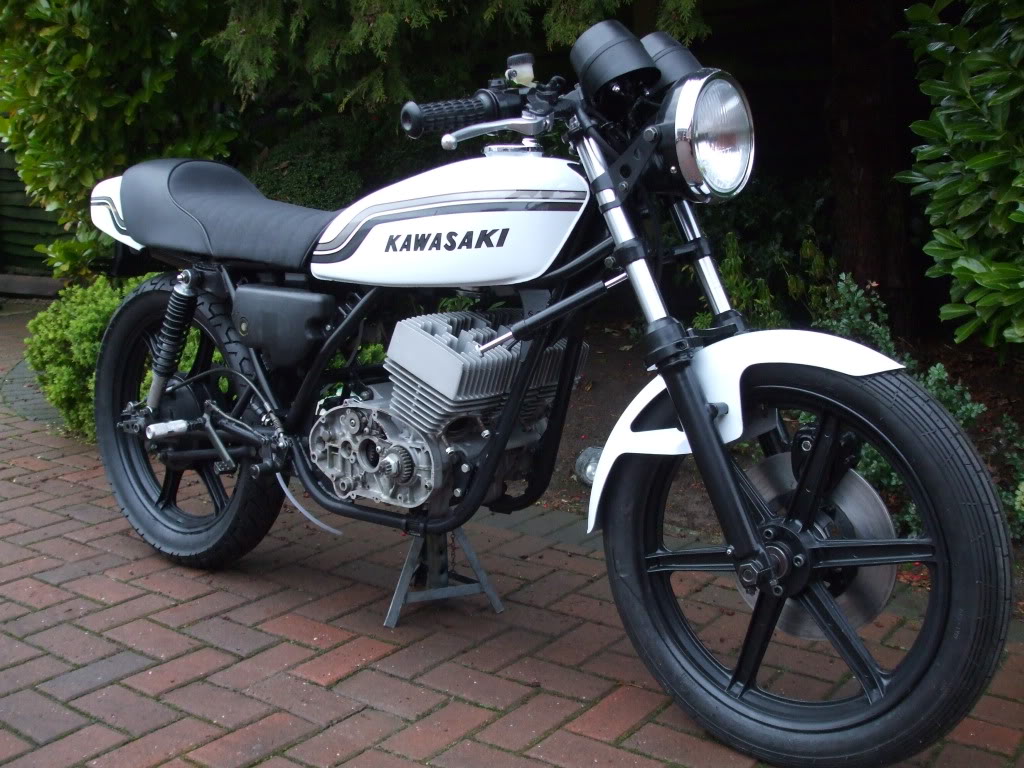
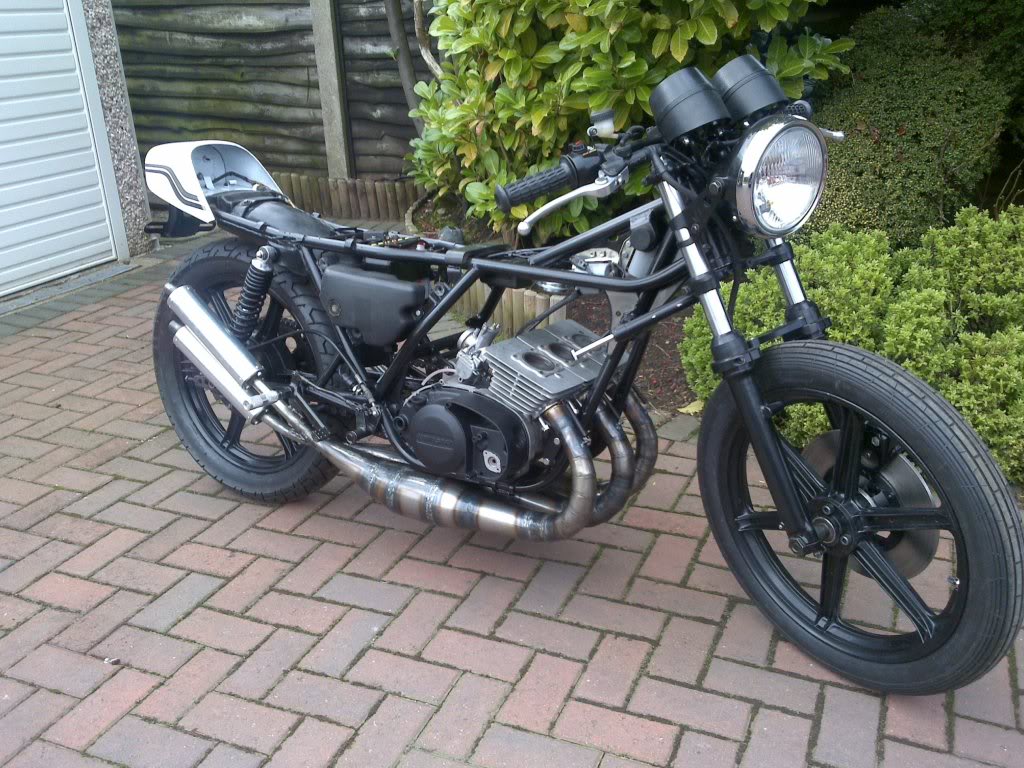
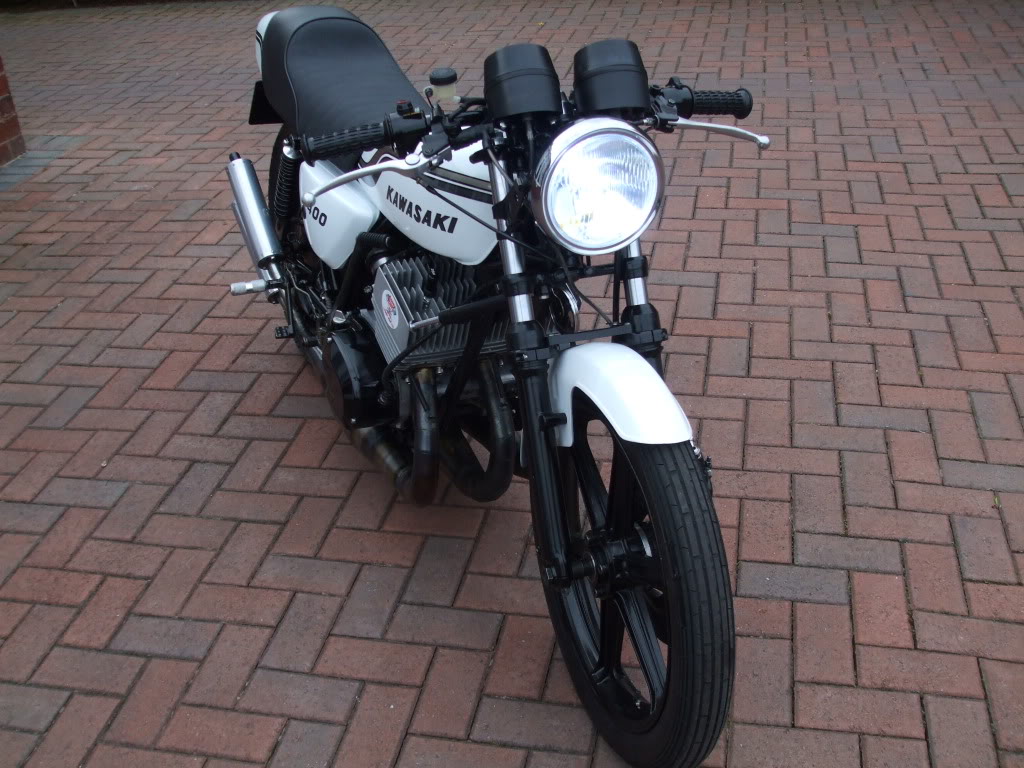
A trial fitting of the clocks, headlamp, ears, fork brace etc. The front fender will be body colour. I may yet do the upper part of the stanchions satin black.
I think the early s series meters are the
best looking of all the triples
![]() ....and I had loads to use up
....and I had loads to use up
![]()
I am also pleased with the h2 size headlamp which i really like. Normally
specials go for smaller headlamps which for me don't seem to work on an unfaired
bike. I am also pleased with the black paint as it is giving the wheels and
rolling chassis a beefy contemporary look. I have changed my mind on the body
colour and decal combination a couple of times but i have now settled on a look
that should be great and I haven't seen this on a triple before.
I pushed it outside today to see if it looks ok in the light of day. Because its a special I need to keep checking as its an unknown quantity and I don't want it ending up looking like a turd.

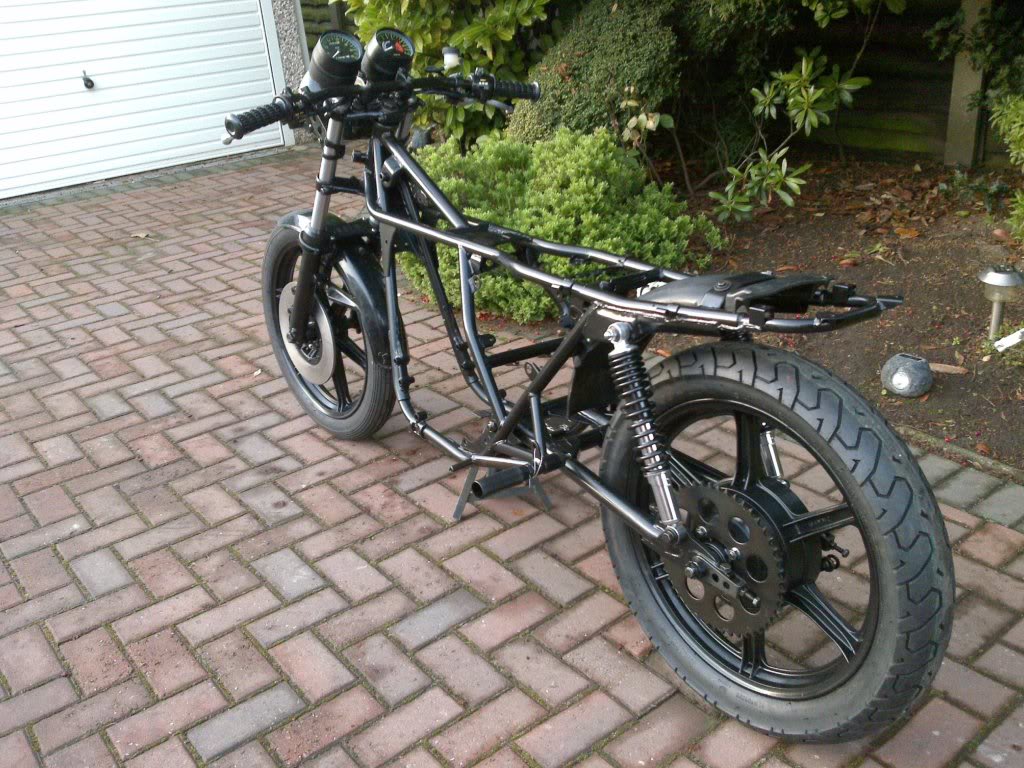
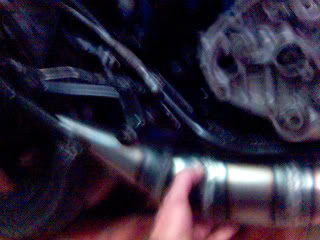
I have made a little more progress. I have wired the bike up. I had to make a special plate to mount the cdi box as this early frame does not have room to fit it. I have also loosely fitted the engine as the pipes will be made on the bike to make sure that every possible inch of space is used effectively, hence the removal of the sidestand lugs along with the centre stand brackets and the front lower exhaust mounts.
Steering damper also fitted. Totally unnecessary from a function point of view, but they always look cool as toast so its having one!
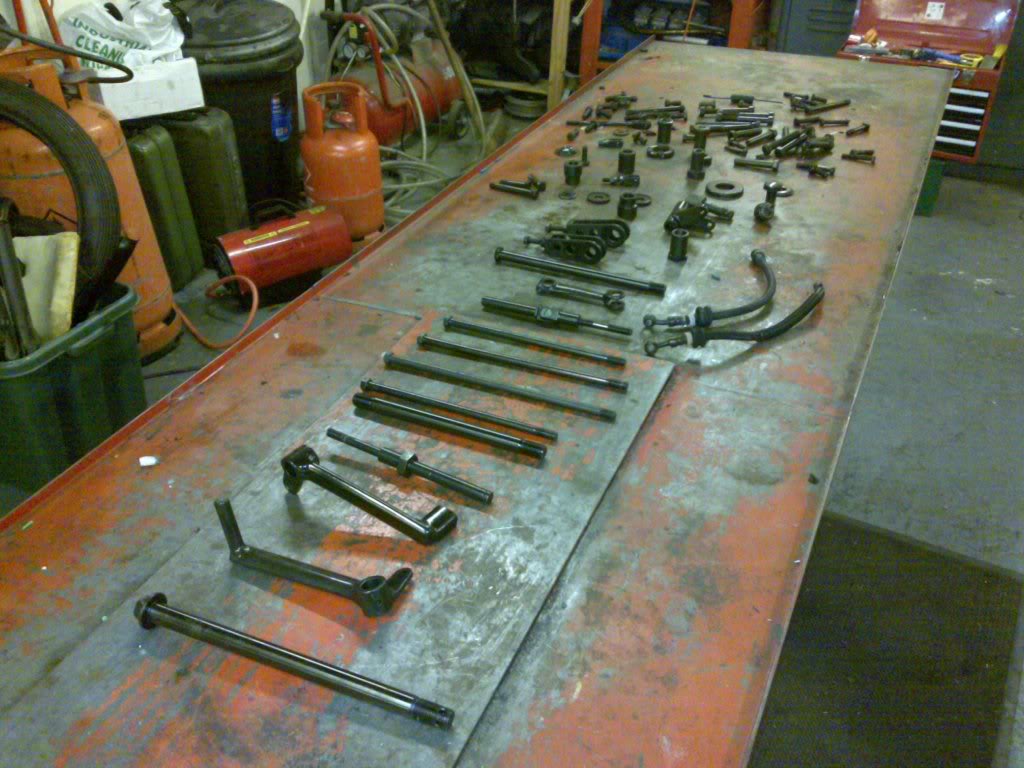
The cycle parts are pretty much done now
other than the front caliper needing a rebuild so its on with the body kit.. my
favourite.... not.. aaarrrrgggghhhhh
![]()
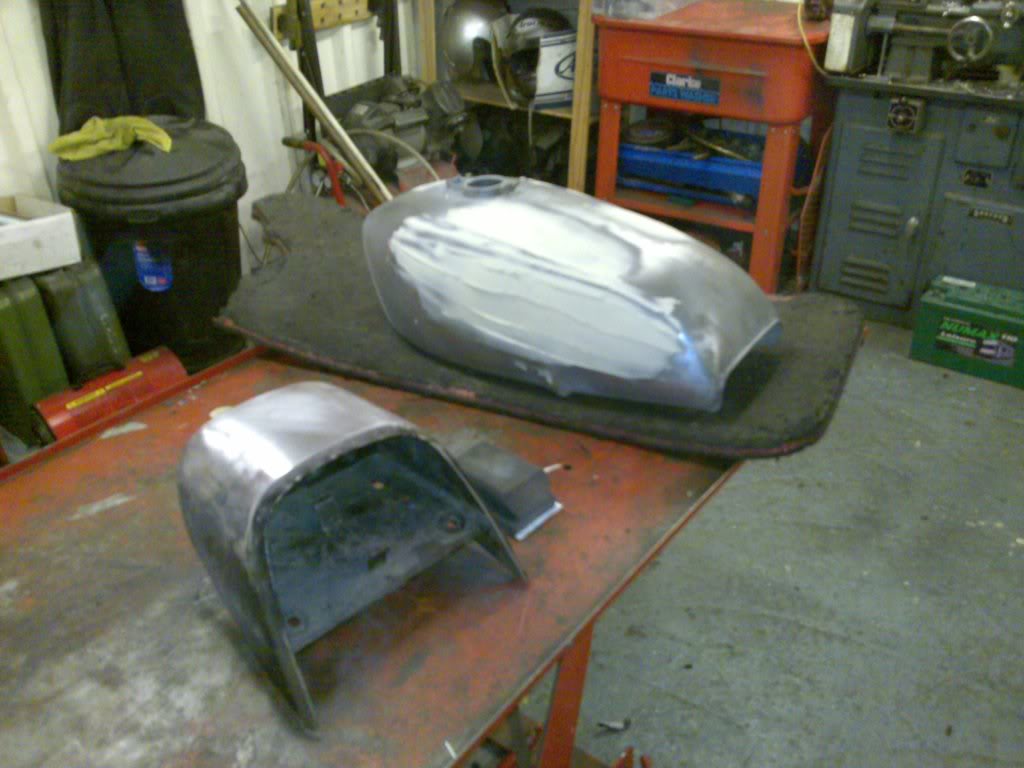
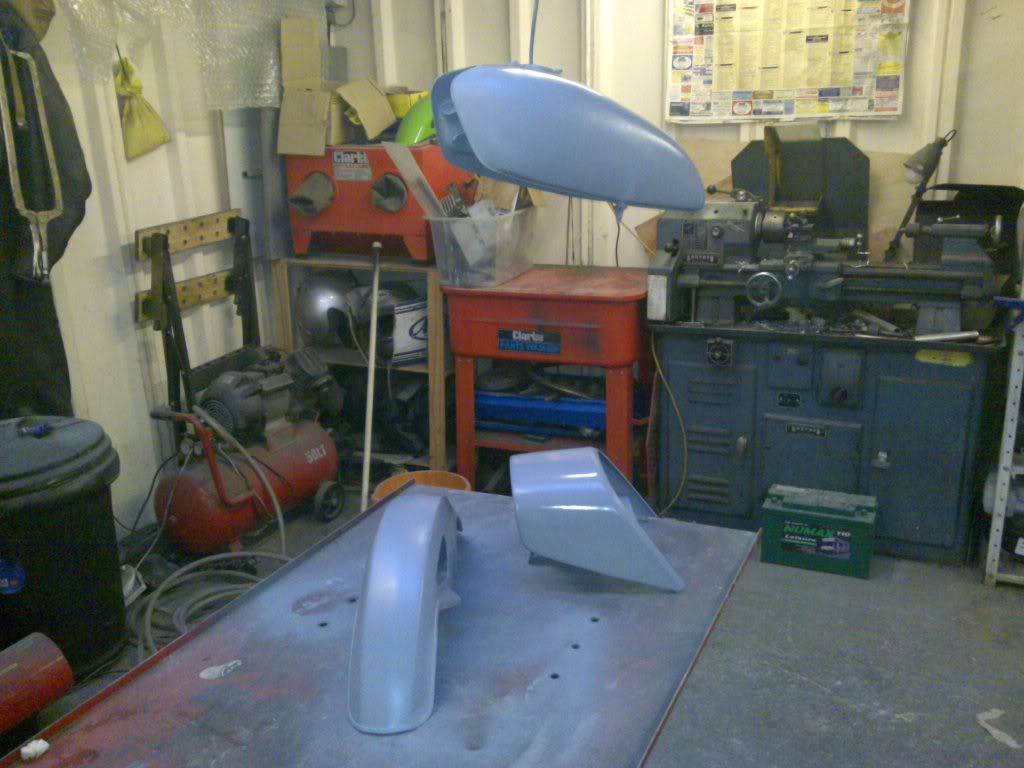
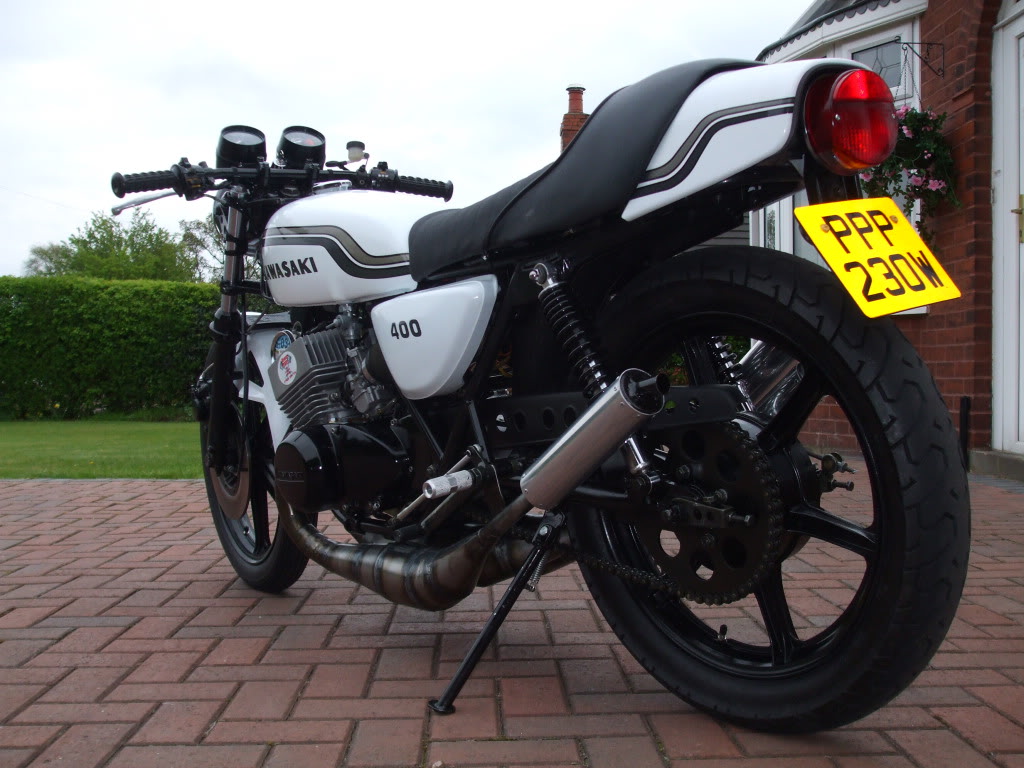
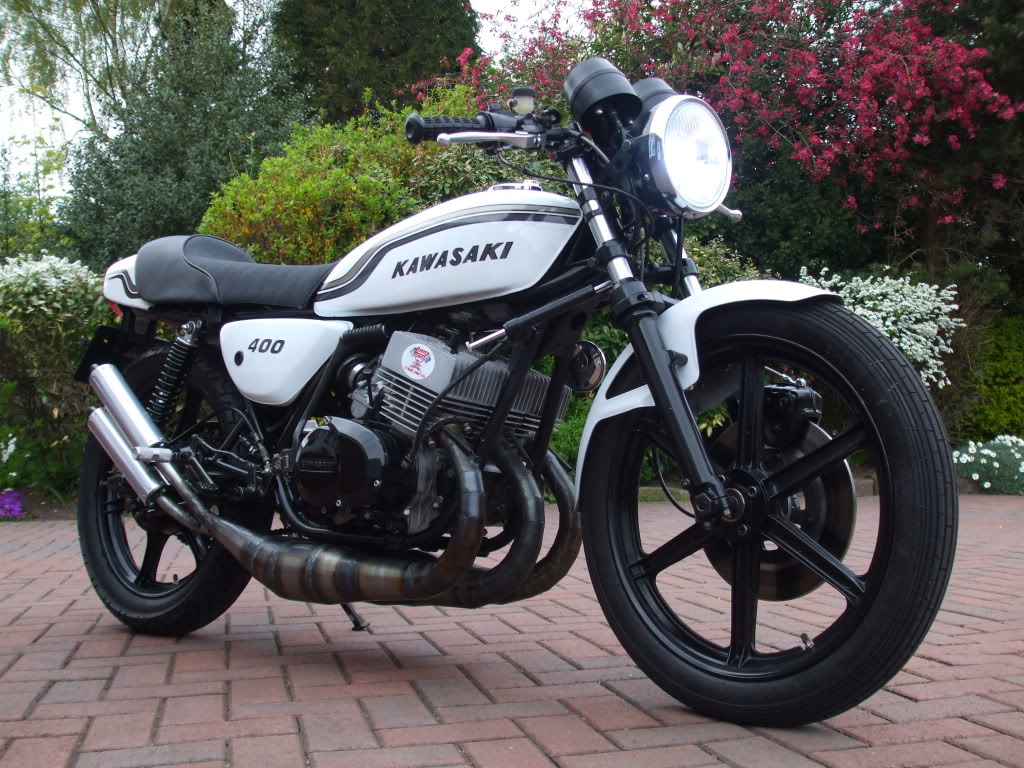
The bodywork is now in primer ready for some colour.
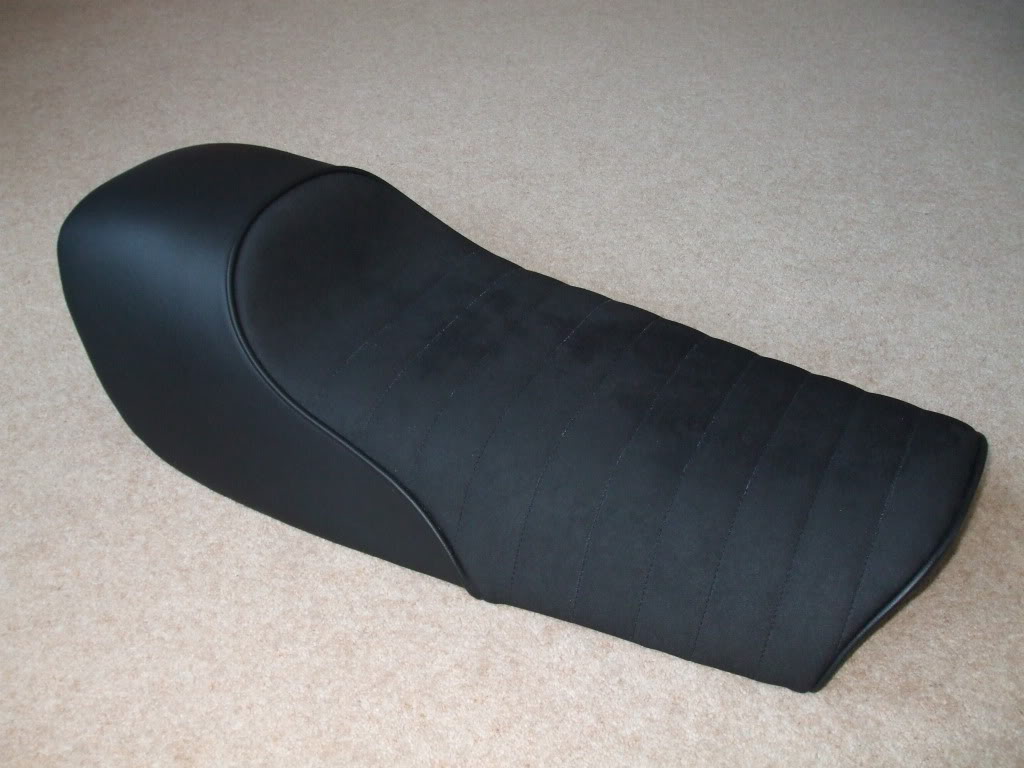
Picked up the seat today and I am really pleased. Preston car trim have again done a flawless job. The material on the area that you actually sit on is a faux alcantara made from vinyl and it all fits in with my "dull as ditch water" vision for this project.
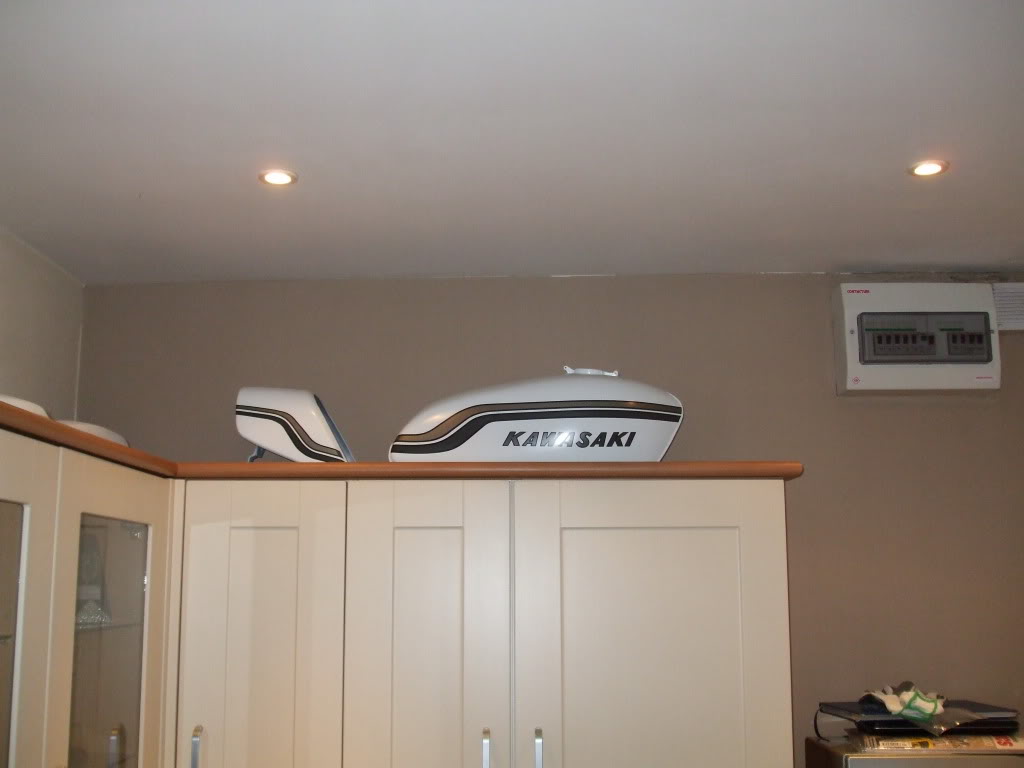
I have been quite busy and have put the body kit in basecoat and fitted the decals. I have used ford frozen white which is a real f... off white. The decals are three shades of grey. I have still to apply the clearcoat but this gives you an idea.
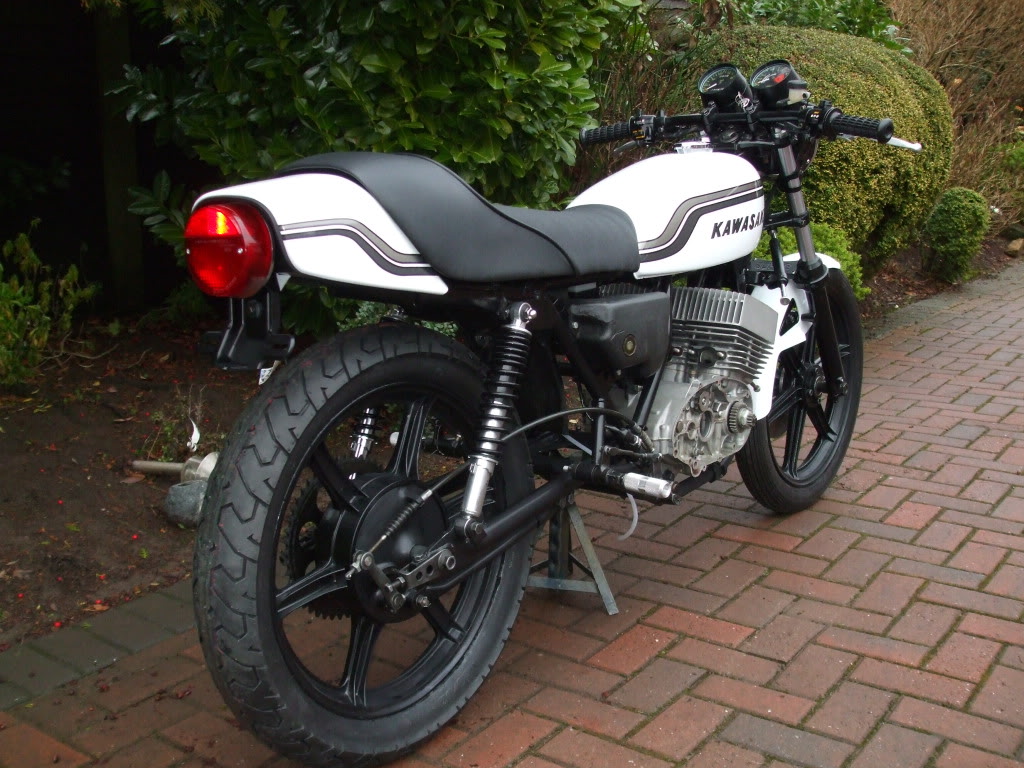
The bodywork is now nearly finished and I
am very pleased with it, so this afternoon I had a trial fitting and wheeled it
outside to see how it looks. The engine covers will be black as will the pipes.
The top end of the engine I will leave natural. The side panels (not shown) as
well as the front guard are white. I may yet do the side panels and front guard
satin black, it depends how it looks when finally assembled.
The pics do not really show how vivid the white is and how well it seems to
contrast with the grey decals, but in the flesh it looks brill.
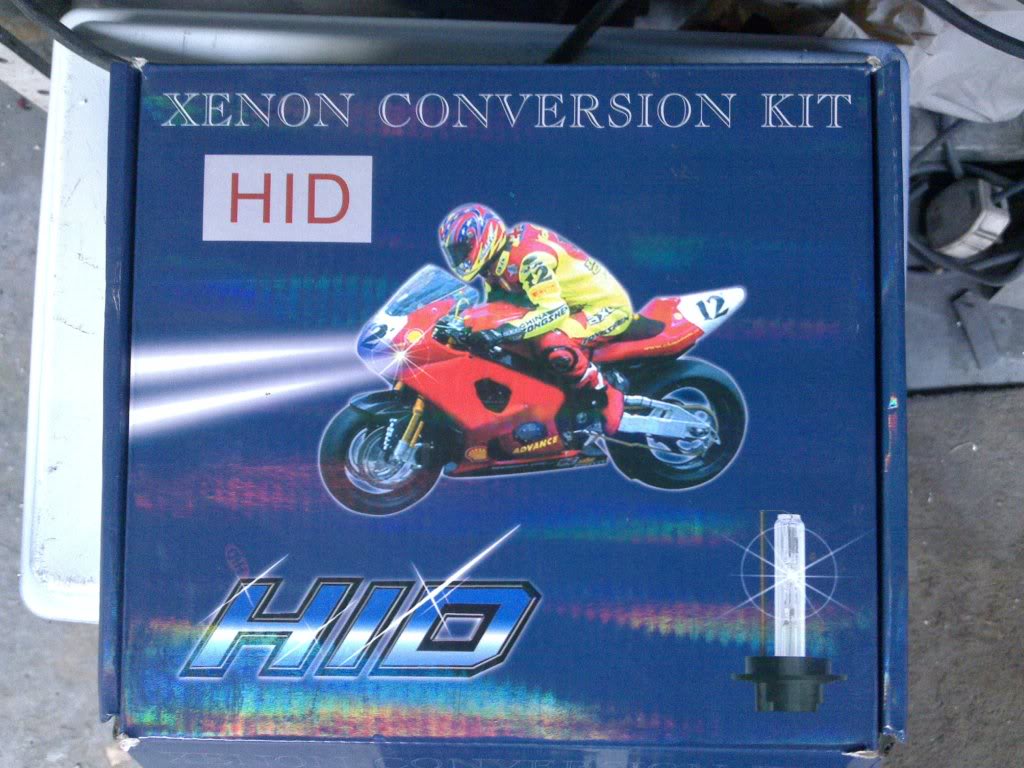
I had a little more time this afternoon
so i fitted a goodie that I have wanted to fit to a triple for a long time, a
bi-xenon hid headlight kit.
This bike is an ideal opportunity as the bike is a special and I have fitted a
7" headlamp which gives room for the wiring and ballast. This kit only uses
35watts of power and has a servo in the bulb holder which moves the bulb between
high and low beam.
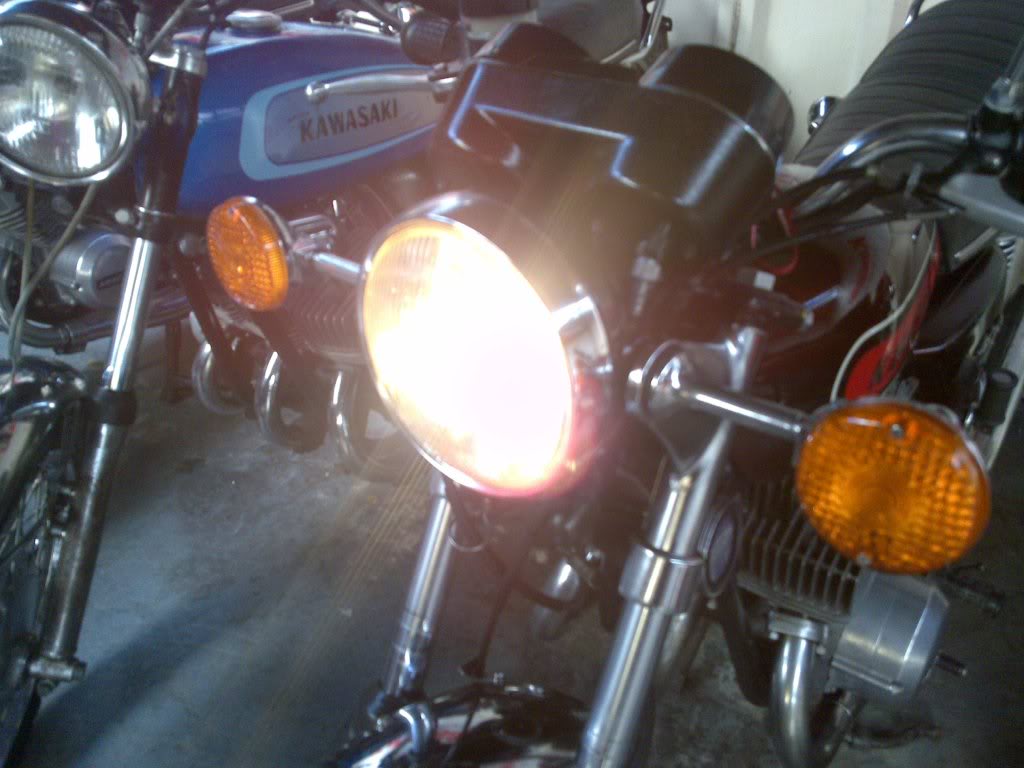
and this is the standard headlamp dip beam on my s3 with a fully charged battery... and then is the new headlamp on the project bike...

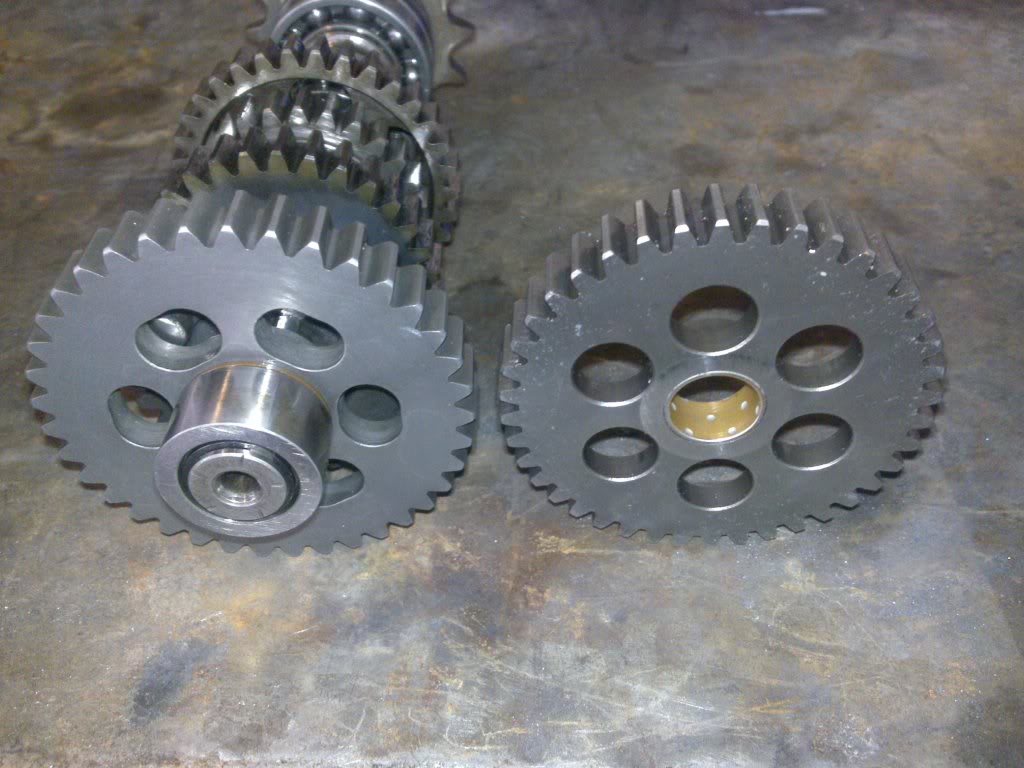
I have been to collect the tall first
gear from Ellis Moore today. A top job at a good price. He was showing me some
work he was doing on a h2r primary gear for a racer in the states.
![]()
These are my parts...

I have also dropped the bike and engine
off at Mick Abbeys place today so its a waiting game now. I have decided to have
some gp style pipes made with end cans. I didn't really like the more modern
type but since everybody seems to be fitting denco style flatties I thought I
would be different. I just need to find 3 end cans 300mm long, angle outlet and
25-27mm inlet ![]()
I have spoken to Mick today, a battle plan is in place.
![]()
![]()
![]()
![]()
![]()
![]()
I had a call from Mick earlier on this
evening. He has ported the barrels and will hopefully be sending me pics later
on. He also plans to start making the pipes this week. He really is enthusiastic
about this project and is eager to get some good results.
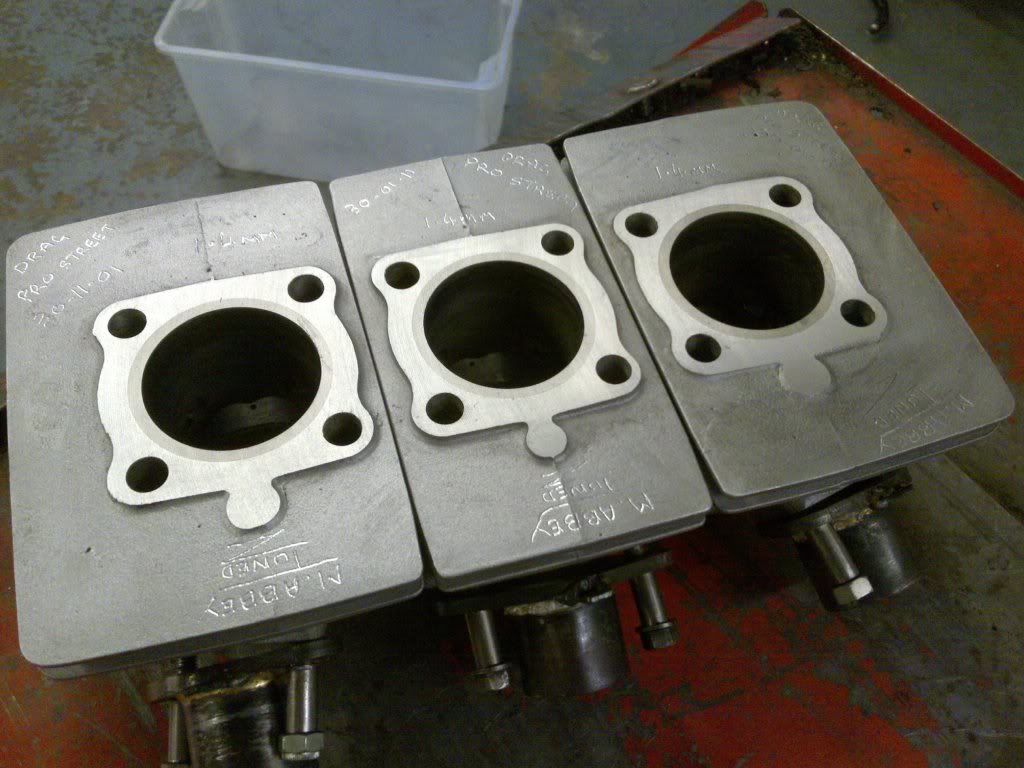
Mick has sent me some cellphone snaps of the barrels. They are not finished but
it gives some idea of where we are heading. Both Mick and myself are quite happy
to show what we are doing. We have no secrets and if it helps somebody else in
the future then that's good.


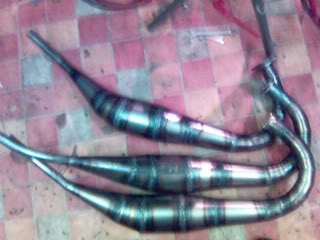
The pipes are going to have tapered headers, two stage diffusers and 105mm diameter belly section. Spy shots ...
I have been to pick the bike up from Mick today. We still have a little work to do but the porting and the pipes look great, I am really pleased. Hopefully I will be able to build the engine shortly.

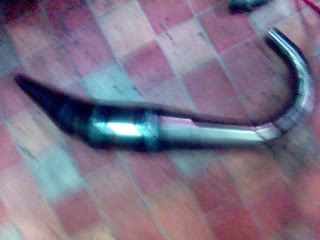
Finally did the cans today
![]() ..I have not decided on the finish yet, I just wanted to make/fit these before I
pulled the engine to do the build. I took a couple of photos when I had
finished. Its now totally in bits and I have started the work on the engine.
..I have not decided on the finish yet, I just wanted to make/fit these before I
pulled the engine to do the build. I took a couple of photos when I had
finished. Its now totally in bits and I have started the work on the engine.
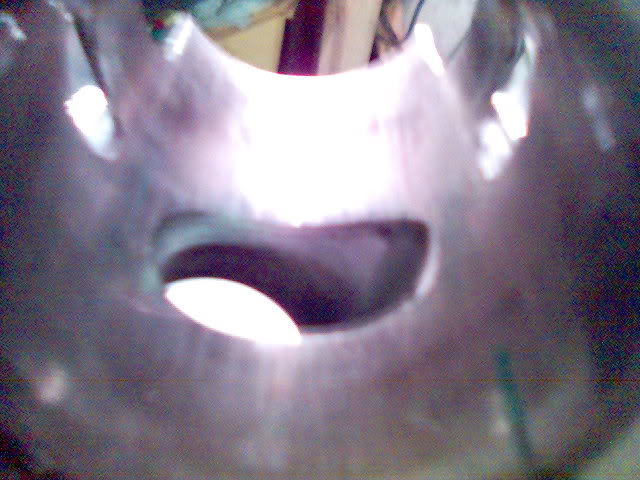
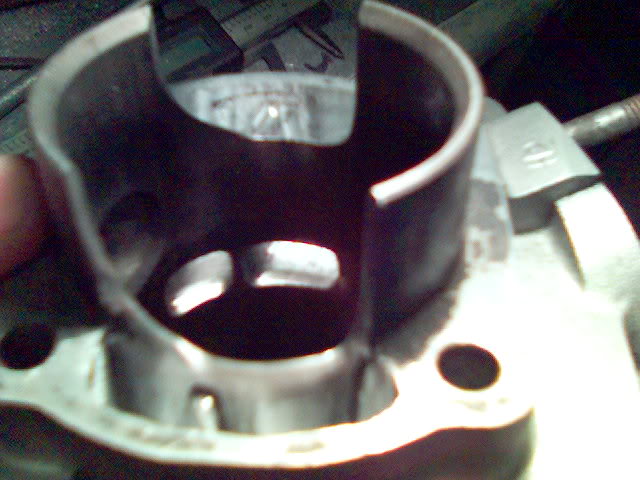
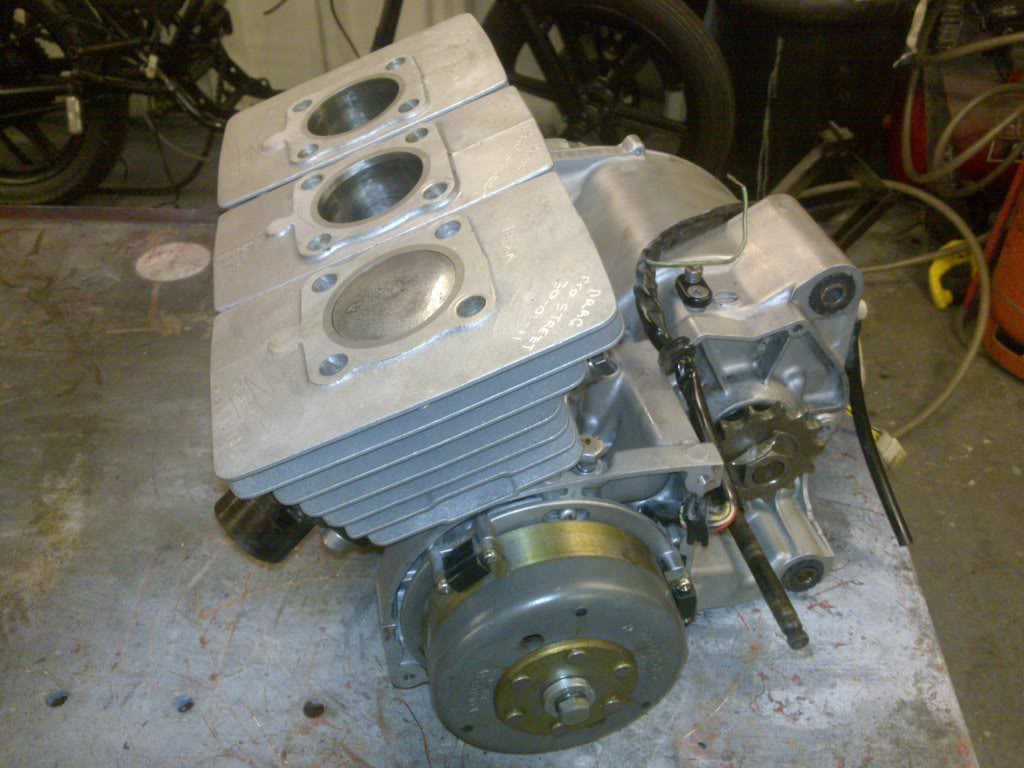
The barrels have now been machined to get the deck height correct. I am just waiting on parts now to finish the engine and get it running and finished.
Here's a pic of the surface ground barrels.
I have built the engine this evening, everything went well. Mick is doing a little work on the heads so hopefully I will have those shortly.
Shite!!!! Did a load of work, fitted
engine, pipes on, side cover on, gear oil in....and now the kickstart only
engages 2 or 3 times out of 10
![]()
![]()
![]() ..worked fine on the bench
..worked fine on the bench
![]()
Engines out and stripped
![]() ...what a fookin doylem I am
...what a fookin doylem I am ![]()
![]() ...The pinion retainer that fits in the upper crankcase is missing
...The pinion retainer that fits in the upper crankcase is missing

Called at Simons later on this afternoon
and he kindly helped me out with the bit I needed. So this evening I have
rebuilt the engine and fitted it back in the frame, so I am now back to where I
was 24hrs ago except now the kickstart returns...
![]()
![]()
Time for a brew!
Today i have fitted all the cables. The carbs are fitted. Rear sets fitted. Even fitted the bodywork and number plate. There is nothing else I can do until I get the heads back, when I do its ready to run.I spoke to Mick last week and hopefully he is doing the heads this week and will hopefully have them back in the next few days.
Spoke to Mick again today, hopefully I
should have the heads back shortly, I can't wait
![]()
Tonight i have cobbled together a seat catch. Today's useless fact is that a '72
ignition barrel will fit a kh seatlock with minimal mods.
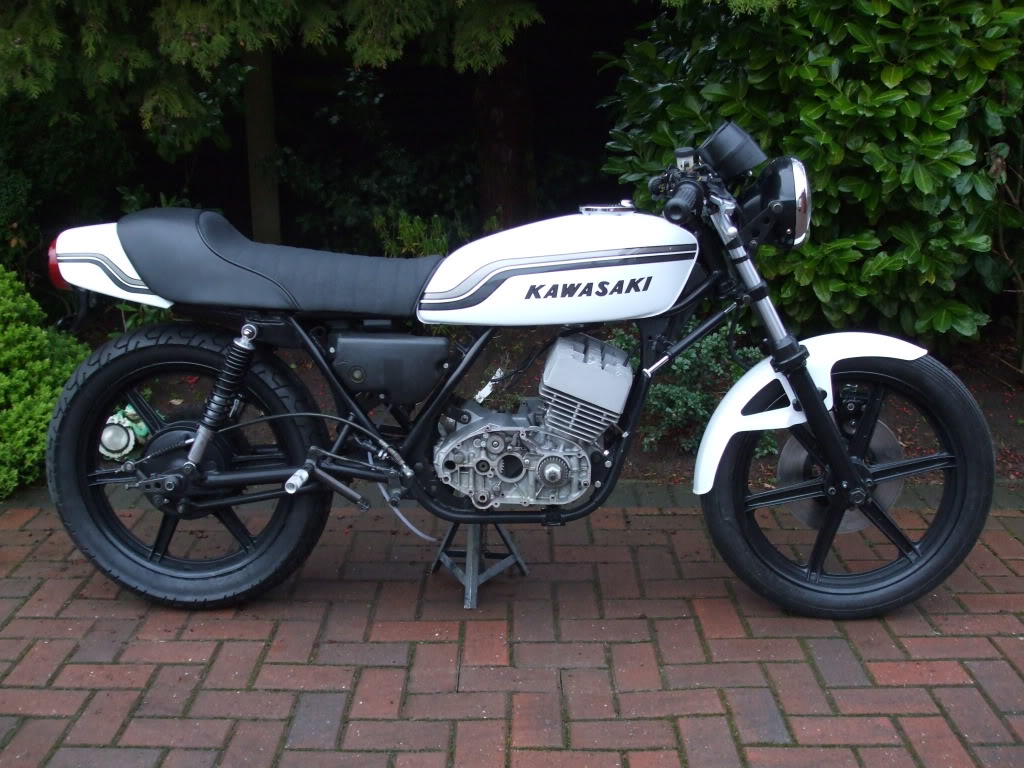
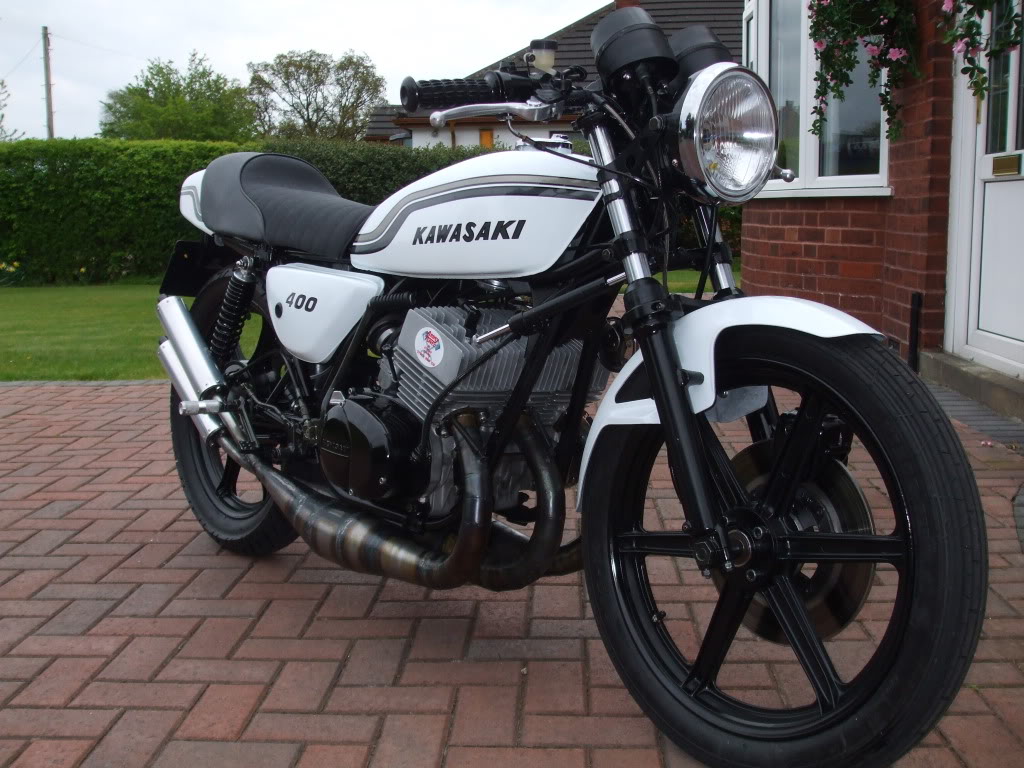
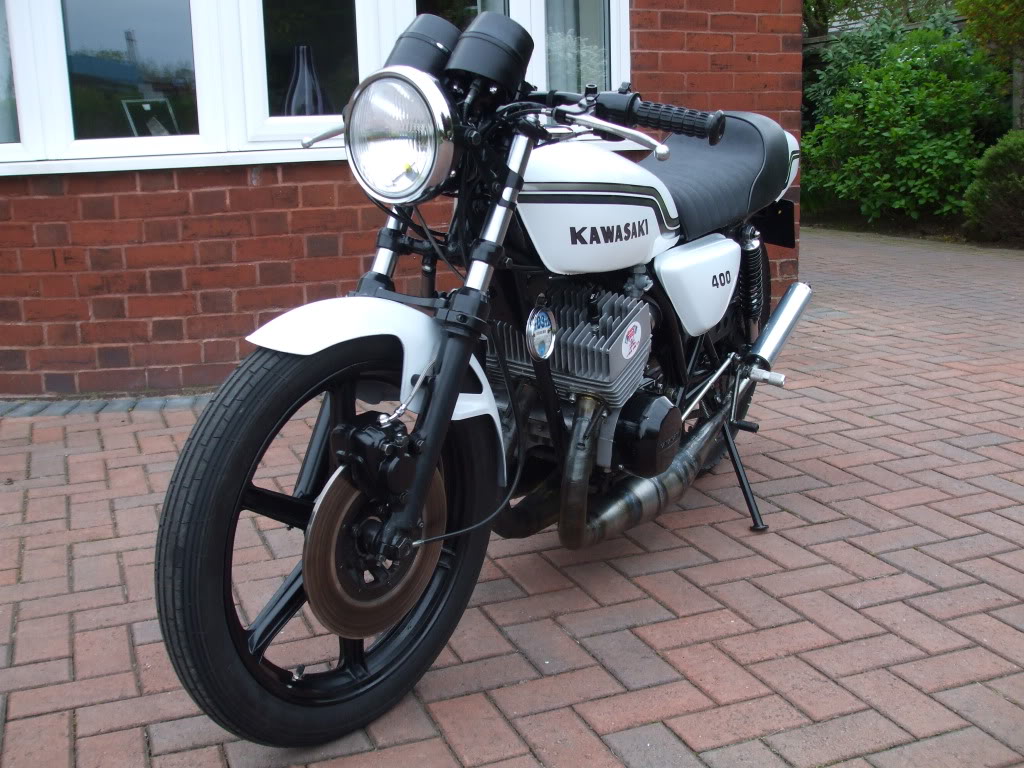
Well she is finished
![]() ...
...
The bike is now finished and running. I have not set it up on the dyno yet and
it is on totally standard kr1s jets and settings, but I have done plug chops and
it appears to be running just about perfect!!
To say I am amazed with the performance is an understatement ... It is
totally tractable and will pull from 3000rpm.It will take full throttle at
6000rpm and revs to 10,500rpm.
I can confidently say that its the fastest accelerating Kawasaki in my garage!!!
So here's the pics...It is a little rough around the edges but this time its a
case of function over form!!
![]()


Bike developed an oil leak on the
nearside at the north west rally. I presumed/hoped that it was the gearshaft oil
seal. I have changed that and a small drip has stilled appeared from the
chaincase cover, I have removed the clutch actuator and there is oil behind
it..Damn!!
![]() I have removed the pushrod and noticed a slight lip in it which i think is
causing the trouble. I have used a good spare pushrod and polished it on the
lathe so hopefully that should sort it
I have removed the pushrod and noticed a slight lip in it which i think is
causing the trouble. I have used a good spare pushrod and polished it on the
lathe so hopefully that should sort it
 On the plus side I have fitted the modified heads and although they don't give
the envisaged compression increase they do have a better combustion shape and
improved squish and it really goes like a champ!!
On the plus side I have fitted the modified heads and although they don't give
the envisaged compression increase they do have a better combustion shape and
improved squish and it really goes like a champ!!
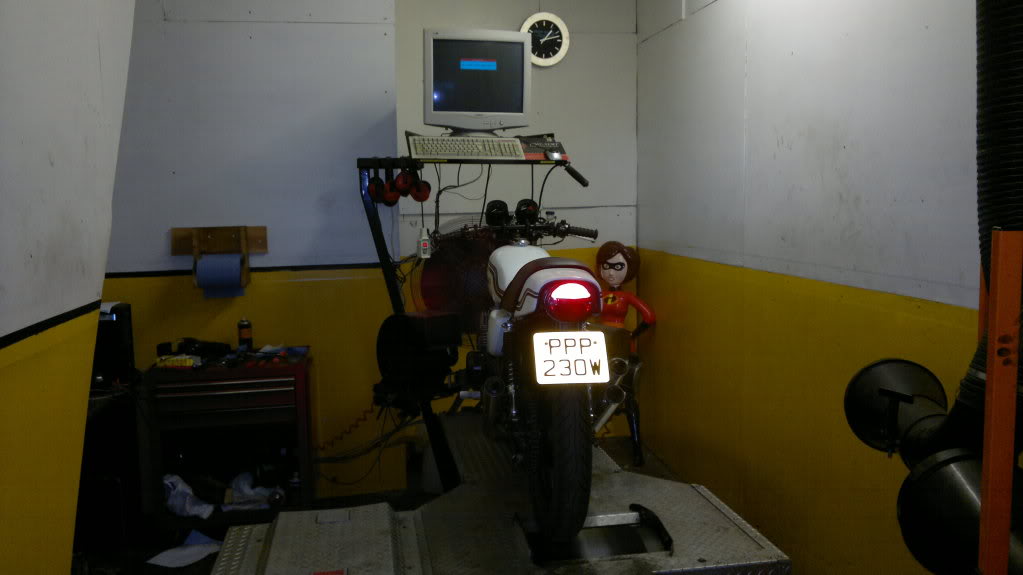
Well the day of reckoning finally came
today!!! Having completed the bike earlier on this year and used it at rallies
and covered over 1000 totally reliable miles i thought it probably best to run
it up on the dyno to see what power it has.
Dave at Higgspeed kindly offered a while back to do a power run on his facility
so today I had an afternoon booked off and arranged to take it up to Daves.
I really was apprehensive as i wanted it to perform ok but I also wanted it to
hold together as obviously dyno testing is very hard on the engine. So this is
the dyno room... All the big talk ends here!!!
Dave warmed the engine up on the dyno and
then did what was probably about 5 maybe 6 power runs.
We had a problem with the tyre spinning on the drum when the power came in and
this gave false readings, but as the tyre warmed we had total grip and at last
we could really go for it!!
Before i go any further I must say I can't believe how robust these 400 engines
are even when given treatment that it would never get in the real world.
It was revved to oblivion (with my consent) yet didn't complain or misfire and
after all that it settled down to a steady 900 rpm.. remarkable really...
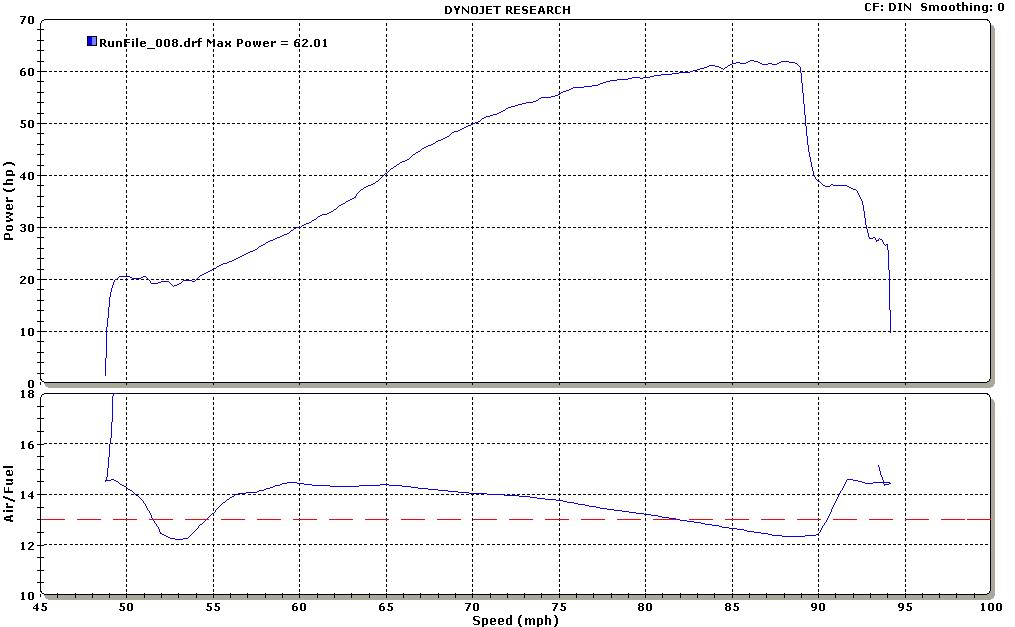
So lets get down to the nitty gritty of this.
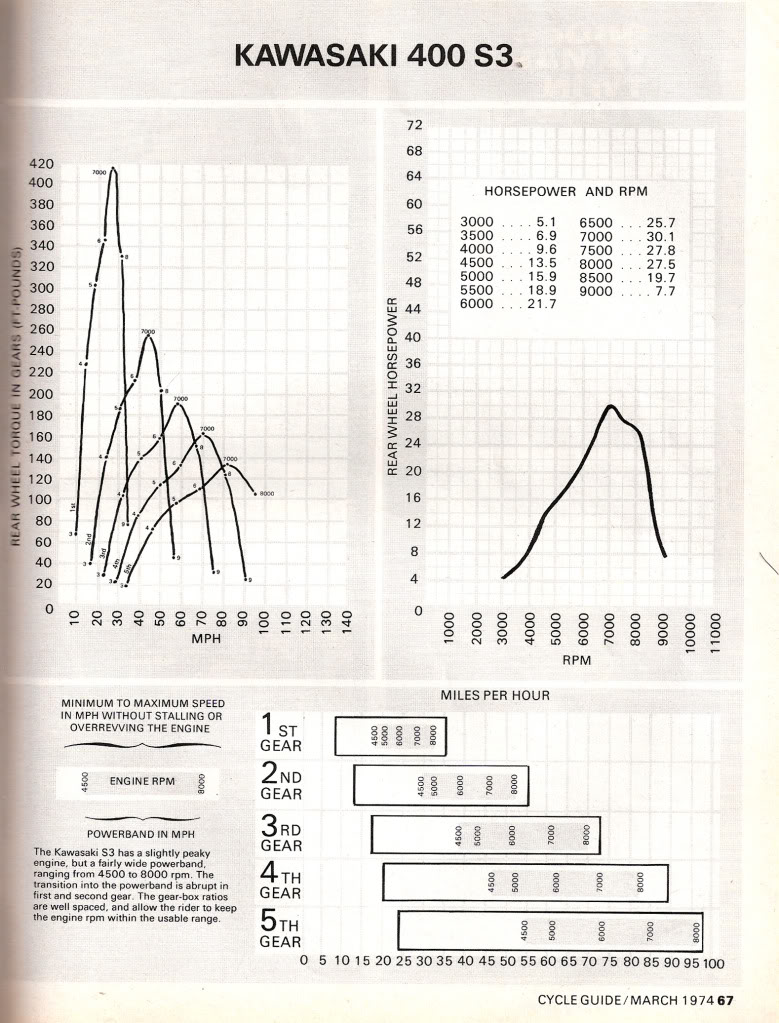
Here's a dyno print out of a standard s3 which has been previously posted.
As you can see it varies quite a lot compared to Kawasaki's claim, but no
surprises there!
Peak power at the wheel 30.1 hp
...and now here's the print out for project lash up. Please bare in mind that we didn't do a tune, just a power run and it is on 100% kr1s jets and needle positions.