This is how I did my
right side front brake conversion. Well, in my case it's a left brake
conversion because I swapped my forks so the calipers are in the rear.
First thing's first. Buy a left side caliper on fleabay, then immediately
order a new piston because you'll probably need one. The one that came with
mine was OK but had the usual pitting and corrosion under the exposed part
under the seal. I ordered mine from HVC, he has new stainless pistons for 25
bucks, can't go wrong. Then order some new brake pads. I also ordered a
couple of new bleeders while I was at it.
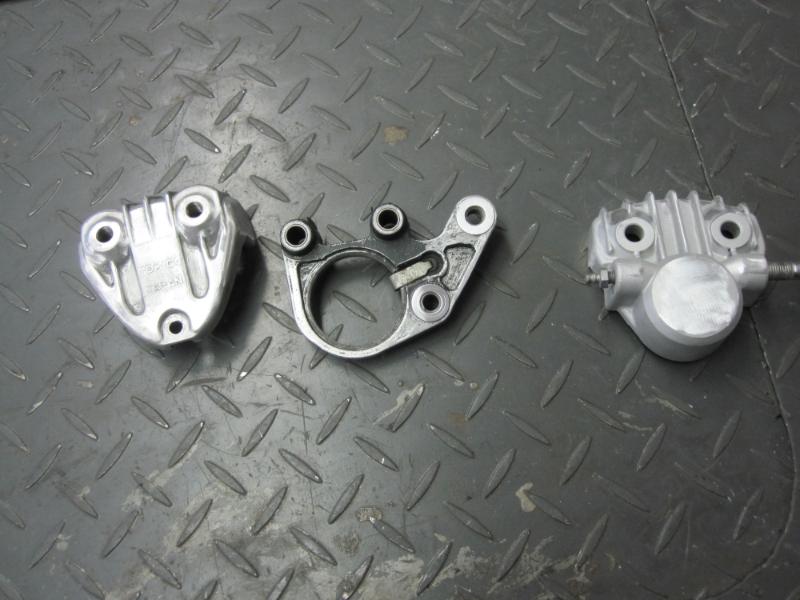
Next, take it apart and clean and degrease it. This is a good time to
inspect it before you proceed.
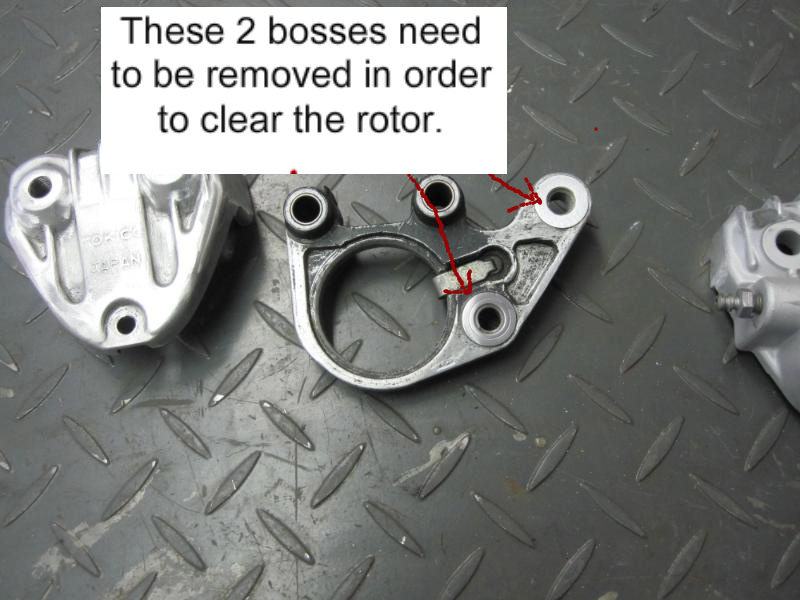
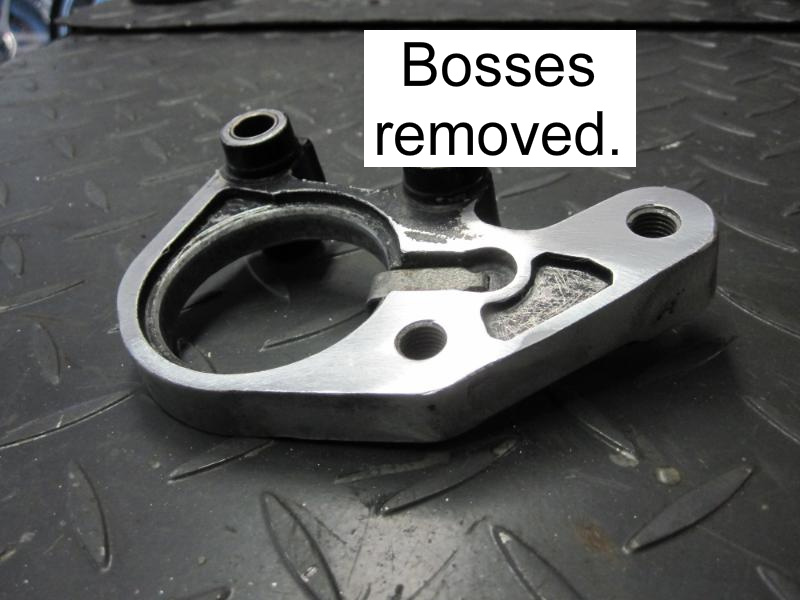
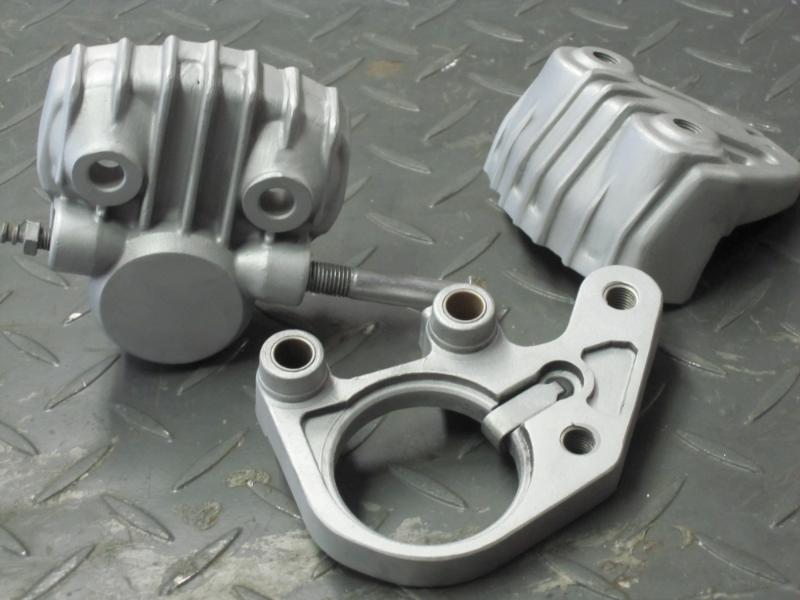
The first thing you'll
need to do is remove the 2 bosses on the bracket. These sit against the
forks when mounted on the left side. They need to be removed in order to
have enough clearance for the rotor. You can use a grinder for this. They
don't need to be machined because this will now be the open end that faces
inside and won't sit up against anything now.
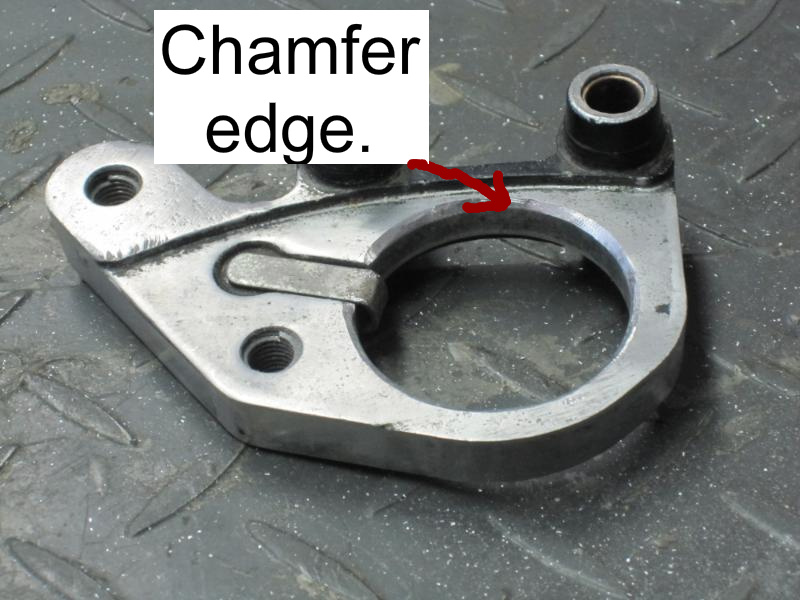
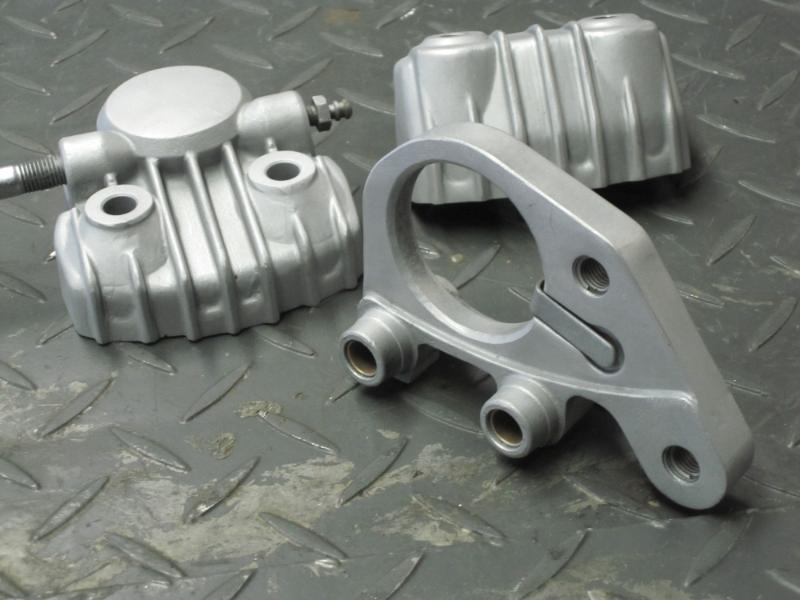
On the other side, I
chamfered the edge. This is done for clearance of the rubber piston boot. It
now mounts from this side. After I cleaned up this edge, I decided to glass
bead everything. I kept the old bleeder in place and put a bolt in the brake
line inlet to keep the glass beads out. When I was done, I chased the
threads and blew everything out with compressed air and thoroughly rinsed
everything out. More compressed air, then let it all air dry for a while in
the sun.
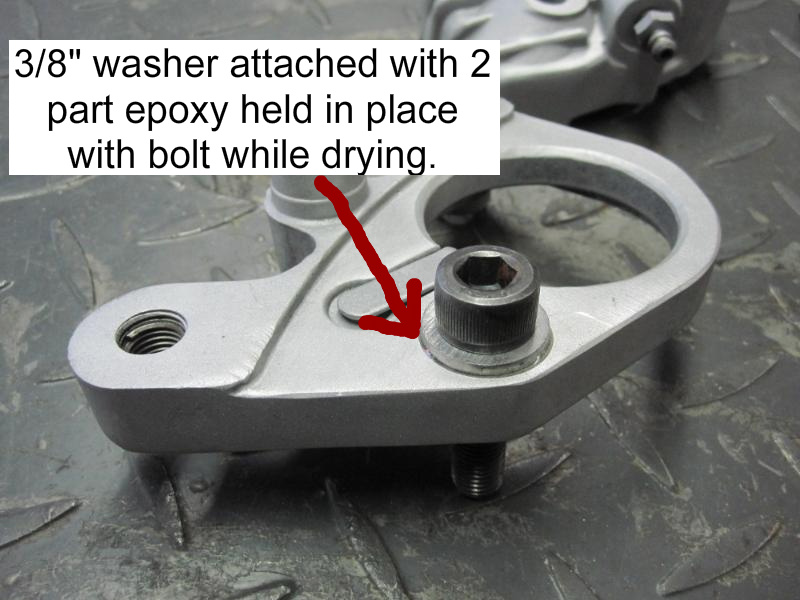
Since this is now the
side that bolts up to the forks, there needs to be material built up around
the lower bolt hole. I did the obvious and just used a washer. I used a 3/8"
washer that was the correct thickness to bring it to the same level as the
raised area around the top hole. Don't ask me what the thickness is, I found
one that matched up perfectly. Just run a steel straightedge across the two
to get them even. I then used a quick setting 2 part epoxy to attach the
washer and held it in place with a bolt hand tightened only. The washer is
held in place on the bike by the mounting bolt so the washer being attached
with epoxy isn't meant to be structural, it's just to keep it in place. When
it's painted the washer will look (and function) just like the original
bosses on the other side.
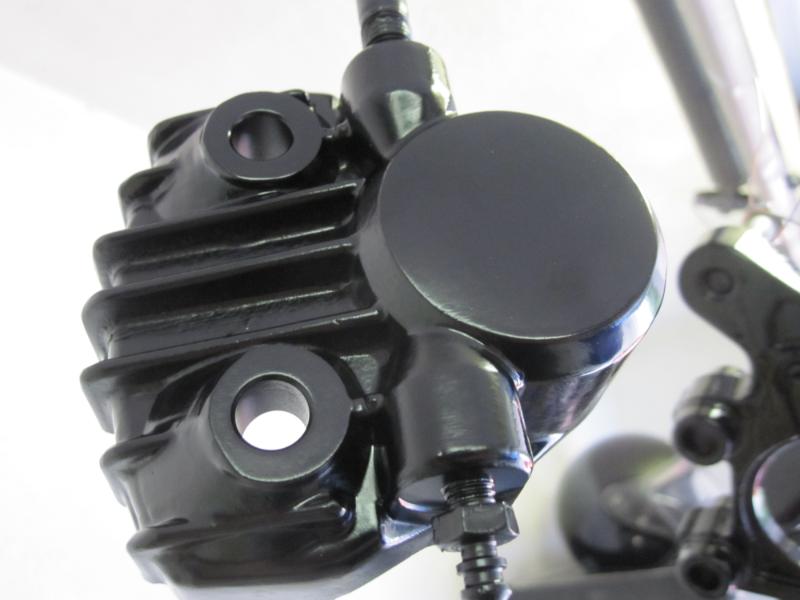
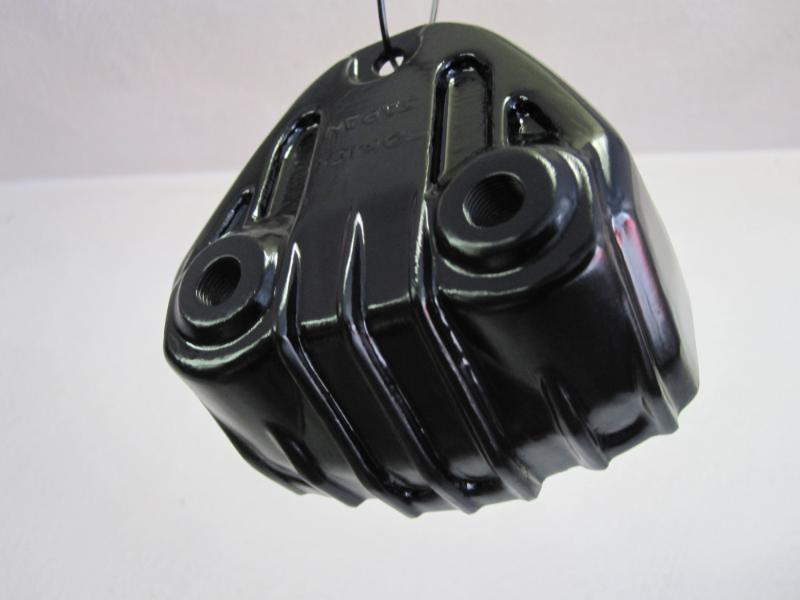
All that's left is paint.
I used VHT high temp satin finish roll cage paint.

Once I get the new piston
and bleeders, all that's left is the brake lines and bleeding the brakes.