By Diablo Cycles ·
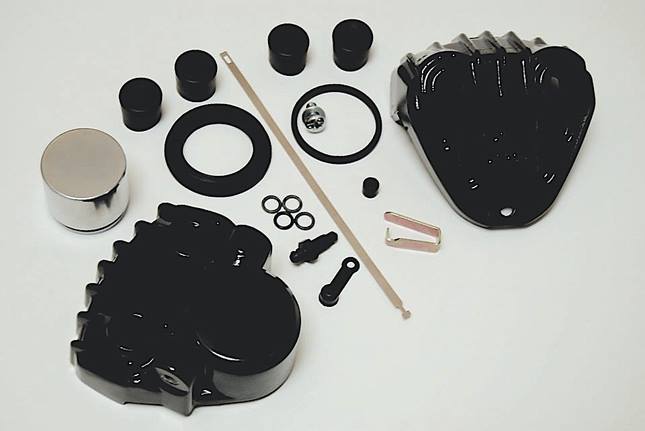
These are the finished pieces from a caliper I restored/rebuilt a while back. This is to show all of the new parts that go into a caliper rebuild.
This is what was the bleeder screw hole. It must be drilled twice. The first
hole is for the small cone shaped seal that fits inside the flanged end of the
brake pipe. The second hole is larger and must be threaded to allow the brake
pipe to be tightened.
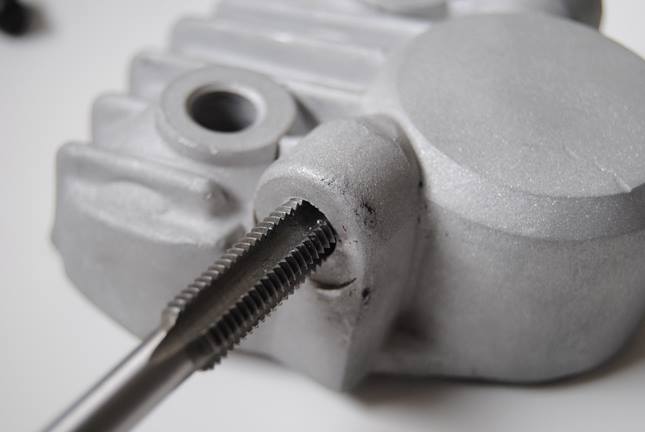
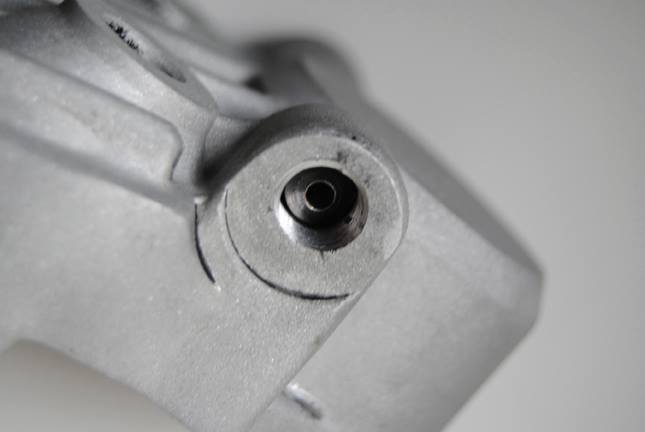
This picture of the newly drilled and tapped (threaded) inlet for the brake pipe
shows the smaller hole.
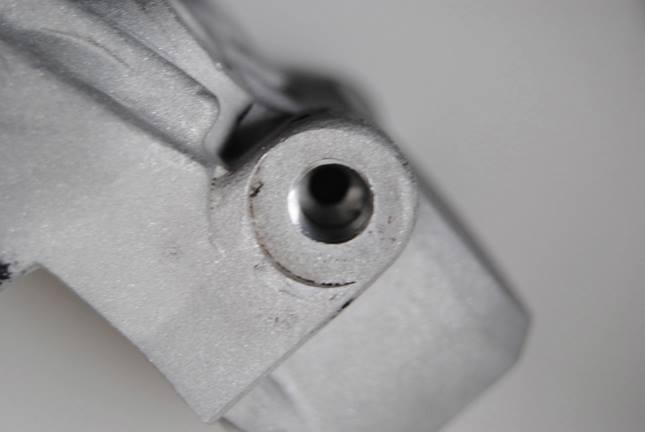
The cone shaped piece can be carefully removed by tapping lightly from behind
with a thin rod or punch. I have pressed it into place and used some red loctite
for insurance. This side is now ready.
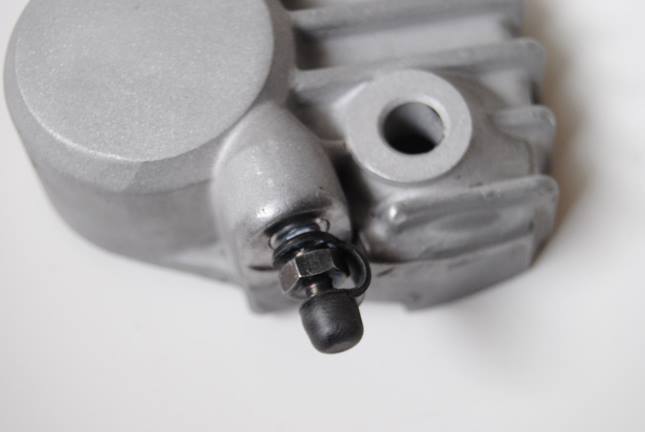
This was the brake inlet hole but now it will become a bleeder hole. I had an
insert that is threaded on the inside and on the outside to fit into the hole
and allow the bleeder screw to be used. This is a very special part that is not
easy to make but there is a simple alternative. Most auto parts stores sell 10mm
bleeder screws that will fit right into the original hole, making the whole job
a lot simpler. I have never been the type to take the easy road.

The sleeve is no installed in the caliper. I also used red loctite. As you can
see there is some of the insert protruding that will have to be filed down.
I am doing 2 calipers so my '72 H2 can also have dual discs. This image simply
shows how much smaller the new bleeder hole is.
The insert has been filed flush with the caliper. I might fill the area to make
it smooth although it doesn't really show once the bleeder screw is in place and
even less after the caliper is painted.
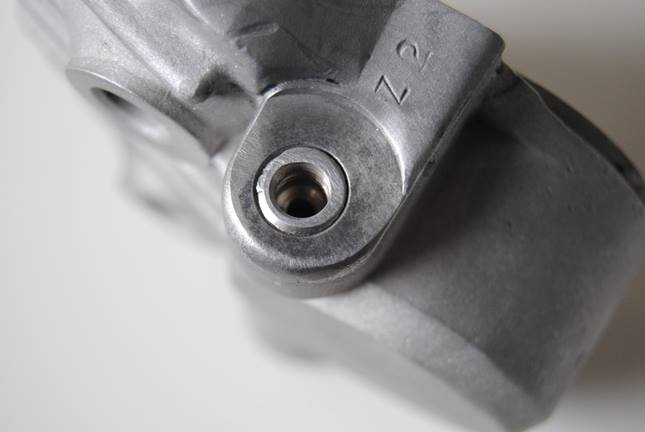
Another picture of the sleeved bleeder hole.

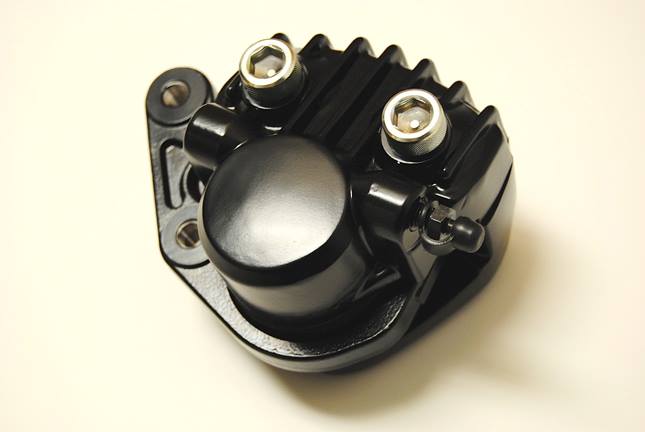
With the bleeder screw installed it is difficult to tell that this is a modified
LH caliper.
All done! Now I can apply the black paint to both sides of the calliper. I
didn't show the back because it required no modifications. When it is dry, the
piston and seals can be installed and the two halves put together.
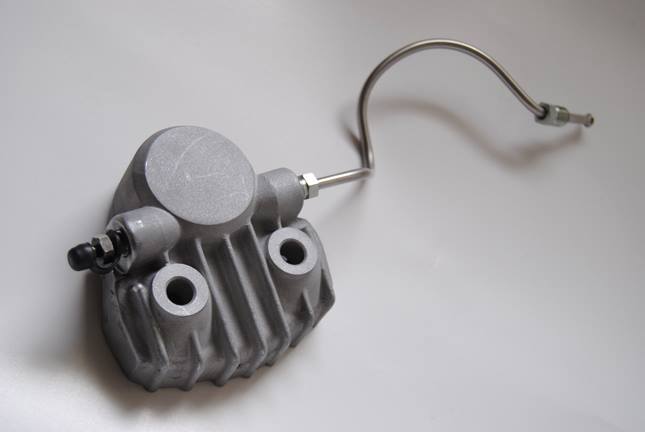
You can modify a LH caliper bracket but I chose to use a new one from our
stock. I'll post more pictures once the caliper is painted and assembled.

Painted the caliper today. Got a nice smooth finish. Not too shiny. Not too
dull.
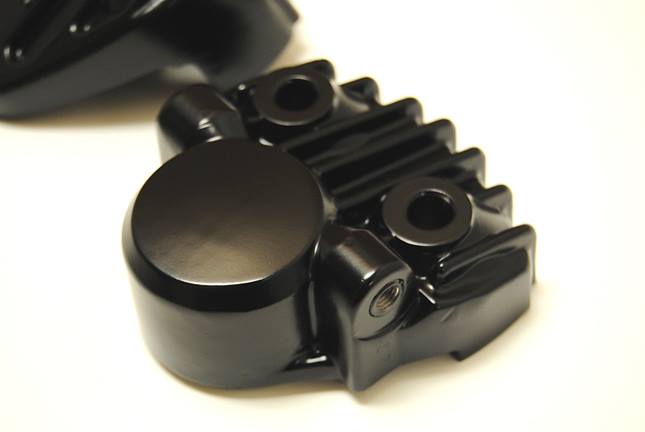
I'll let the paint cure for a few days, then I can put it all back together.
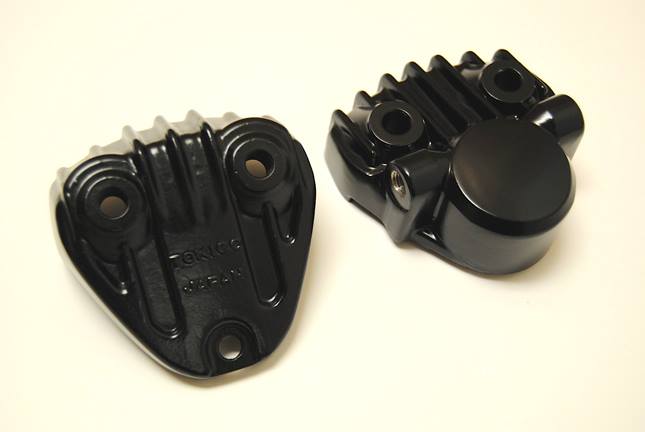
All done! With it's new piston, seals and pads, my newly rebuilt/modified RH
caliper should work as well as it looks.
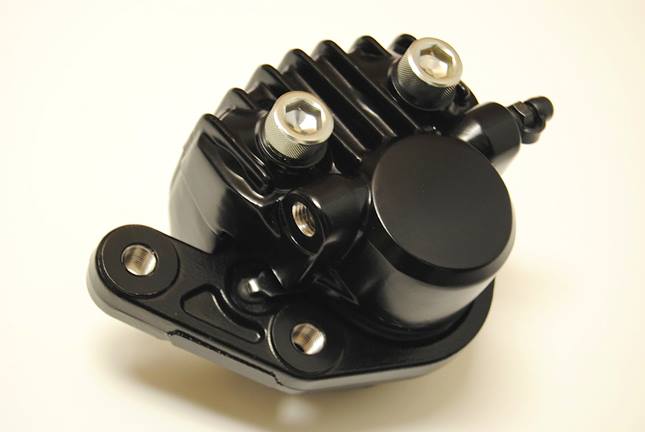
I should also mention the caliper bolts. They are original bolts that were
re-zinc plated and not new.
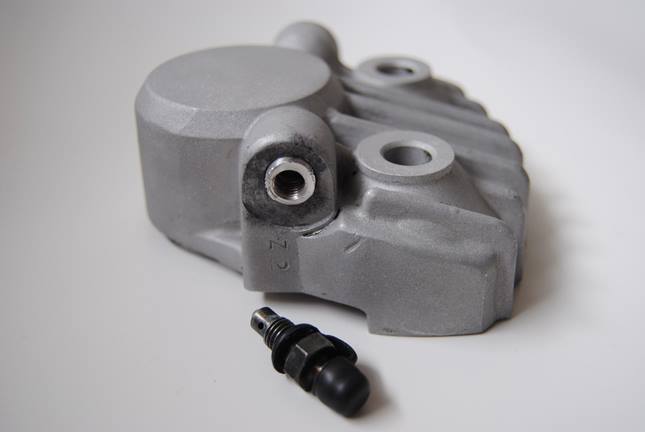
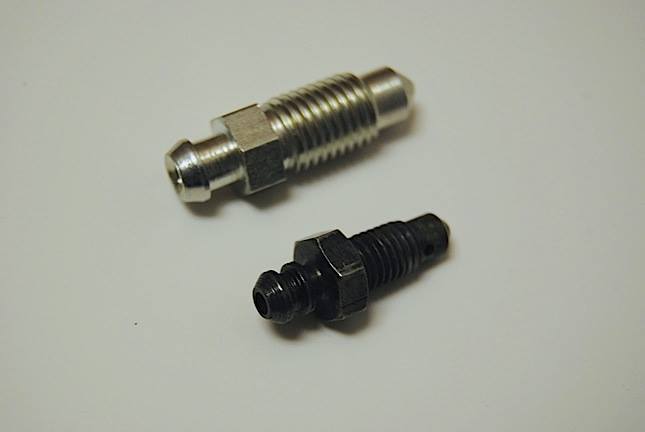
I wanted to see what it would look like if I took the easy road and simply
installed a $2 M10x1.25 brake bleeder from the local auto parts store on my
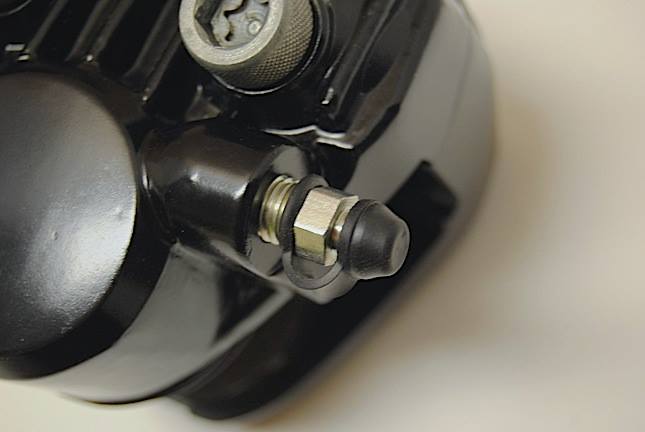
second RG caliper. Here is the auto part next to a genuine Kawasaki bleeder.
What a size difference!
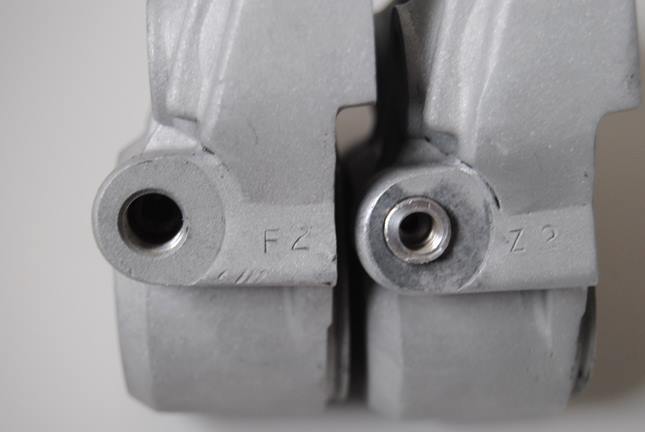
The 10mm bleeder installed in the caliper. It doesn't look terrible and I
can see why people would choose this simple solution. Those who aren't
concerned about making their right caliper look like the rare original
Kawasaki part can do the entire conversion in an afternoon in with a drill
press, 10x1.25 tap and basic tools.

My opinion… It works. It's inexpensive. Time fabricating a sleeve to fit an
8mm bleeder in a 10mm hole. No, it doesn't look as nice but not everyone
cares. Both calipers will work the same but one looks better. I'll do the
extra work for the sake of aesthetics but it isn't really necessary.