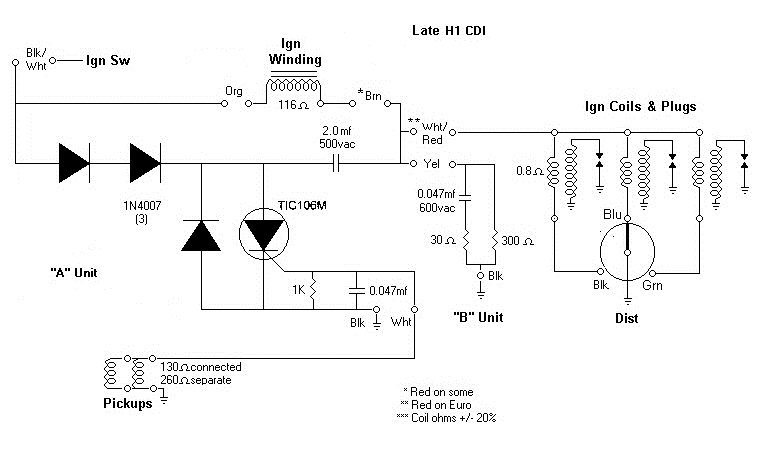
Late CDI Test
Procedure by Dayle Edwards (Starfire)
The testing procedure for testing the late H1
stock CDI units follows. Anything unclear, let me know.
Unit A
1 Remove both Unit A and battery from bike.
2 On the bench, crocodile clip leads are good for this, connect as follows:
3 Connect one lead of a low wattage 12 volt test light to Battery +
(positive)
4 Connect the other lead of the test light to Unit A BLACK/WHITE wire.
5 Connect the BLACK lead of Unit A to Battery - (negative)
6 The test light should be off
7 If test light glows, the SCR is shorted, Unit A is buggered.
8 Quickly flash the WHITE wire Unit A to BLACK/WHITE wire Unit A
9 Light should come on, and stay on after the WHITE wire is disconnected.
If the test light remains off, the SCR is open, Unit A is buggered.
10 Disconnect the BLACK/WHITE wire from the test lamp, then reconnect to the
test light again, the test light should once again be off
CAUTION.... DO NOT ALLOW THE WHITE WIRE TO CONTACT ANY OTHER WIRE OTHER
THAN THE BLACK/WHITE!!!!!
11 Touch the YELLOW wire to Battery - (negative)
12 The test light should remain off.
If not, the discharge
capacitor is shorted, a work around is available, contact me.
If Unit A passes these tests, it is 99 percent ok. These tests will check
the diodes, and the SCR for correct operation. It cannot test for vibration
or heat related intermittent faults.
Unit B
1 Connect one lead of test light to Battery + (positive)
2 Connect other lead of test light to YELLOW wire Unit B
3 Connect BLACK wire Unit B to Battery - (negative)
4 Test light should glow very very dimly, or not at all.
5 If test light glows brightly, snubber capacitor is shorted, and Unit B
requires replacement.