In general, bandwidth term is used for the range covered for data transmission between an upper range and lower range, which is controlled by ISP provider. However, Windows provide certain configuration to limit reservable bandwidth limit.
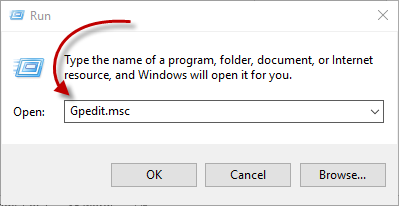
Windows by default keeps some amount of bandwidth for its application and operation requirements. You can limit the reservable bandwidth from Group Policy editor. Here’re I will show how to open up the settings for reservable bandwidth in Windows 10.
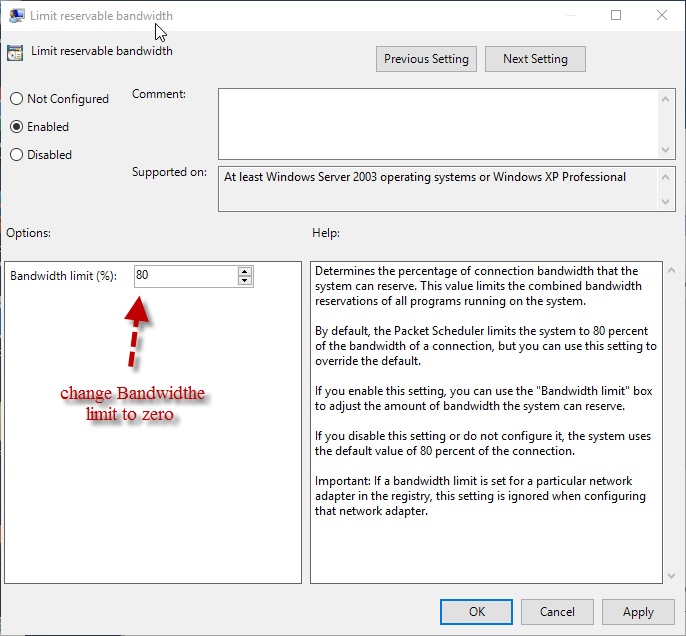
Computer Configuration >> Administrative Templates >> Network >> QoS Packet Scheduler >> Limit reservable bandwidth
Step 1: Open Network and Sharing Center from the system tray. Right-click on the tray and you will find the option.
Step 2: Now locate Change Adapter Settings from the pane on the left side. It will lead you to all of your active connections. Select any one of them that you are using currently. Now a small box will open with more details.

Step 3: In the next step locate the Properties option and click on it.
Step 4: Now from a list of checkboxes that will appear, find Internet Protocol Version 4 (TCP/IPV4). Select its box and then choose Properties below it at the right corner.
Step 5: Now in the second section of the box you will observe two options. Check “Use the following DNS server addresses” rather than Obtain DNS server automatically” option.

Step 6: After turning the second radio button on, enter the following DNS Address.
That’s it, by changing the DNS server you can boost your Steam download speed. Now you just need to restart your modem and enjoy downloading at a higher speed. It is one of the most effective ways that you will find in every guide that answer your question of how to increase download speed in Windows 10.
Alternatively, or in addition to, you can change the DNS Address used on your wireless router. See instructions for your router to accomplish this task. Making the change on your router will speedup all wireless devices attached to it.
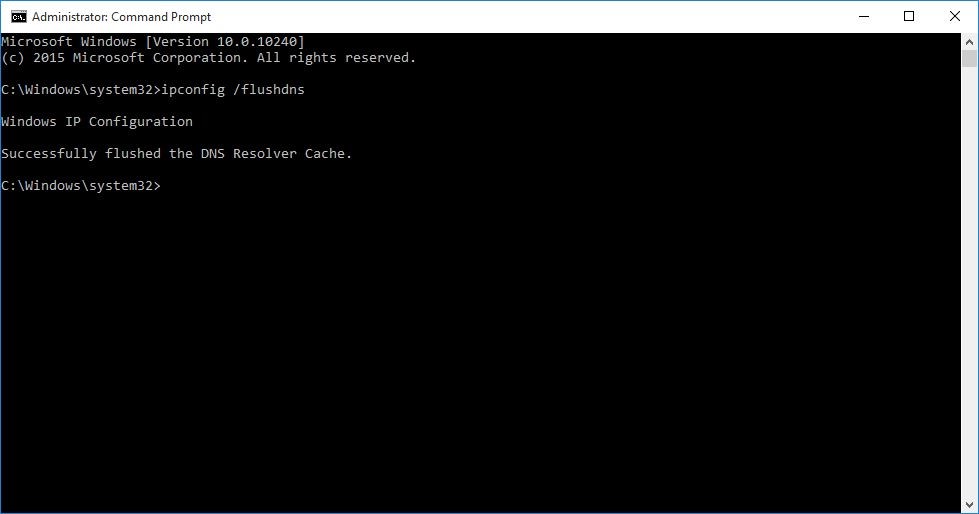
Step 1: Right-click on the start option and click on Command Prompt (Admin) from the context menu.

Step 2: In the confirmation box of User Account Control, click Yes.
Step 3: the Command Prompt (Administrator) window will open, type the following command and press Enter.
Step 4: Now in the same command window, enter the command Exit and press Enter to close the window.
Step 5: Now open the Run dialogue box by pressing Windows key+ R together. And in the box type enter %TEMP% and click OK or press Enter.

Step 6: Now in the TEMP folder that opens, to select all the contents press Ctrl+ A together.
Step 7: Now right-click on any of the selected content and then choose Delete.

Step 8: Now close this window and return to the Desktop Screen.

Step 9: Restart your computer and enjoy high Internet speed.