KH400 Starfire Mark2 CDI installation as shown by Crashman:
Ok, so bare with me guys, I'll try to do this as smartly as I
can.
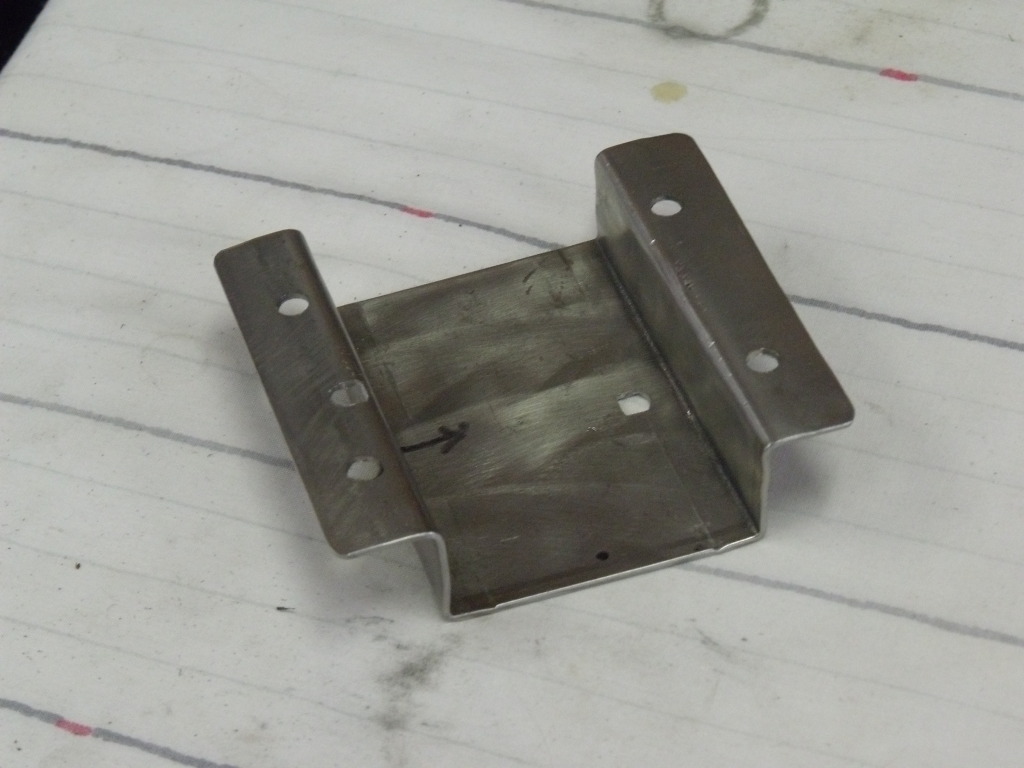
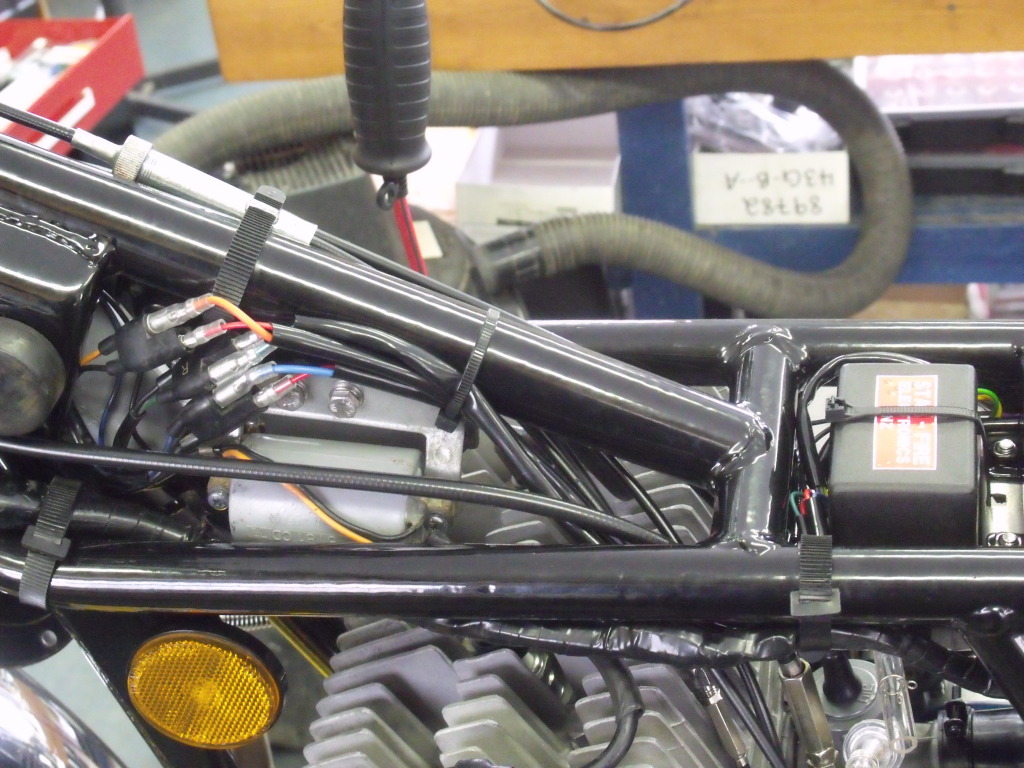
To start with you need to remove the existing CDI and create a bracket to hold
the new CDI in it's place. It has to drop down about 3/4" to allow the taller
Starfire to clear the bottom of the fuel tank. Something like this.
I recommend making it on a sheet metal break rather than hammering it out on a vise like I did.
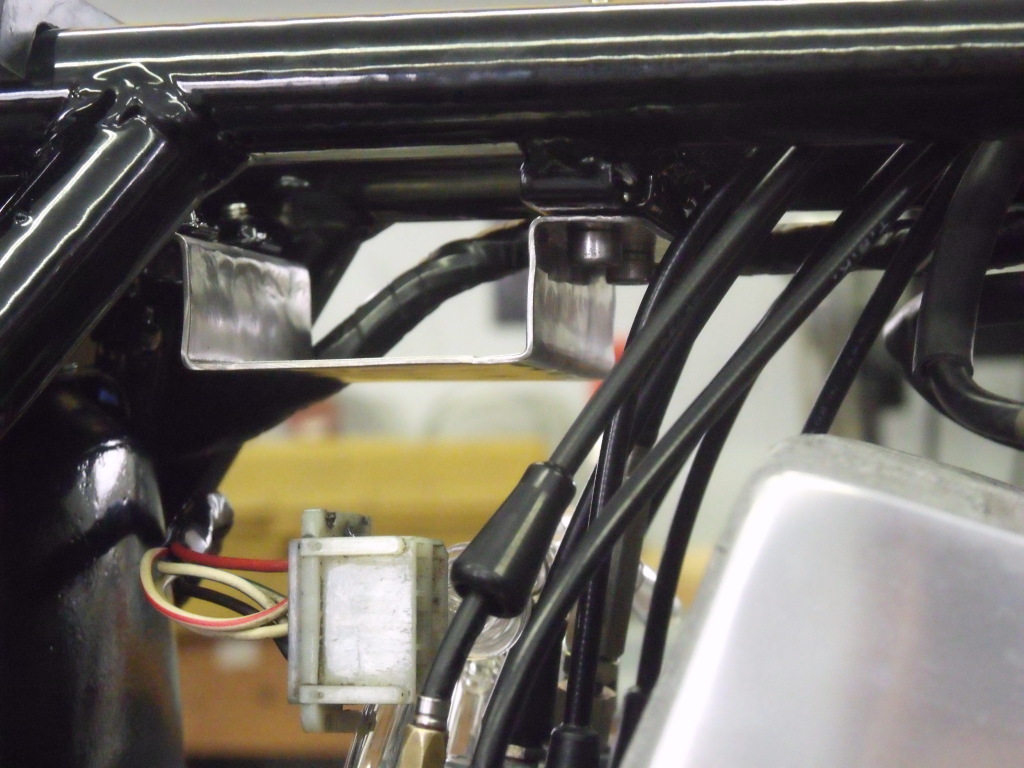
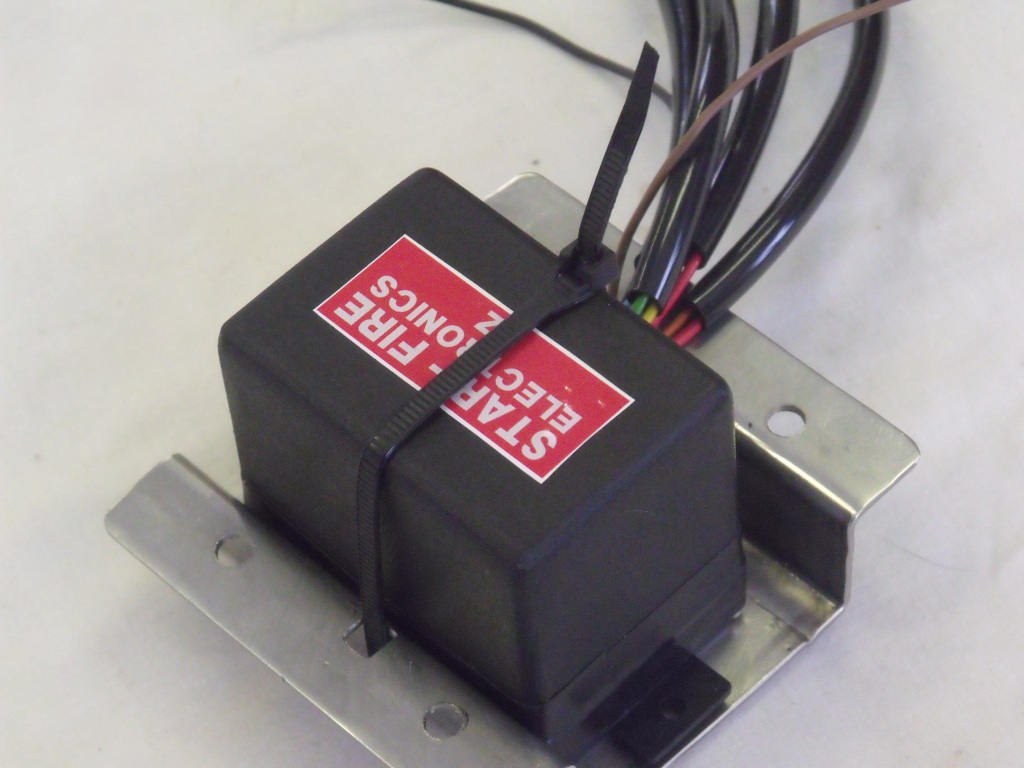
Which will look like this installed.
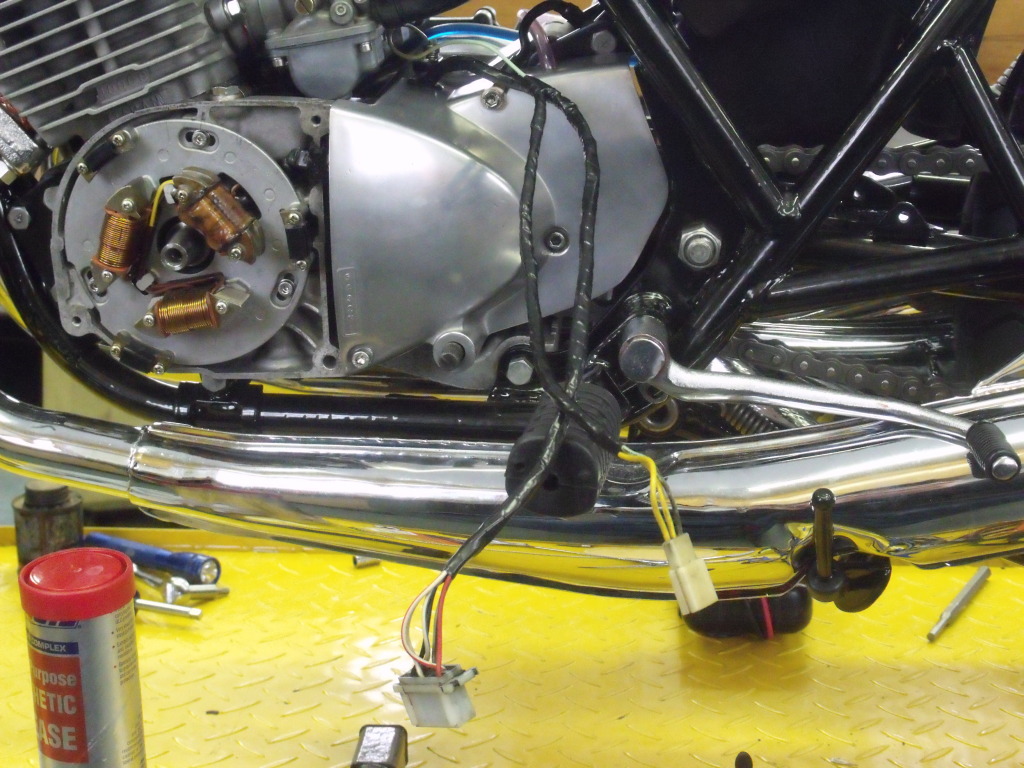
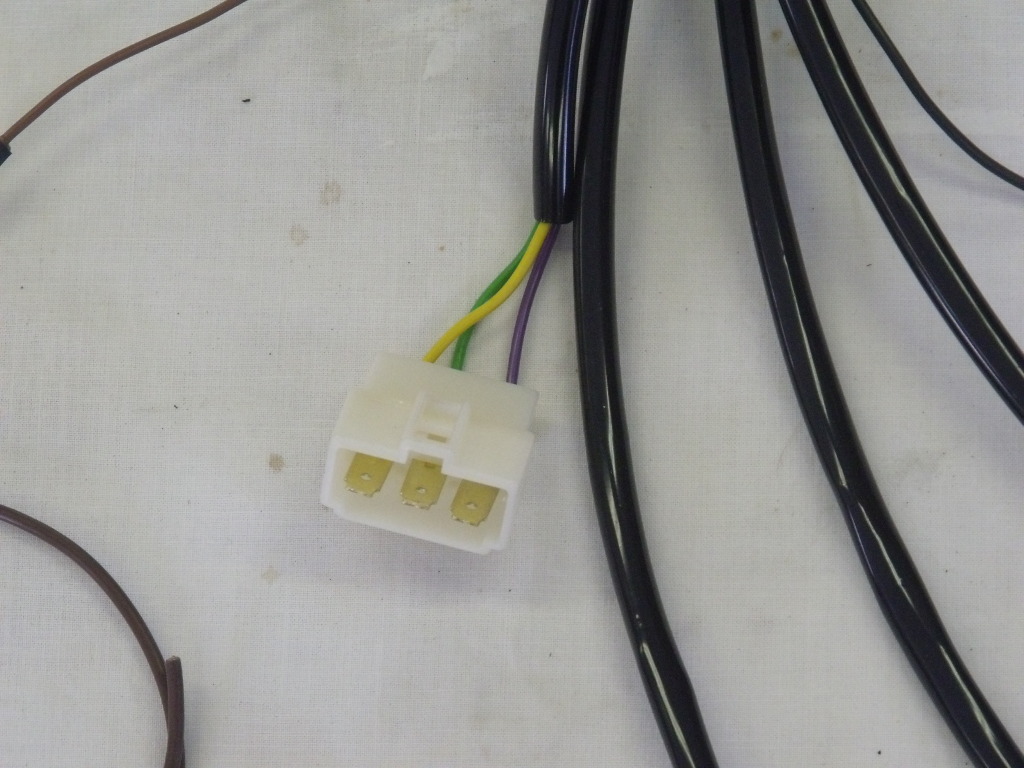
Then I unraveled the harness coming from the stator and separated the alternator outputs and neutral wire, the yellows and the light green, from the ignition wires. Then wrapped them in two separate bundles so that the yellows and the light green, three pin socket, could reach around behind the air box where it should and the other harness with the six pin socket could be routed up the frame to the CDI.

I sat the CDI in place and measured the wires before I installed the sleeving and the fasteners. I had to lengthen a couple wires so I sent a note to Dayle at Starfire and he will likely leave them a little longer for future units. Easier to shorten them if you want to.
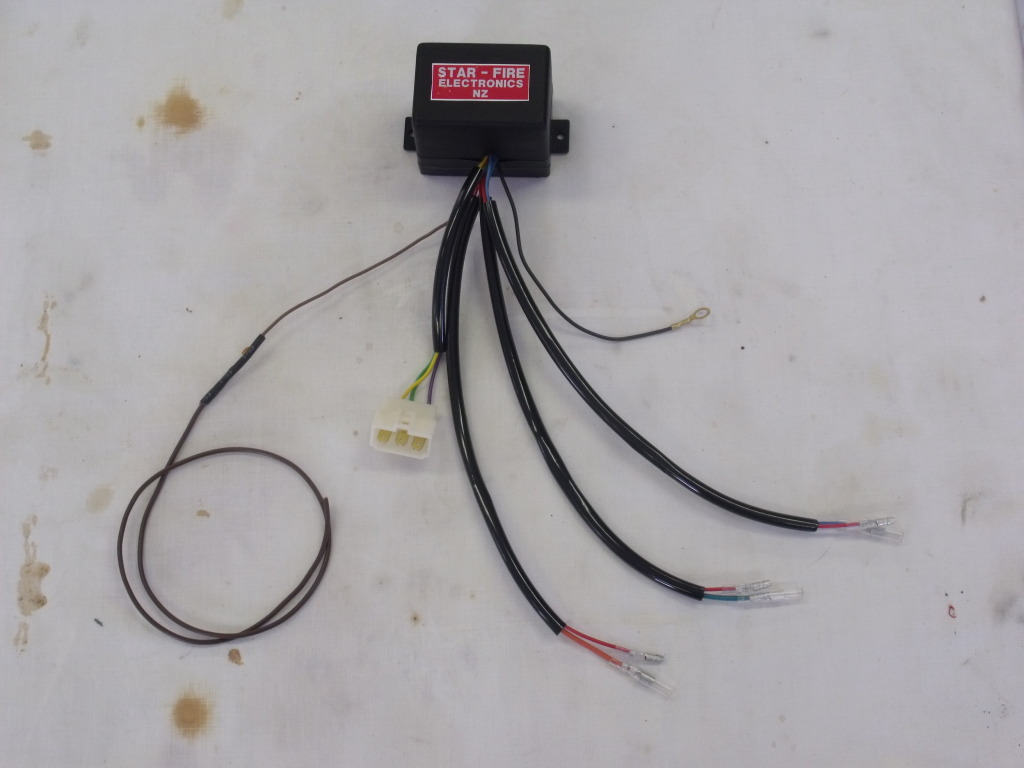
I meant for the CDI to plug right into the six pin of the stator harness but bought a latching fitting instead of a non-latching and had to replace the end of the stator harness to make it work.

The brown wire which is the power supply, I ran all the way back behind the battery to tie into the power supply to the rear brake light switch. I just replaced the single female on the brown wire on the harness to a double female and plugged the CDI in there. You could go forward to the headlight shell and find a brown there if you wanted. It's about the same distance though.
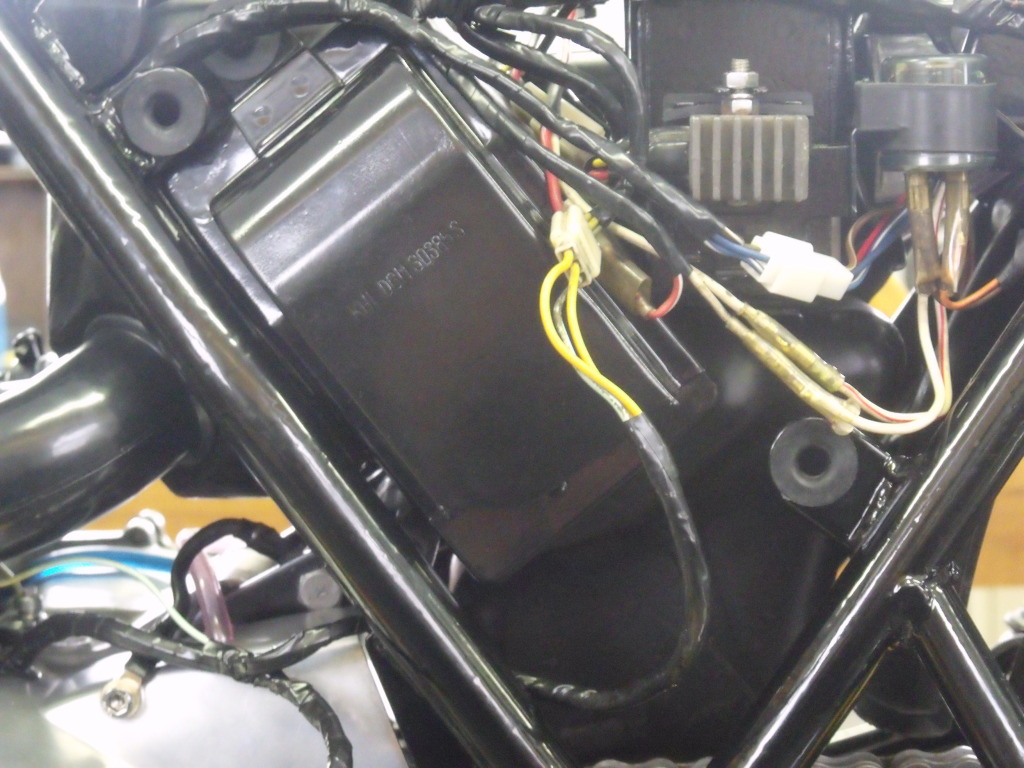
So finally, I mounted the CDI to the bracket with double sided tape and a zip tie and then mounted the unit to the frame with some stainless socket head bolts and lock washers.
Then it was plug and play.
Another Option:
Hello Dayle, put the production StarFire on the bike, runs great
( I was expecting something like that, given the good test on the prototype).
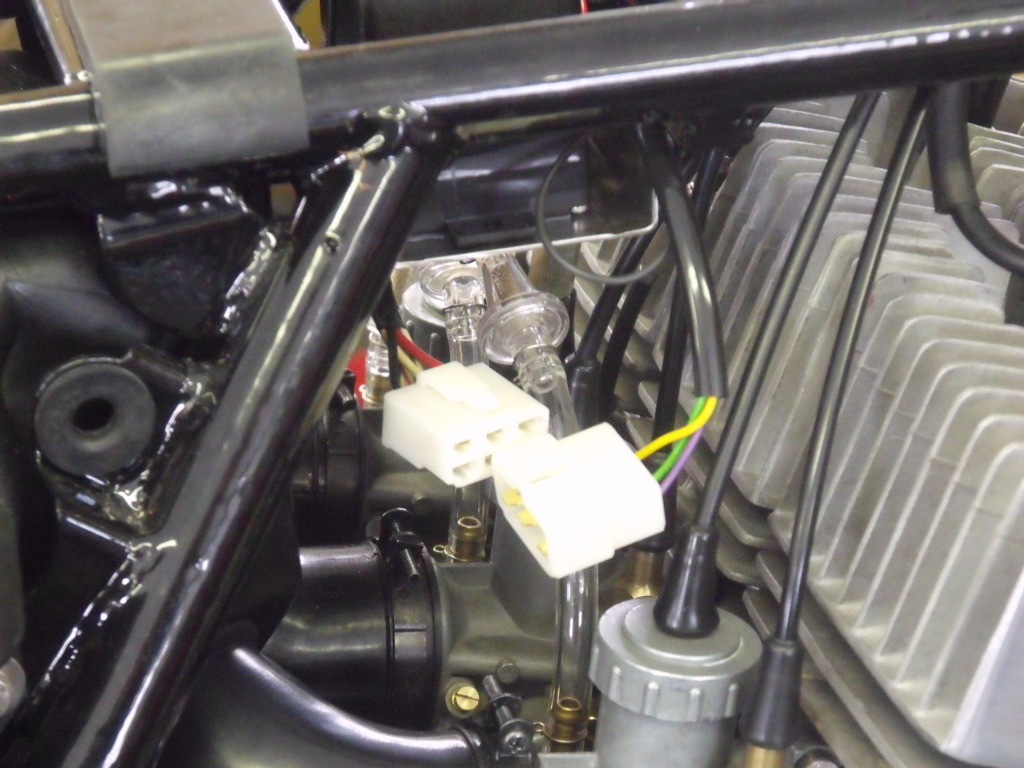
I saw the installation instructions on the resource page, and I have very little
to add. Indeed, I have only this suggestion about unit placement. ( see images
).

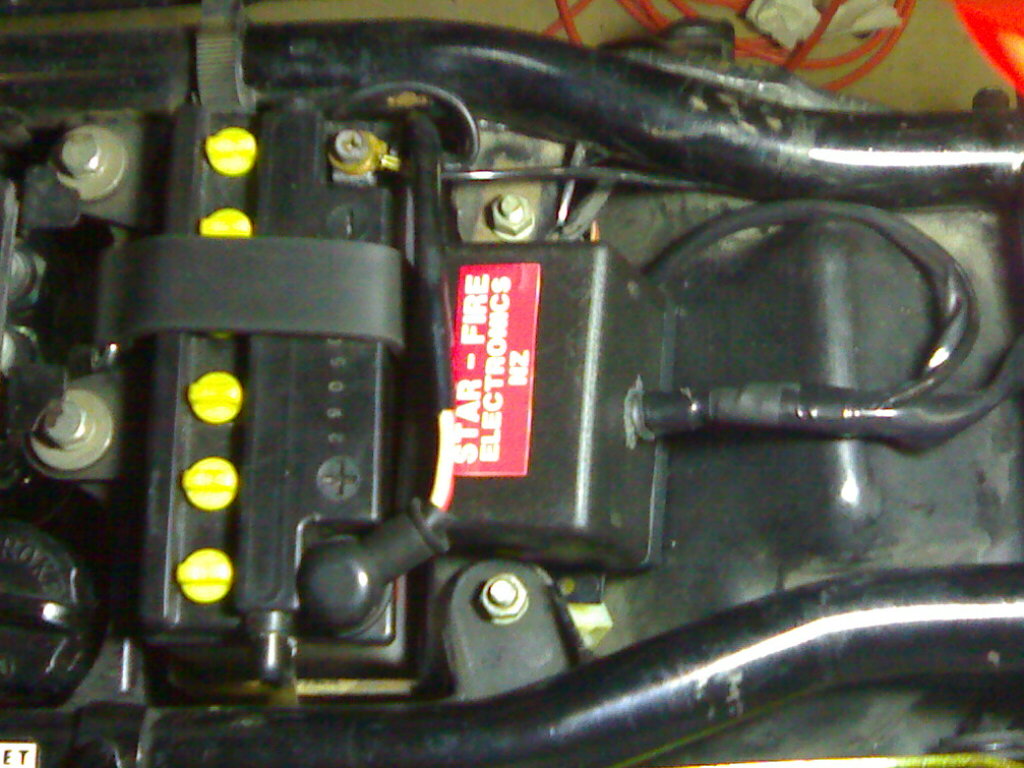
Instead of making a custom bracket, the shape and
size of this new unit allow a secure and easy placement under the saddle, in
front of the battery.
The tank, once placed, does not interfere at all. No need to fix the unit, only
a lump of neoprene foam if you like. The placement is not too cramped, there is
room enough for harness, and a reasonable air flow coming from the sides of the
air box Sorry for poor quality of photos (taken with cell phone)
Cheers, and a warm hug from Italy !!