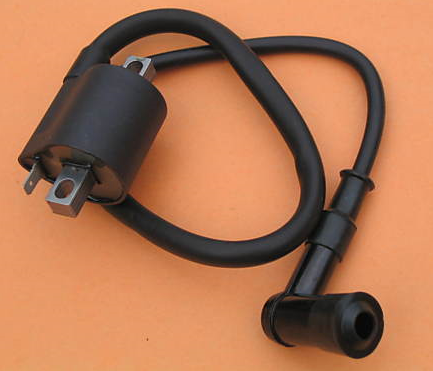
Moped Ignition Coil
----------Fitting instructions for the modified Early H1------------
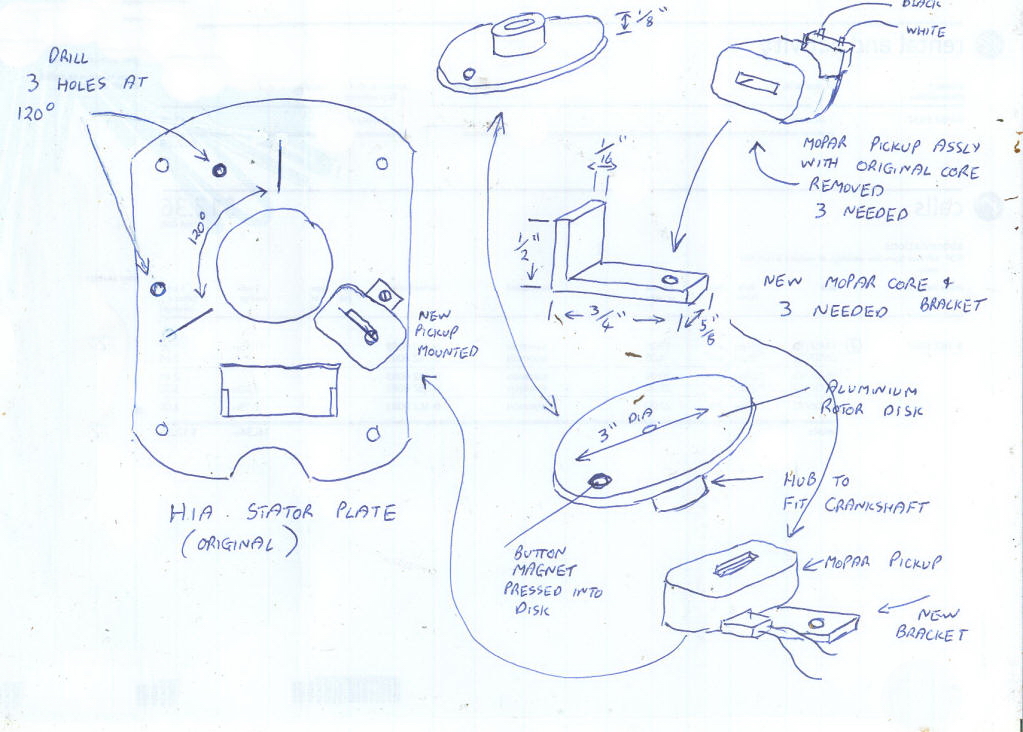
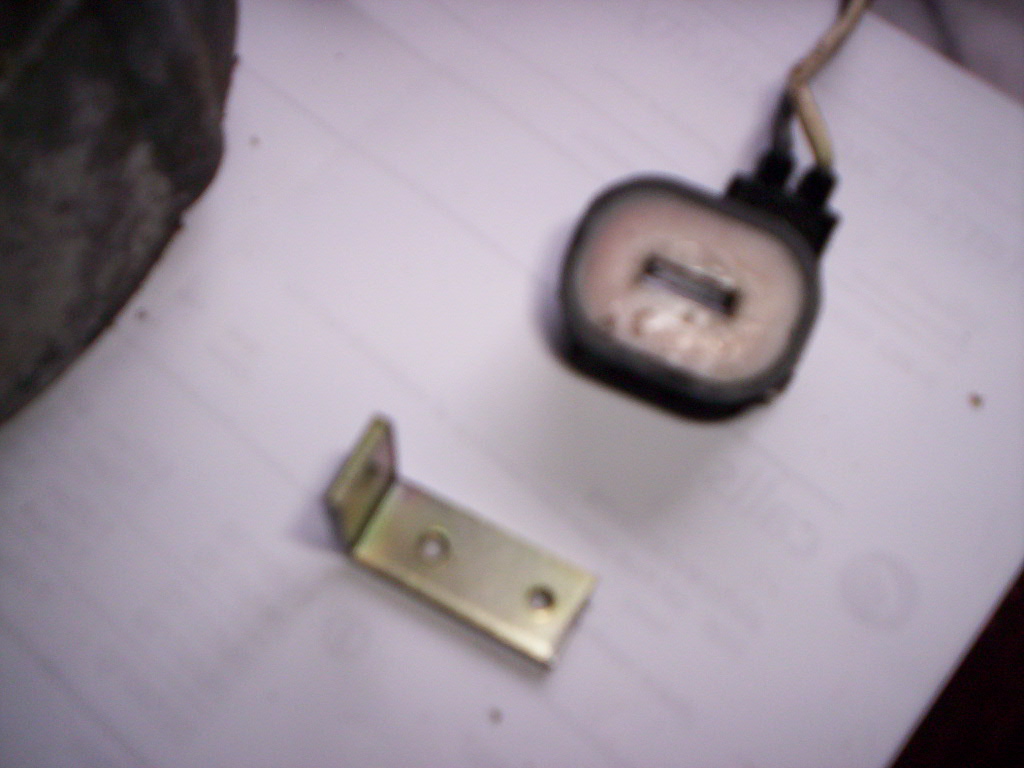
1) Buy three Mopar pickups (MSD #8466-1 or Standard
LX-102). These
come with a magnet and metal bracket. A few swear words and dexterity will
remove the coil assembly from the metal bits.
2) Make three new core/brackets as per diagram. A scrap of 1/16" steel
metal stock will provide the material.
3) Bend as shown and drill the mounting hole.
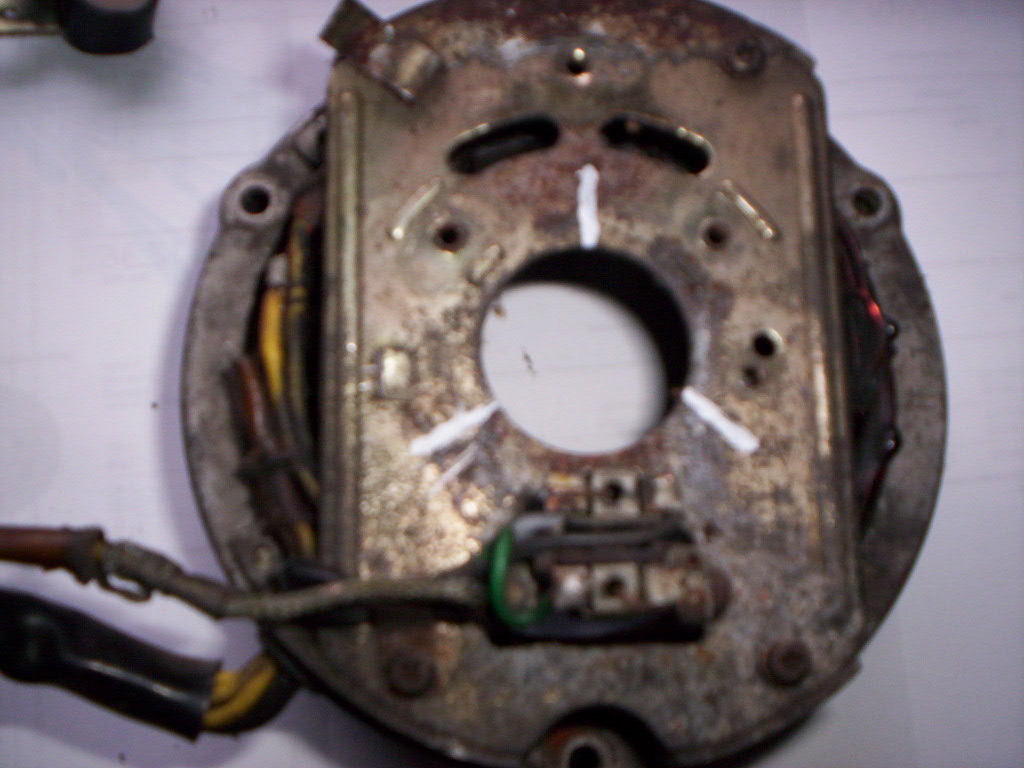
4) Dismantle the stator plate from the bike alternator assembly and
remove the existing brackets etc.
5) Accurately divide it into three 120 degree marks where the core
centers will align.
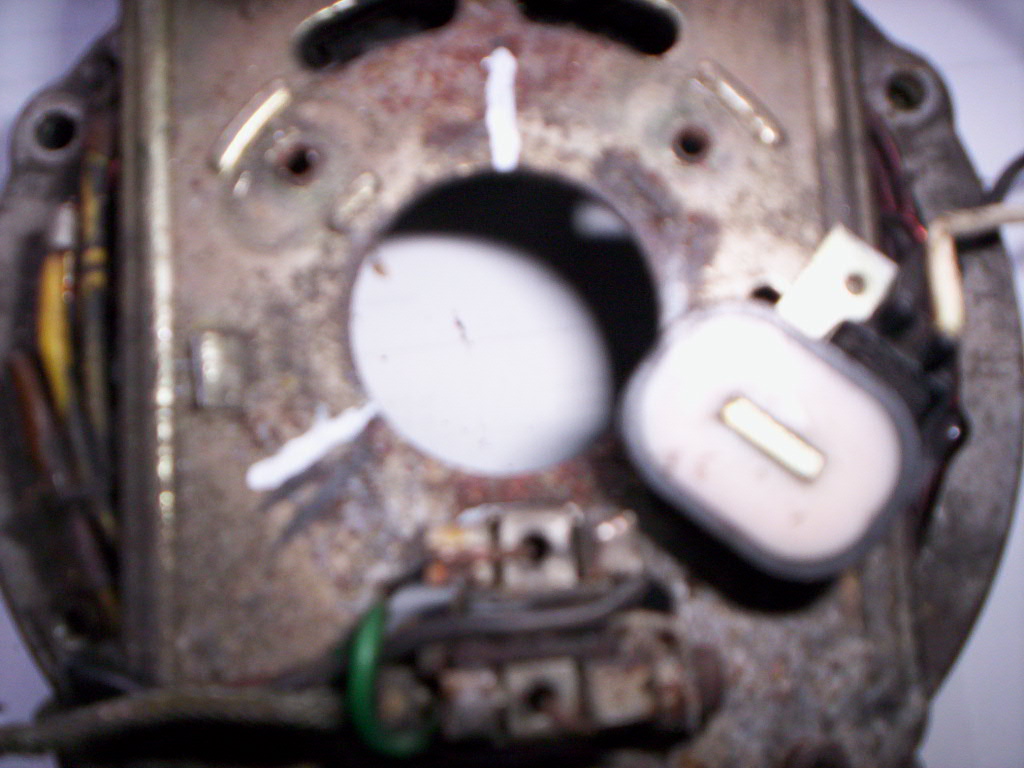
6) Temporarily place assembled pickups to the plate, and mark the new
mounting holes and drill them
7) Mount the new pickups to the plate, and seal the cores with araldite
to prevent movement.
8) Attach ring terminals to all three BLACK wires, one from each pickup
and ground these under the mounting screws.
9) Refit stator plate.
10) Construct the alloy disk, the hub needs to be an accurate fit to the
crankshaft end. The perimeter is drilled to accept a small button magnet. Press
this in.
11) The rotor is fitted to align the left cylinder pickup coil (choose one) and
magnet to TDC less the correct advance... timing is adjusted by rotating the
rotor on the crankshaft.
12) All three white pickup wires now connect to the Starfire ZX CDI units
yellow/purple and light green.
13) Mount the three moped coils after discarding the original ignition coil.
these are very small and will fit well.
14) The three green terminals are connected to the ZX unit dk green/blue/and
orange wires,
the three blacks connect to the three black ZX wires.
15) Discard distributor cap and rotor.
16) Start the bike.
I encourage anyone to have a go... its not hard. To those who want to retain the
original look, the ZX CDI unit can be "hidden" inside a gutted original "B" box,
and dummy plug leads can be used to snake up from the side cover to the
sparkplugs.
Moped Ignition Coil