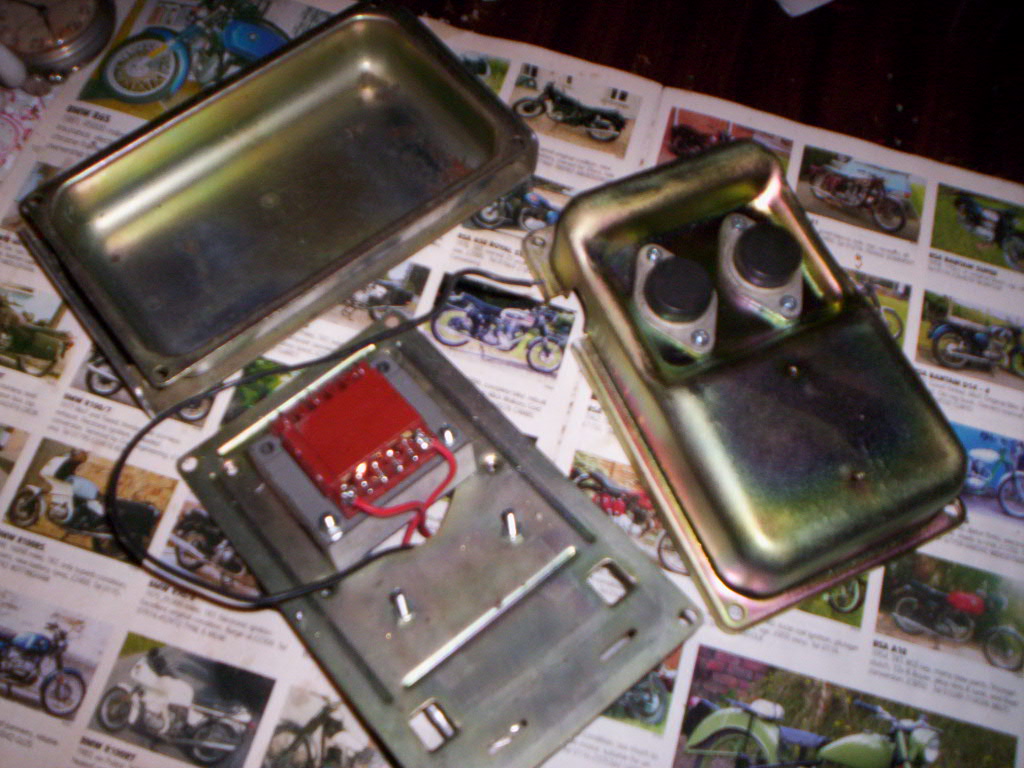
New transformer mounted on mounting plate. Notice the empty boxes, nicely cleaned and replated.
Early H1 CDI Rebuild
New transformer mounted on mounting plate. Notice the empty boxes, nicely
cleaned and replated.
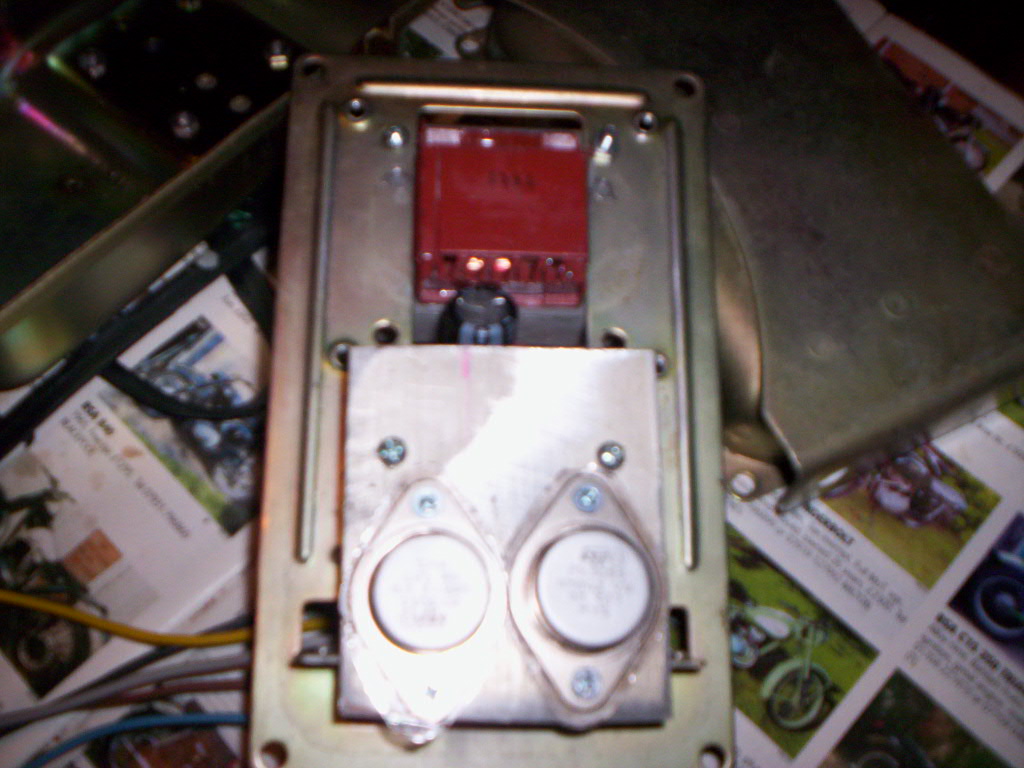
New heatsink fabricated and mounted inside the box with two new power
transistors.
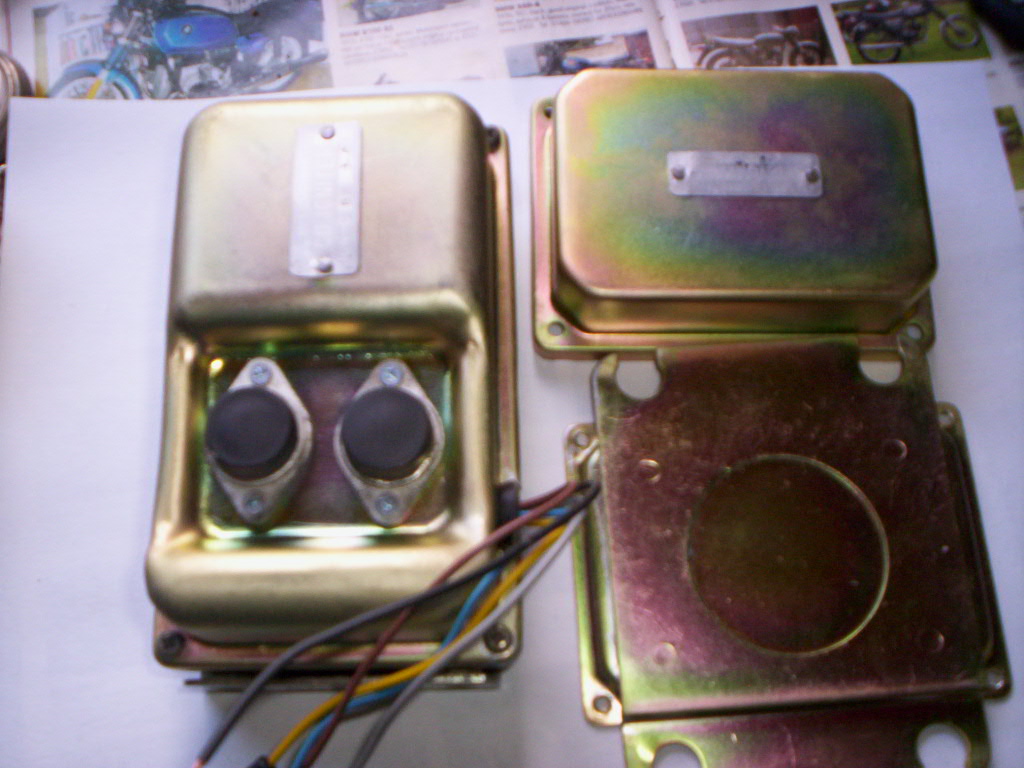
Two dummy transistors are mounted in the original external position to keep the
look of the factory unit.
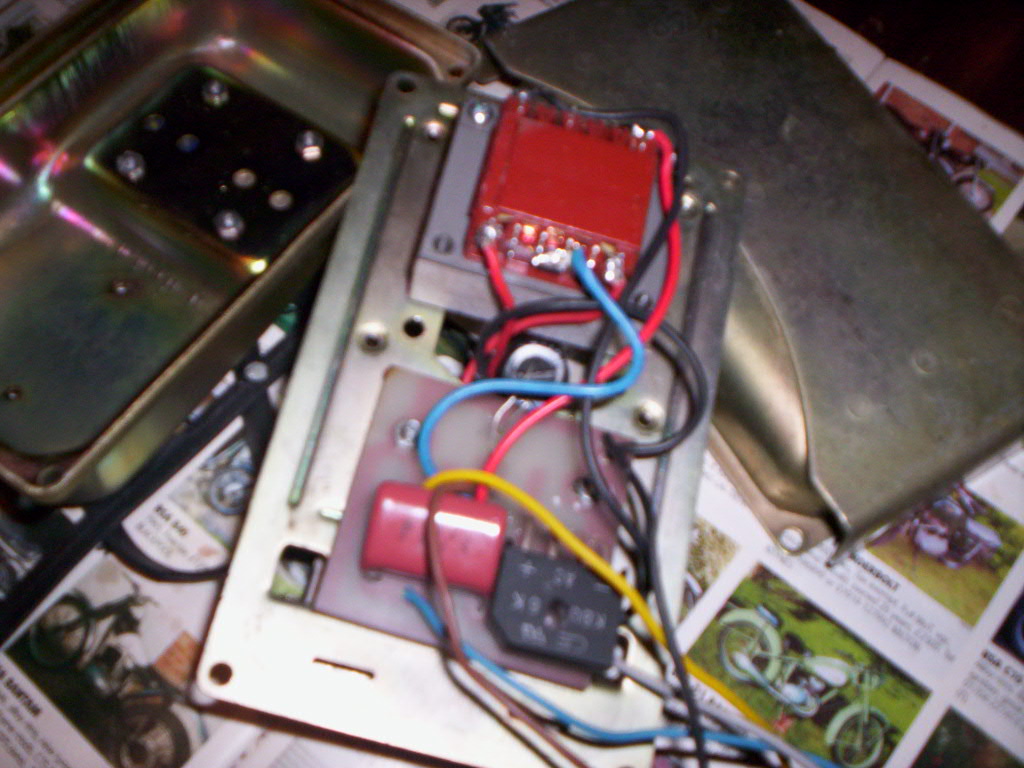
The high voltage board now added., the internals now pretty much complete.
The next photo illustrates quite dramatically the difference with the old and
new
technology, modern components being very much smaller with better specs.
There are few parts in the high voltage buzz box, the secret is in the
transformer... the square thingy.
It took a lot of research and experimentation to get these right. The original
internals from 1970.
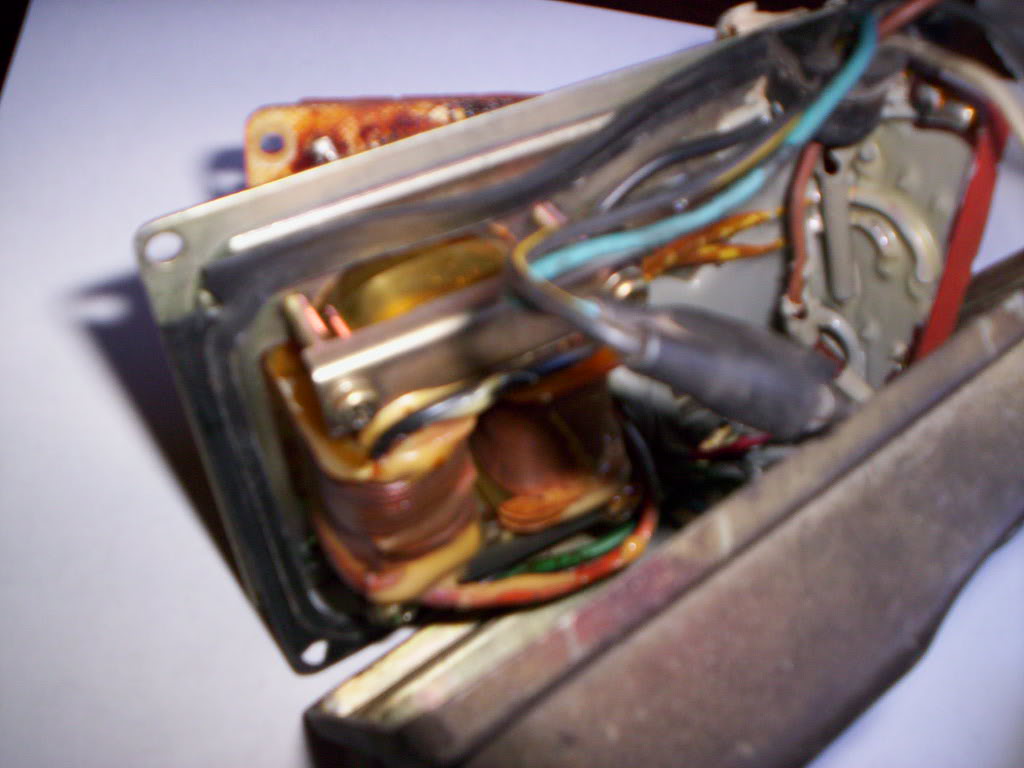
These burned looking sausages are old paper/wax capacitors, long past their use
by date.
These were never reliable, the cause of all that crackling and static in those
old valve/tube radios of another bygone era.
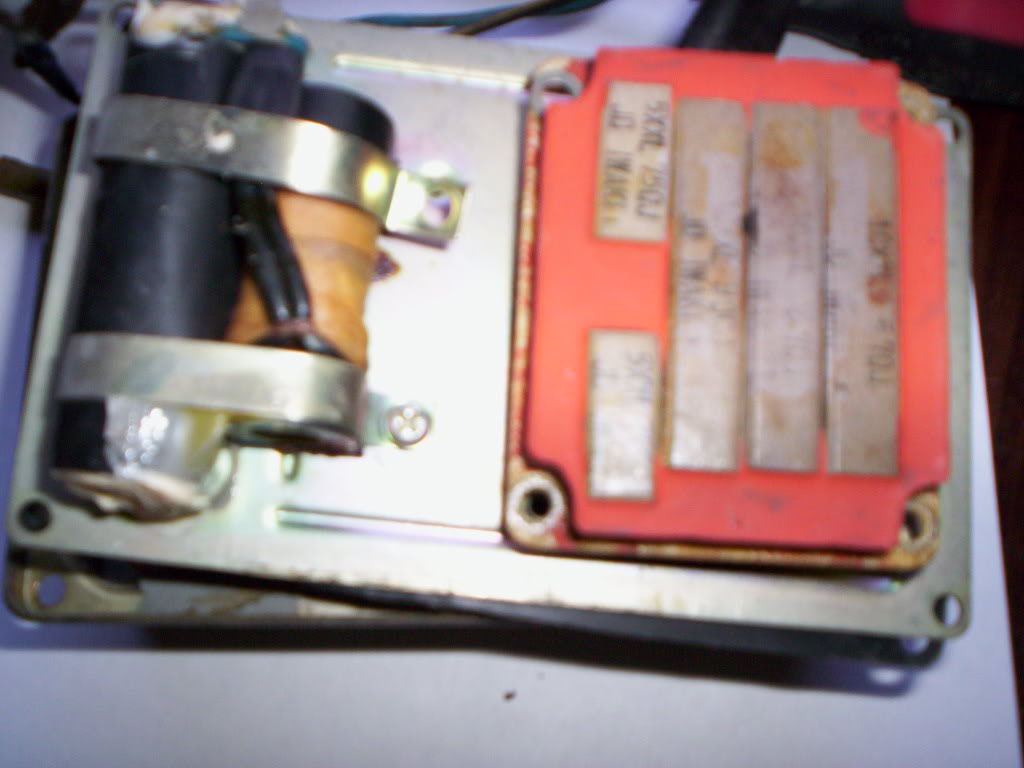
After testing, wiring tidied, a wee bit of goop added to
prevent vibration damage,
tags attached, box reassembled ready for another 40 years on the road.
Ready for the rubber goop to be poured into the transistor
cavity.
And here is the almost finished product.
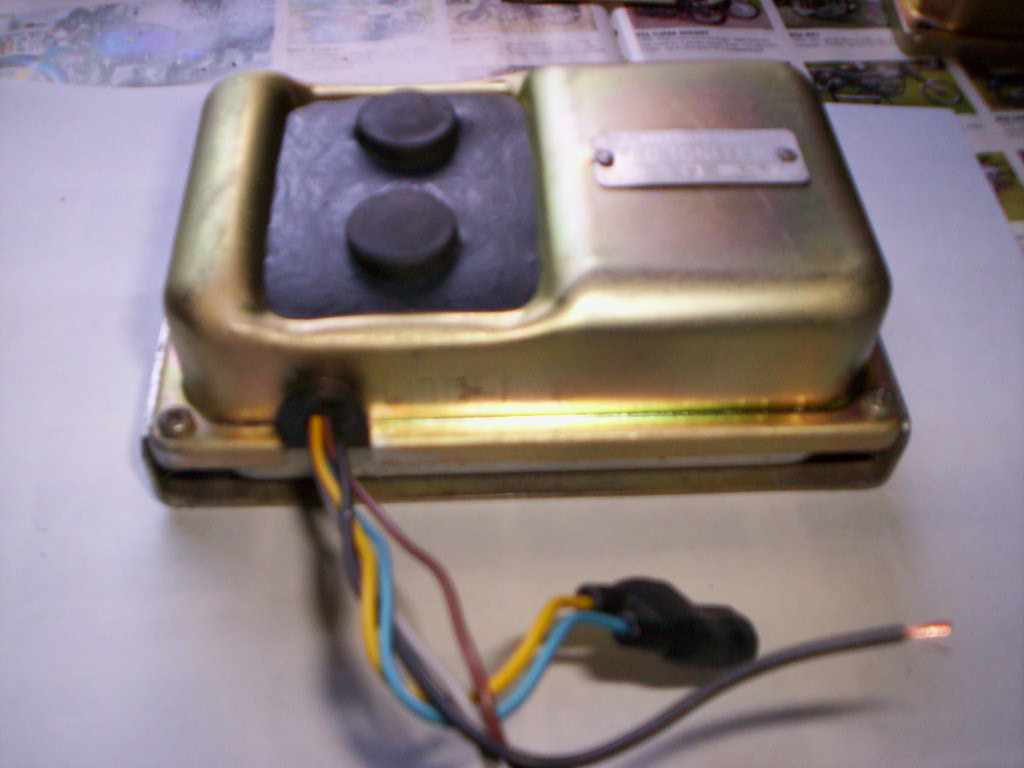
It started out like this. Cool or what?
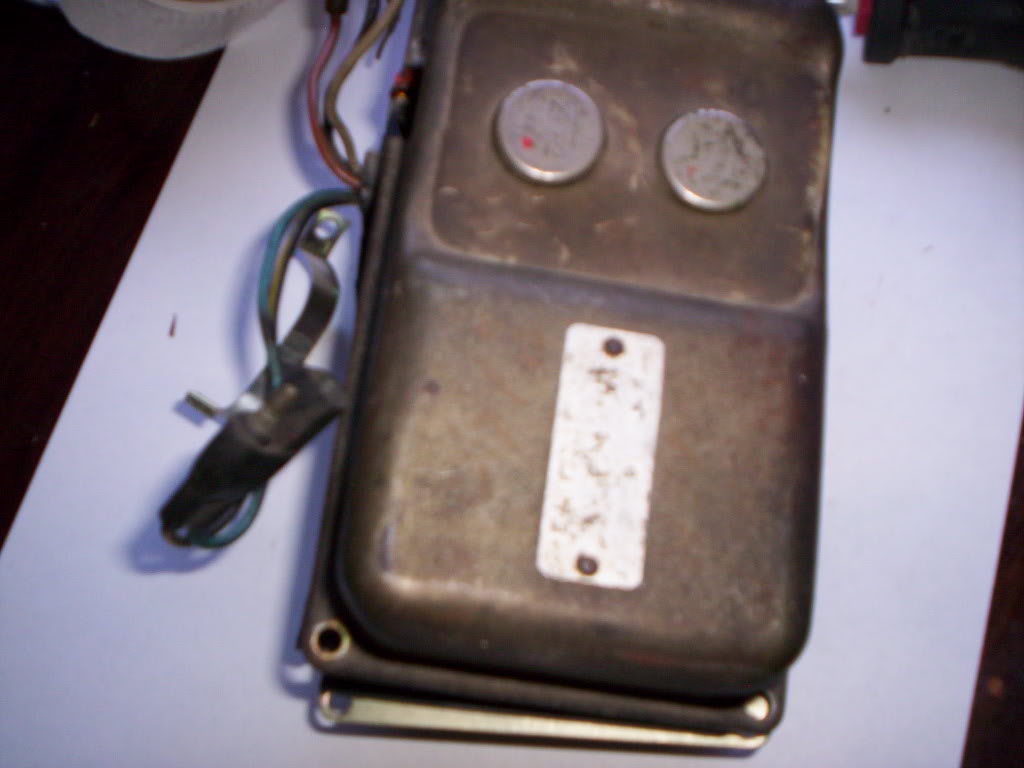
The A box is next.
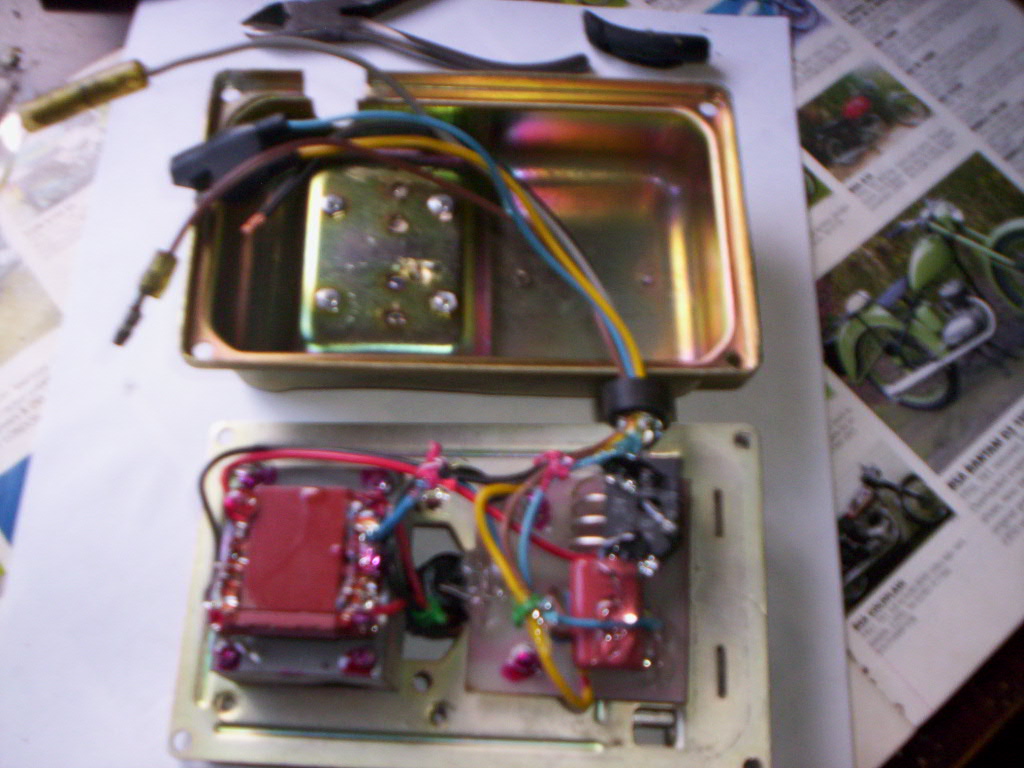
Pic is of the populated A box circuit board prior to having
the leads attached.
This will then be tested with the finished B box before encapsulating into the
housing.

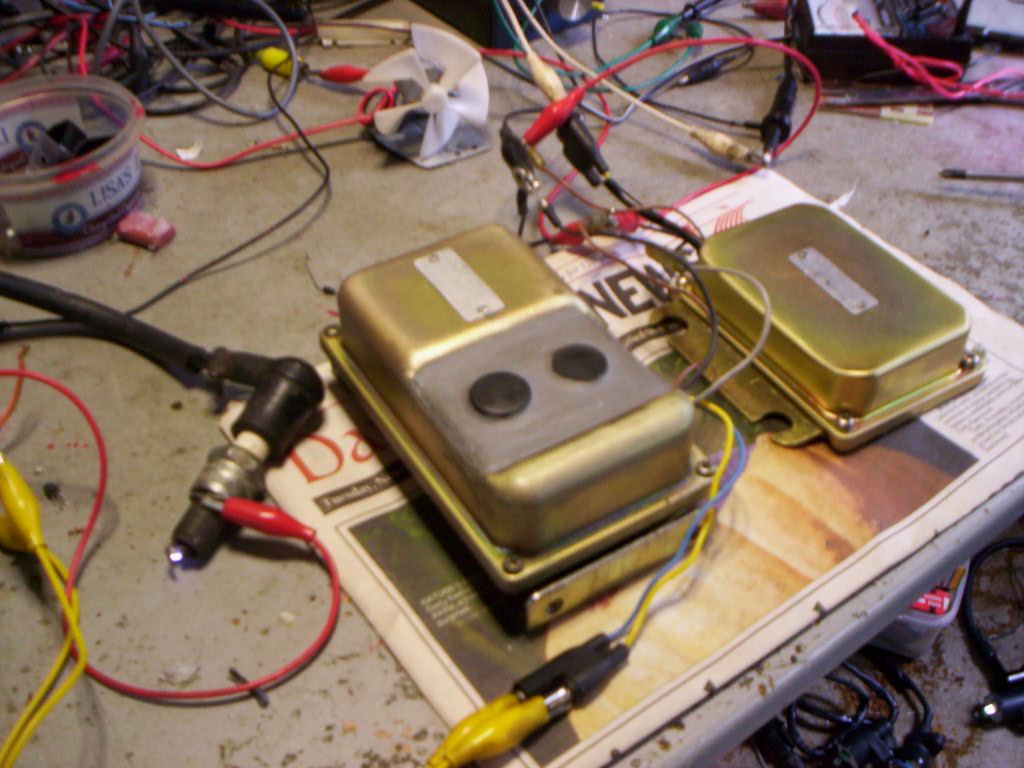
And finally, all done. Just need to find my box of new connectors to replace
these old ones.
NOW, where's the bike.... IT NEEDS TESTING!!
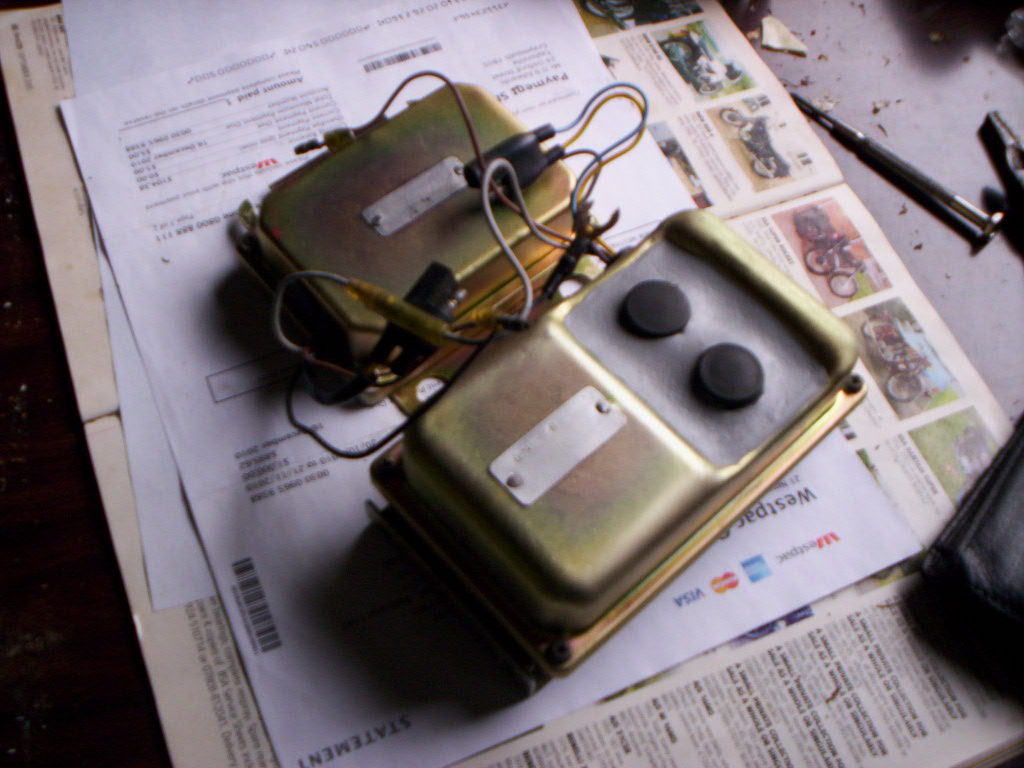
A and B box working happily in unison, ready to fire a triple
for many years to come.
Note the hefty spark, here its running at 12000 rpms.