Low Speed Coil (H2) Winding for Dummies - by Tom Garcia

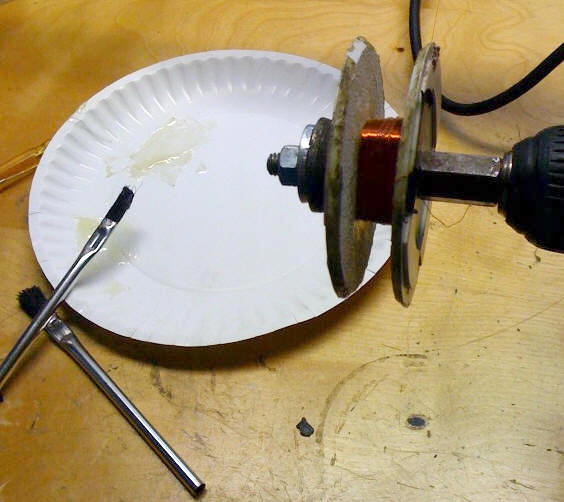
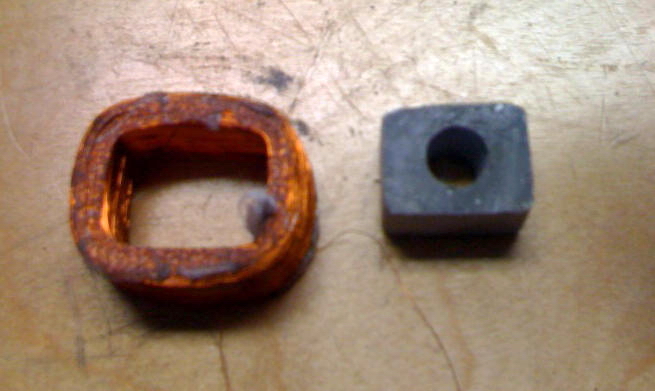
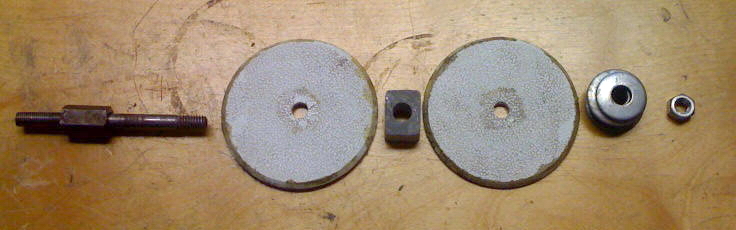
First you need a bobbin to wind this thing on... Two stick on door knob wall protectors and a center core slightly larger than the dimensions of the stator armature...

YES - the center core is made out of JB Weld... Whatcha expect!!!!!

The center core dimensions are .75" wide and 1.0" tall... 0.6" thick (the thickness actually determines the width of the finished coil).


Image


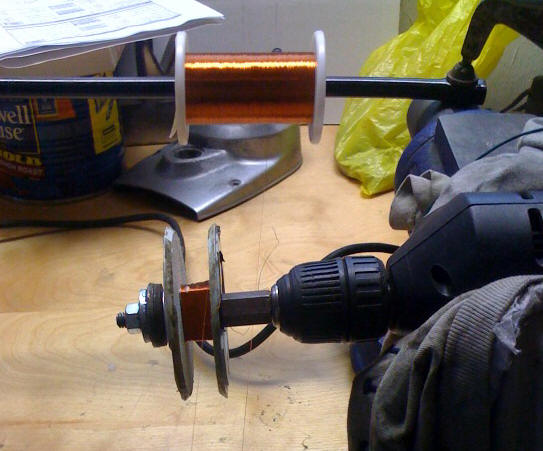
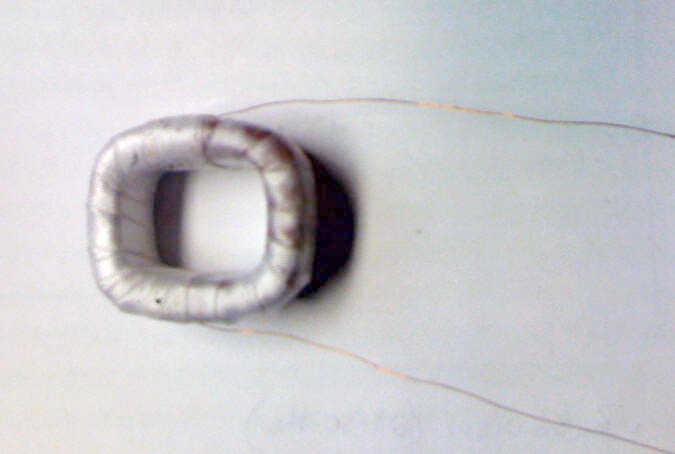
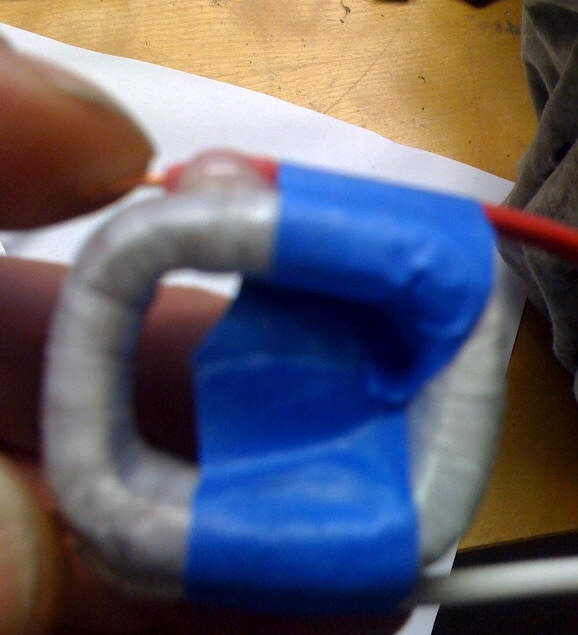
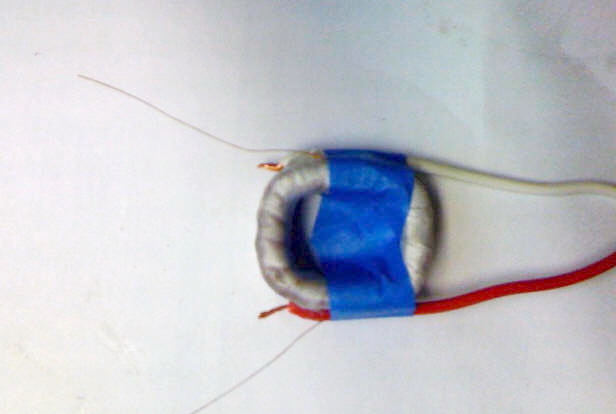
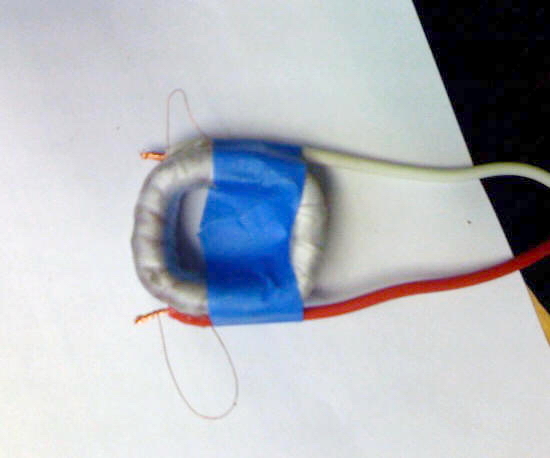
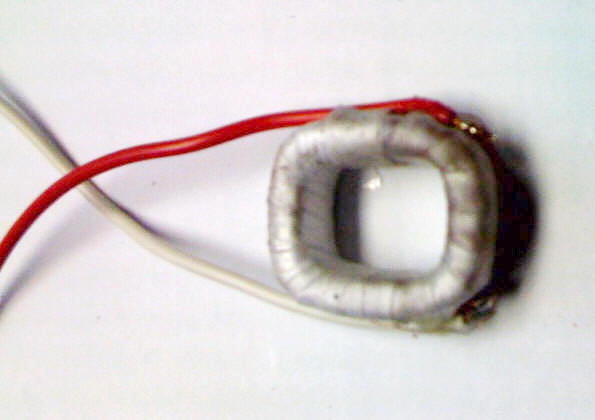
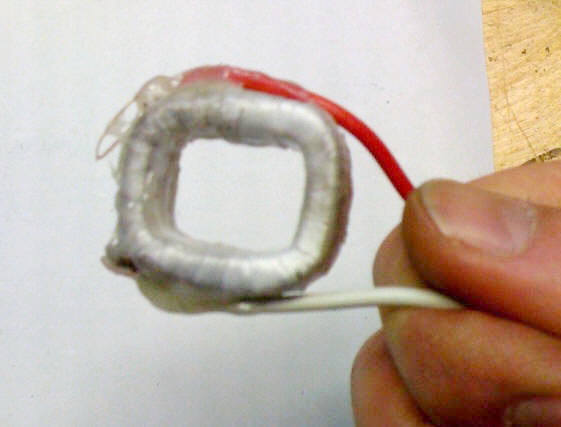
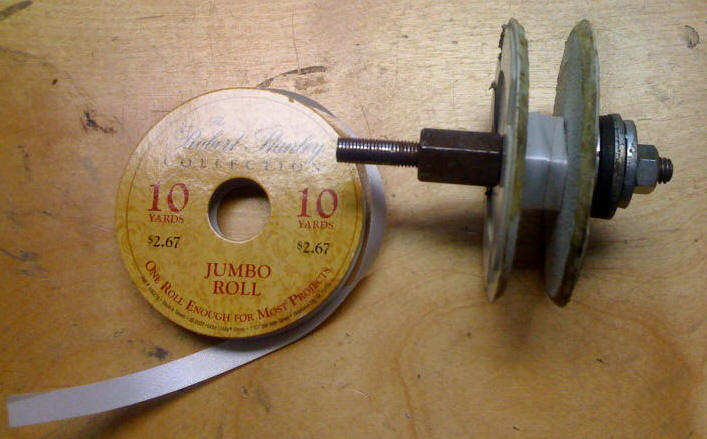
Here is what the bobbin looks like assembled and I've wrapped a base layer of the ribbon (craft/sewing store) on the core... This adds a little more ID play with the finished coil and also prevents the wire from getting in between the center core and the side guards - this can make it impossible to extract the core without destroying the newly wound coil...


Image

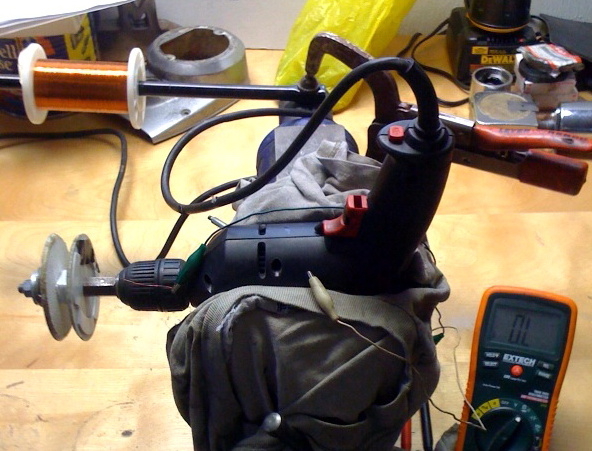
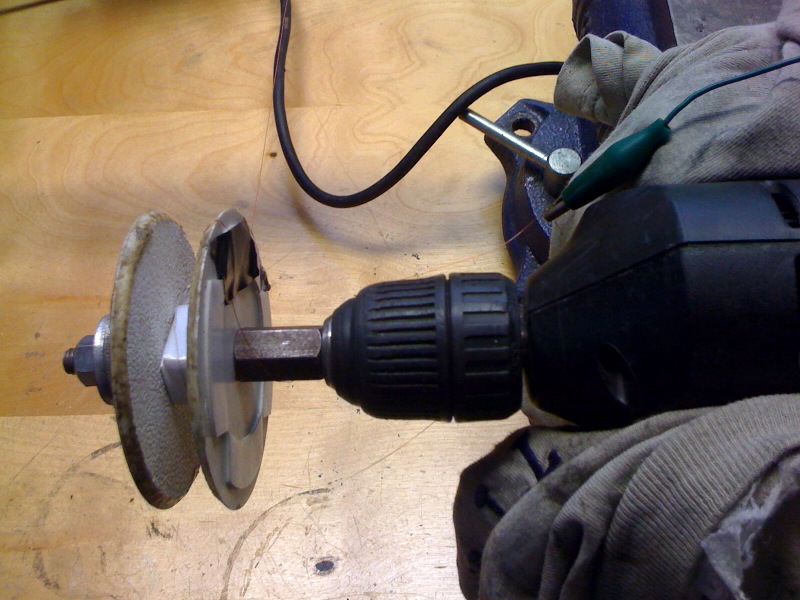
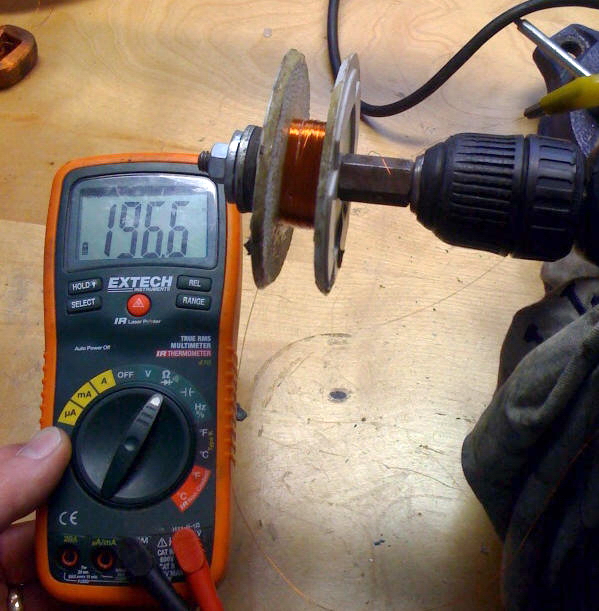
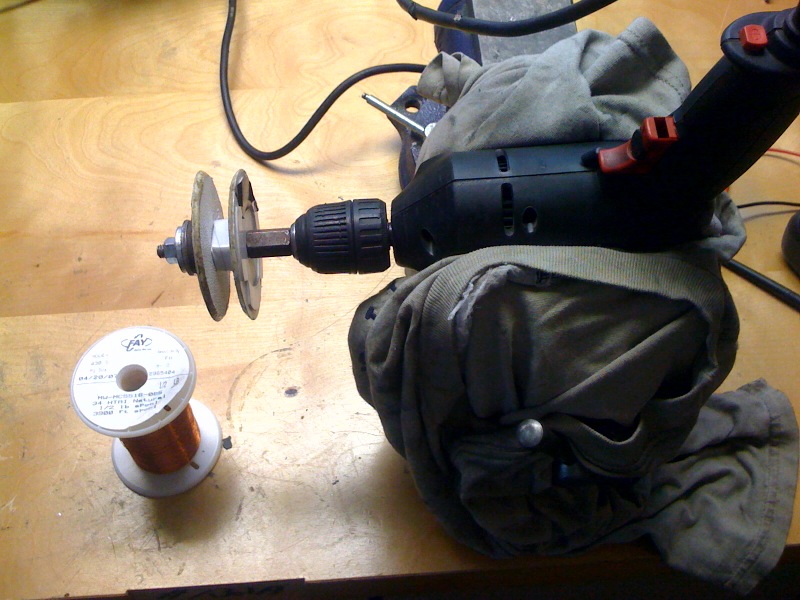
Here's the setup for winding - Variable speed drill stuck in the vise..

Image

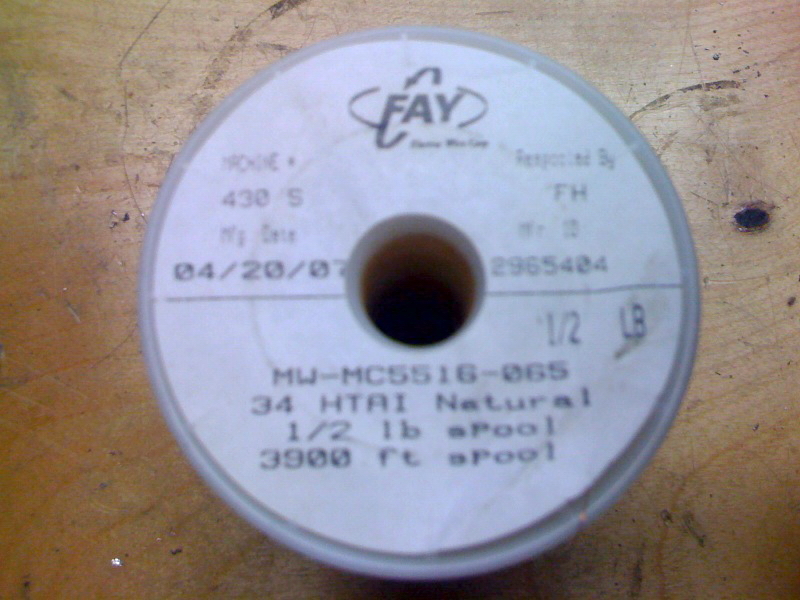
This is the wire I used - A 34ga enameled wire...
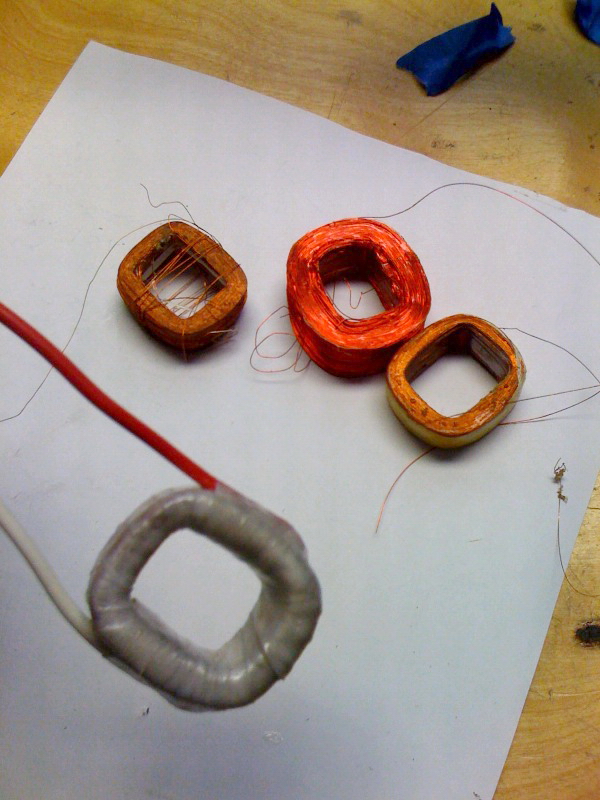
This winds up being just slightly larger OD than the stock wire used for the low speed coil.

Image

Here's the whole rig including the wire spool holder..
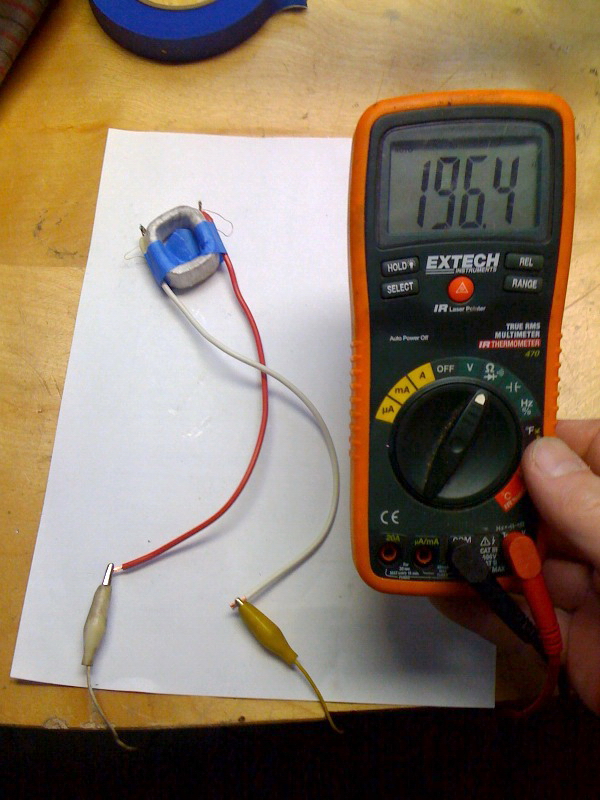
The way it is set up, the drill is set to rotate so the bottom of the bobbin moves towards you and the top part moves away.. At least that is what works best for me. Wrap a couple turns around the bobbin and then tape a short loose portion outside the bobbin as shown here with the alligator clip for the VOM attached...

Image


Here's a closer look at the pigtail so you can check resistance as you wind...

Image

WINDING! I coat the core with some 2-part epoxy...lay down some windings...more epoxy...yada yada yada...

Image

I apply the epoxy with standard acid brushes...

Image

Once you get some turns on... You need to check resistance SO FAR...
Clip one lead onto the pigtail from earlier.. Then, VERY CAREFULLY, scratch the enamel between the coil and the spool of wire to get the coil resistance up to this point. Don't worry...the epoxy will insulate the scratched area. You only need to GENTLY scratch until your VOM gets adequate continuity..

Image

Continue to add turns until you get in the 200 ohm ballpark... LIKE THIS!

Image

I stopped at this point....enough turns!!!!
 

Alright! Take the bobbin apart, remove the coil, and very carefully extract the core from the new coil....

Image

I brush on more epoxy to the coil and wrap the whole thing using the ribbon...wearing rubber gloves...
Note the wire exit points from the winding... You want one sneaking out on each long side OD...

Image

Then I take two lengths of wire with a short stripped portion at one end and tape them to the long sides as shown here...

Image

Mix up some more quick epoxy and tack both wires down to the OD of the coil as shown below...
Between the tape and the stripped ends... You just need to keep them from moving around for now...

Image

With the wires now glued and dried... You can trim the enameled wire to length...
Note that I've left some extra... In case I screw up in the next step, I want a little extra to play with...

Image

So, now carefully strip about the last half inch (12.5mm :D ) of the enameled ends and wrap each around the stripped lead ends... Solder them both!

Image

Now you cross your fingers and check the resistance of your almost complete low speed coil...

Image

From this point out...it's a cake walk!
Go ahead and bend the ends of the heavier lead wires to fit closely with coil OD and carefully "stow" the excess length of the enameled wire...

Image

Now mix more epoxy and coat the OD and ID of the bottom of the coil (end where the soldered connections are)

Image

Now wind more ribbon around the epoxy coated area ("U" shaped)

Image

You can now soak it down with spray or brush varnish - clear or a color of your choice for that antique look???

That's it... It should wind up looking like this and NOT the "learning curve" windings in the background....
(Why have I held onto these since living in Georgia???)

Image


I really hope this helps people out... I know that the original one (after the OOPS coils) made a noticeable difference in how my H2 started... Seems like these wind up being a little hotter than stock maybe...

Tom