Click here for Early H1 installation Guide
Here is a guide to professional seat cover replacement offered by Brad Aspling (H2 Brad):
One of the easiest upgrades you can make to your bike is refurbishing the seat assembly. I am an owner of an auto-upholstery shop and have personally recovered over a dozen Triple seats in the last six months. This is a job that you can easily do yourself, so I thought I would put together a step by step how-to guide that may help when reconditioning a seat.
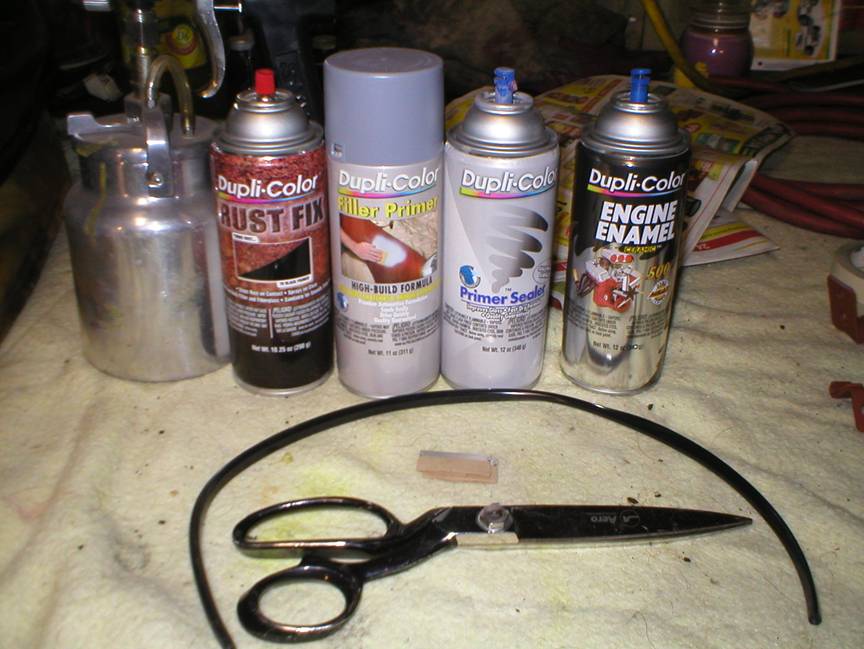
Here is a suggested list of items and tools you may need. If you are redoing the seat pan, you will need primers and paints. I have had great luck with the Dupli-Color brand. I use the rust neutralizer, filler primer, sealer, and gloss black engine enamel. You will also need a high grade industrial glue. We use a vinyl top adhesive that we spray through a paint gun. You will need a few new single edge razor blades, 400 grit wet and dry sandpaper, one yard of headliner material or quarter inch foam, and some door edge guard. You will also need a heat gun or hair dryer, and a small punch. Most of these items can be found at an auto parts store and/or home improvement store.
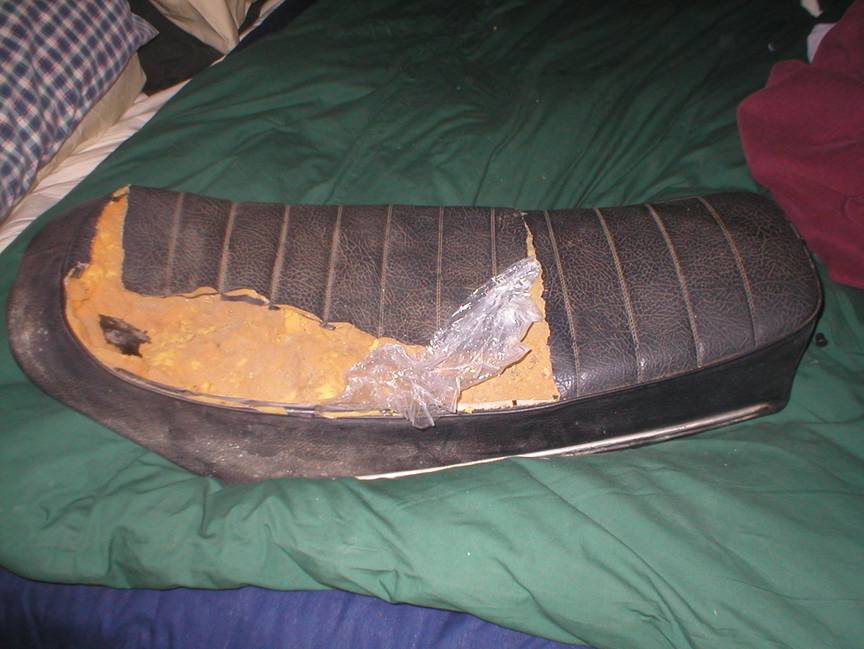
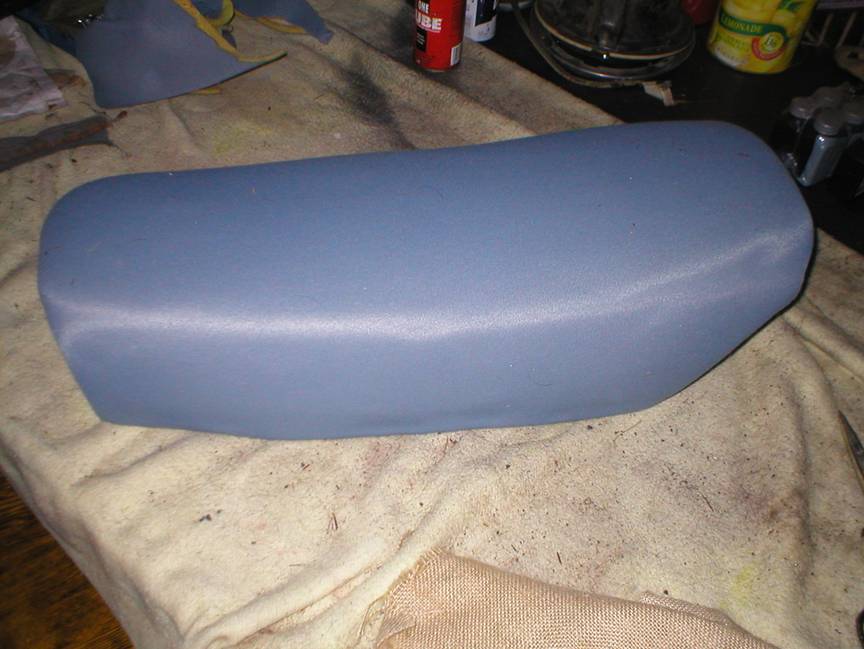
Here is the typical condition of a seat that I receive. You want to start by completely stripping the seat of all trim and hardware, seat cover, and seat foam.
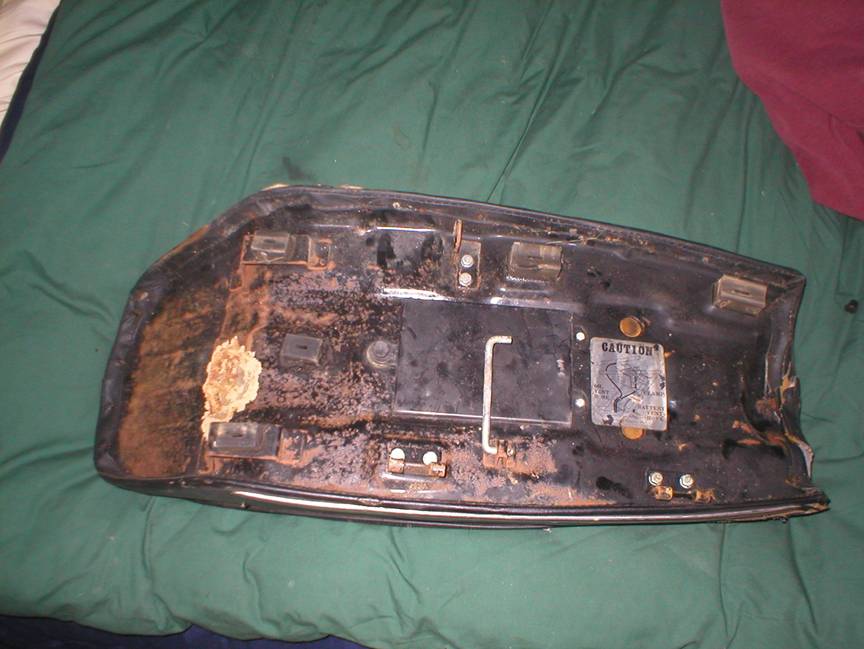
Once the seat pan is disassembled, I bead blast both sides. Now at this point, you may have to weld in some new sheet metal, due to rust or weld some cracks which are common on these pans. Once all the metal work is done, you want to spray the rust inhibitor following the directions on the can. After the neutralizer dries, it will have a purplish-black appearance.
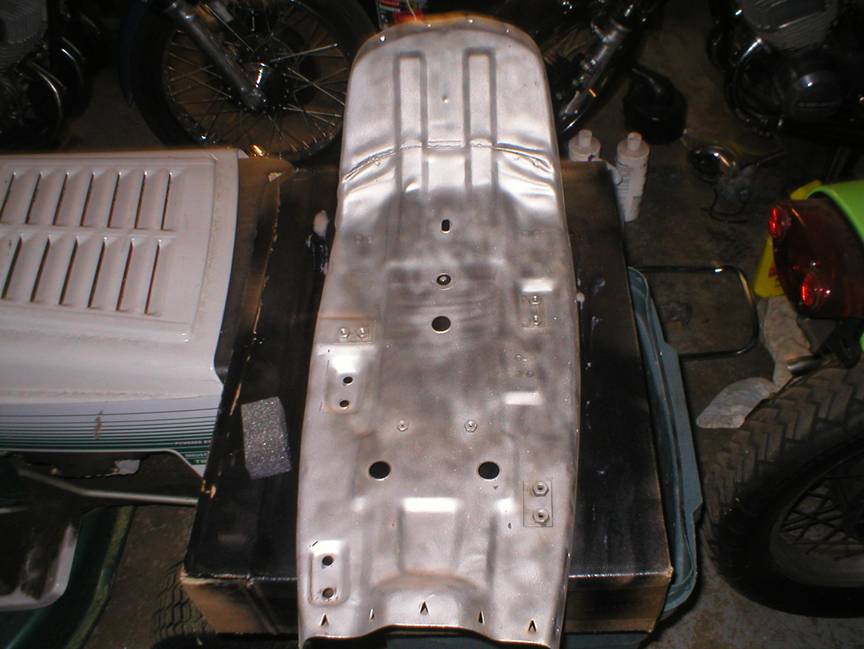
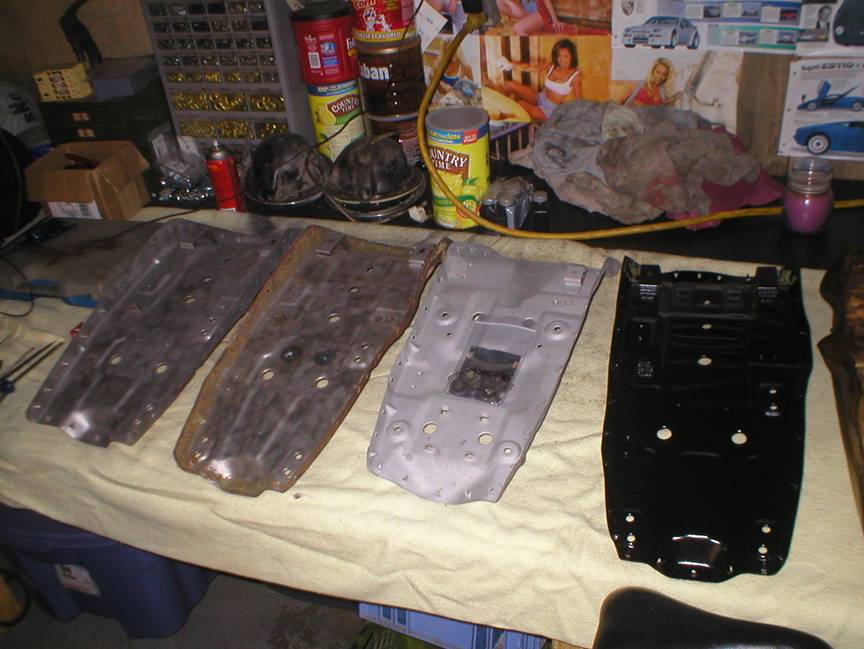
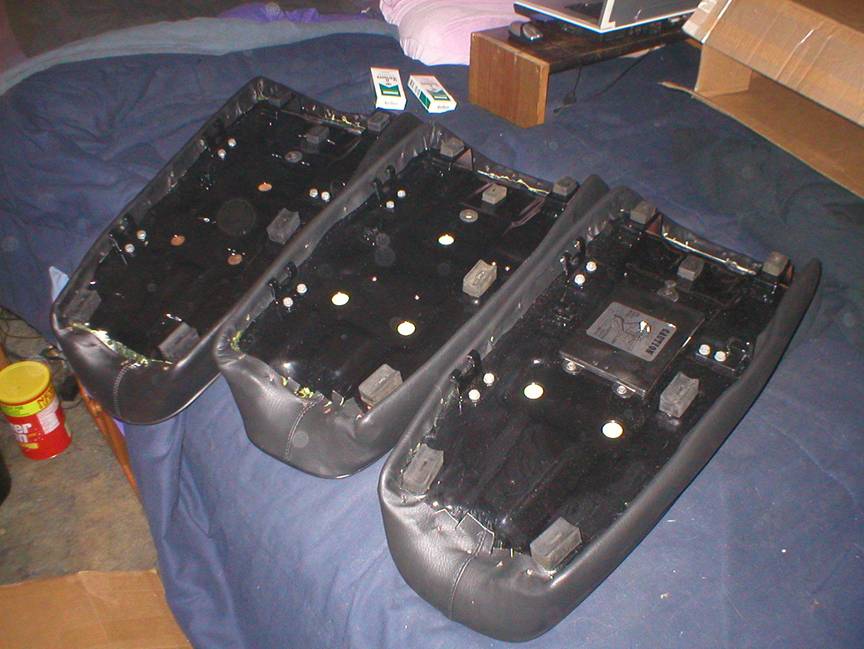
The next step is applying filler primer and after it dries, wet sanding with 400 grit paper. You will need to re-prime and sand any areas of heavy pits in the pan. Once you have a nice smooth surface, you can spray the pan with sealer prior to painting. I like to apply at least a half dozen medium coats of paint to assure good coverage on all areas of the pan. Once the pan has had a sufficient amount of paint applied, you can finish with one or two heavier coats to achieve a nice finish. Here you will see four pans in various stages of reconditioning. The one on the right is complete.
After the pan is painted, you will want to give it a few days to completely dry. Make sure your work area is covered with something soft, such as an old blanket, so that you do not scratch your freshly painted pan. The next step is to apply the door edge guard to the edge of the pan. Start at a midway point on either side and slowly work your way around. The front can be hard to fit due to the tight curves, but you can cut notches in the door edge guards using side cutters to make it easier to bend. You are then ready to very lightly glue the foam to the pan.
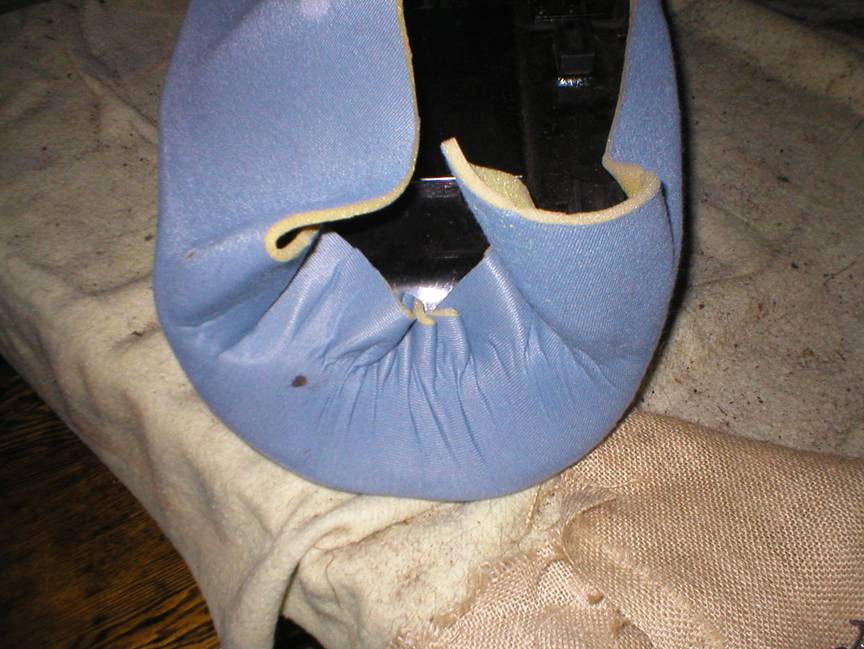
It is very important when using a new foam to make sure that it’s shifted as far forward as needed. You do not want to be able to see any of the metal pan at the front corner once the foam is on. This can be very critical as on some models, such as the H2B, the seat will not meet the tank if the foam is not properly placed.
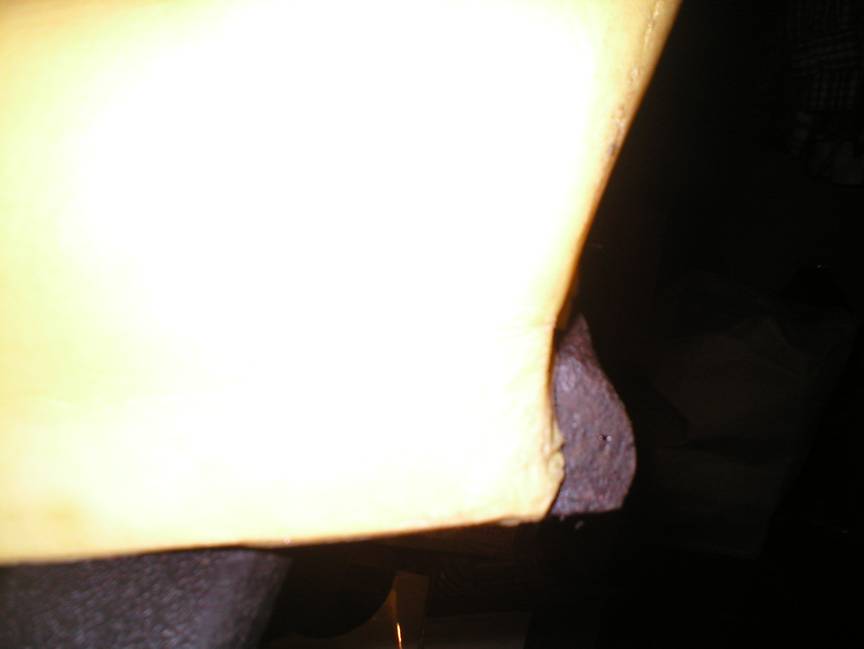
Here is a picture of an improperly placed foam. Note that you can see the front corner of the pan. This would leave too much gap between the cover and gas tank.
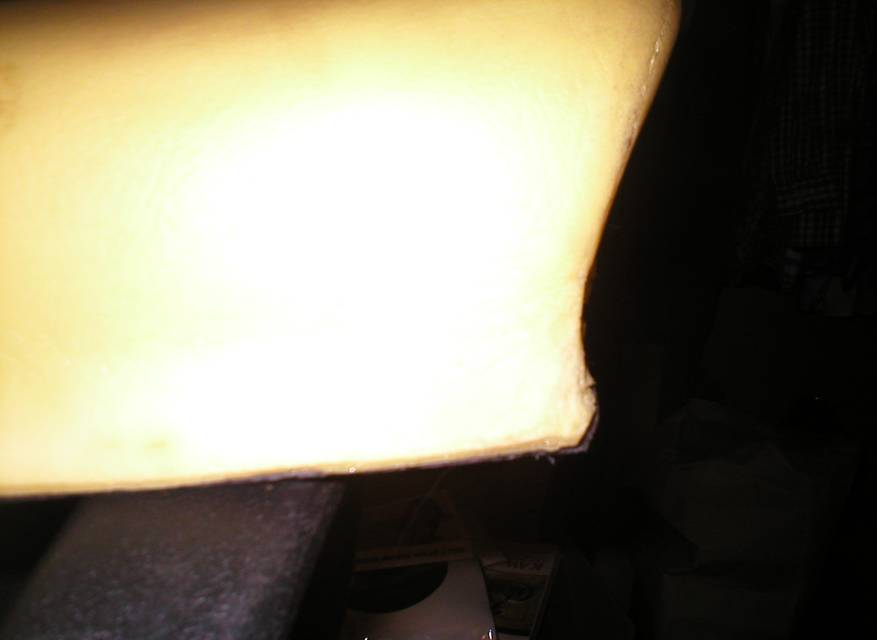
Here is a properly placed foam. Notice it covers the entire front corner. You want to lightly glue this in place to keep it from shifting.
After the foam is secured to the pan, you will want to fully glue the foam side of the headliner and the complete seat foam. Take your time and start in the middle of the seat while applying the headliner. Work from the middle out while pulling slightly on the material to keep it tight. Don’t worry if you get a few light wrinkles in the bottom front area as they will not show. Glue the headliner around the edge of the pan, ending just above the seat spikes. Use a razor blade or scissors to trim any excess material. When finished it should look like the one in the following picture.
Before you start applying the seat cover, first use a piece of chalk or masking tape and mark on the pan where the holes are for the side trims. This will make it easier to locate them after the cover is applied. At this point, if you are using glue to secure the cover, you want to glue the inside edges of the cover about 1 to 2 inches up from the bottom. You also will want to glue the inside of the seat pan in the area of the spikes and just below them. Start by stretching the cover over the foam. You want to locate and secure the front of the cover, then the back, making sure you get the proper amount of tension on the cover.
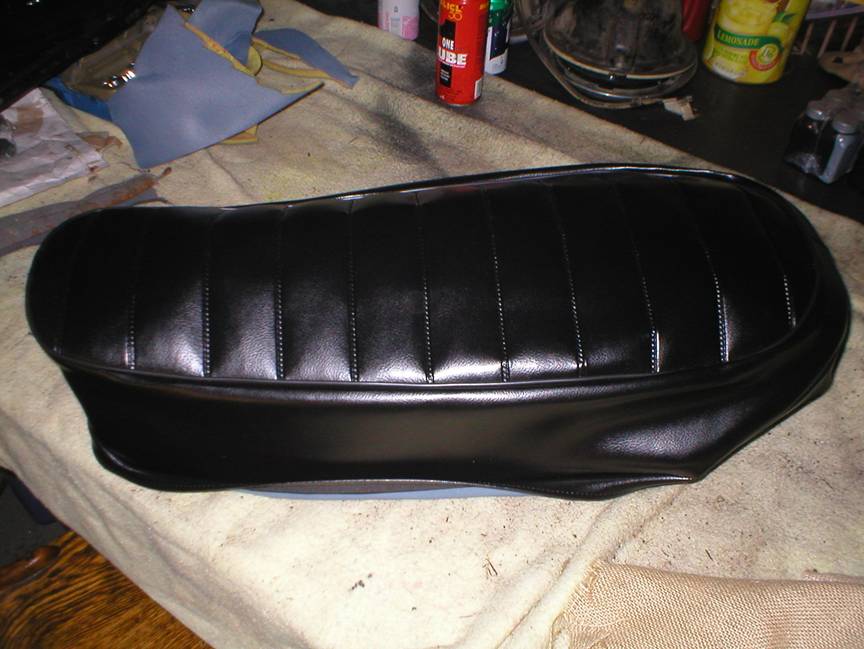
Once the front and rear are secured, you want to secure the middle of the seat on both sides. At this point, you should have four sections of the seat cover that will need to be secured. Start in the middle of a section and work outward in each direction. A heat gun or hair dryer can help by heating up the cover and making it easier to pull into place. Once finished, you should have a nice tight cover with even seams all around.
After the cover is applied, you can bend over any of the spikes you used and clean up any excess glue over spray with mineral spirits. Then you will want to flip the seat over and reinstall the hardware and rubber stoppers. If you are fitting trims you can use a punch and poke the holes through the cover for the trim screws. I use fasteners that were used on 60’s model US cars with chrome body side molding. They use a 10-28 nut that works perfectly with the later model trims. A slightly smaller round headed screw and nut works well with the early H1 trims. The rubber seat stoppers are still available new from Kawasaki and make a big difference on a freshly refurbished seat. The covers and foams are supplied by RB.
For vinyl repairs:
I only use this product, VLP, but remember it is just a repair. There is no
magic product out there that makes a rip/tear vanish. Replacement is the only
true repair.
http://www.plastidip.com/home_solutions/VLP
For conditioning vinyl: Good old baby
oil. Use sparingly with a soft cloth. Old cloth diapers work the best if you can
find some. Work it into the vinyl, let it sit for a few minutes, and carefully
wipe off any excess.
For cleaning vinyl: OK, you guys are
going to laugh but window cleaner such as Windex works the best. After I install
a new cover this is what I use for cleanup before the seat is shipped.